
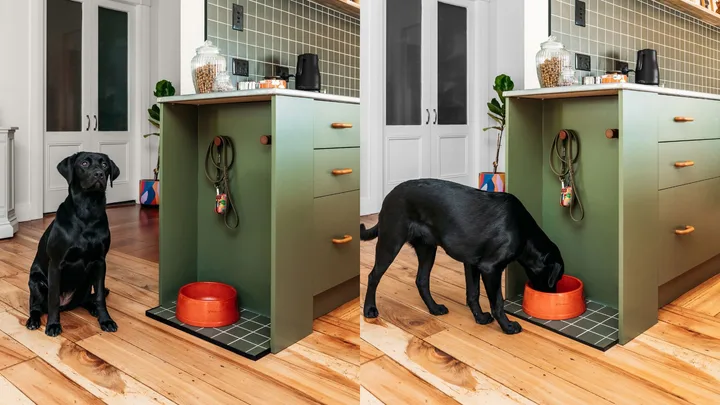
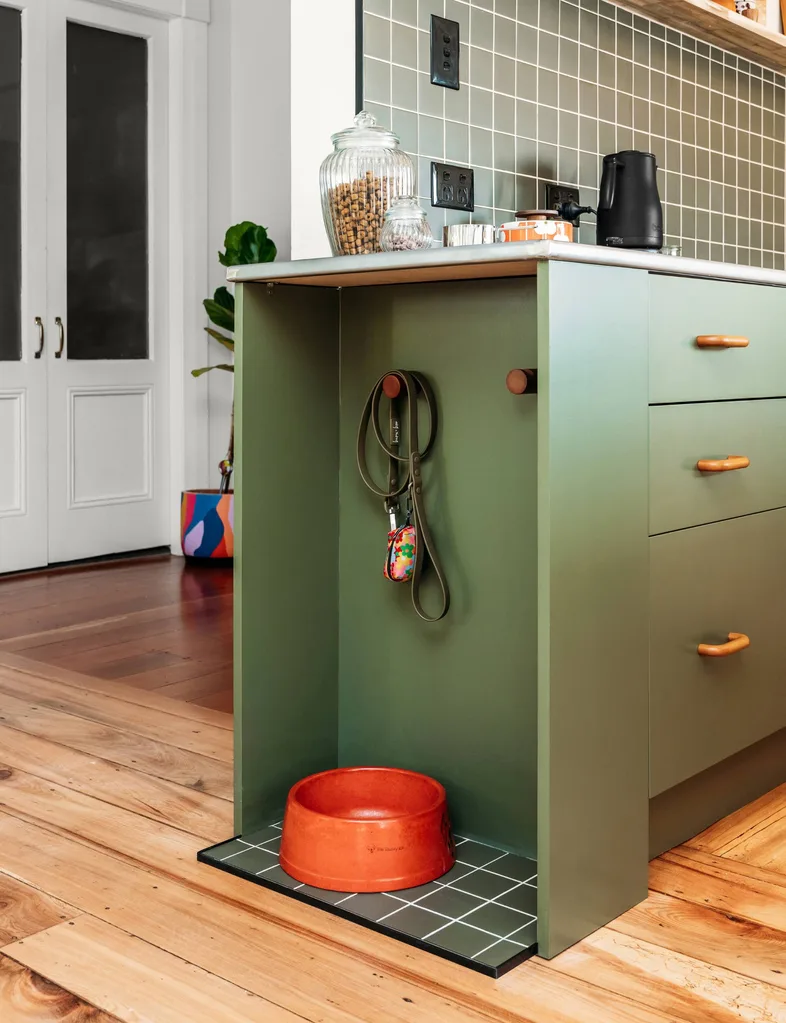
Our pets are a part of the family too, so it’s fitting that they get their own seat at the table. This DIY dog-feeding station is a weekend task that’ll pay off for every member of the house. I used an area at the end of our bench that originally had shelves. You might be starting with a cupboard under a bench, in which case the cupboard door needs to be removed and your base will be slightly raised, but the same process will apply.
Materials and tools
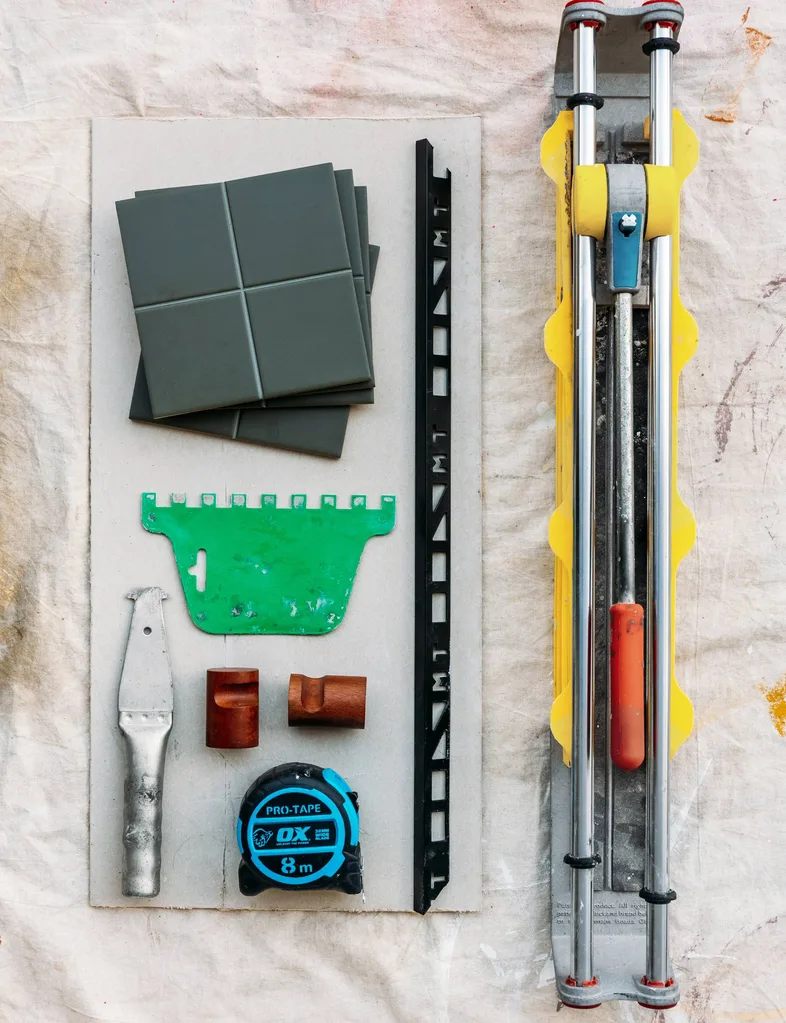
- Tile cutter
- Pre-mixed tile glue
- Pre-mixed tile grout
- Tiles of your choice
- Tile spacers
- Metal tile edging (optional)
- Grouting trowel
- Sponge
- Backing board (optional)
- Tape measure
- Hooks
- Drill to install hooks
8 steps to DIY a dog-feeding station

Start by measuring the area and cutting a piece of tile backer to fit that space. If you are using the base of a cupboard, this step is not necessary. To cut tile backer, simply score it and snap it. Next, measure and cut the tiles. TIP Start the centre of your first tile in the middle of the area and work your way out, so you end up with even cuts on each side/end (rather than having all the cut pieces at one end). This helps things to look symmetrical when done and makes for a better finish.
I used a manual tile cutter that uses a score-and-snap method. This is a great way to start as you don’t need any power tools. Alternatively, if this is your first tile project, use small mosaic tiles that can be spread out to fit the space without any cutting.

Measure and cut the tile edging using a hacksaw. This is also an optional step, but it does produce a good finish. I have used metal edging, but you can use plastic edging that can be cut with a sharp knife.

To fix the tiles in place, use pre-mixed tile glue. With a 10mm notched trowel, spread the glue across either the base of the cupboard or the tile backer.

Push/fit the tile edging into place. It can be helpful to tape the corners using painter’s tape to hold it in position until the glue dries. Next, start placing the tiles. Remember to start by laying your centre tile first and working your way out.

Use 1.5mm tile spacers to make sure all the gaps between the tiles are the same. Allow the glue to dry completely.

While the glue is drying, I measured and fitted the hooks.

Once the glue is dry, remove the spacers. It is time to grout. Use a rubber tile trowel to place and spread the grout across all the joins/gaps. Buy pre-mixed grout if this is your first project. It is less messy and you don’t need to worry about getting consistent colour as it has been mixed for you. Allow to dry for about 15-30 minutes, then with a wet sponge, wipe the excess grout off the tiles. If it is coming out of the joints, it is not dry enough and you need to wait longer. You are not aiming to get all the grout residue off, just the excess.

Once it is completely dry, the “grout haze” needs to be removed. This may be the next day and can be done with either a wet or dry sponge.
If you used white tiles with black grout, for example, sometimes it is very hard to get all the grout haze off; if this happens, you can buy a grout haze cleaner spray that can be wiped off with a wet sponge.
Read more:
- A horticulturist’s guide to pet-friendly indoor plants
- DIY origami Easter bunnies
- DIY: How to create a circus-themed room

Related stories
DIY: How to paint statement doors
Native ad body.

Native ad body.