 Photography: Abbie Melle
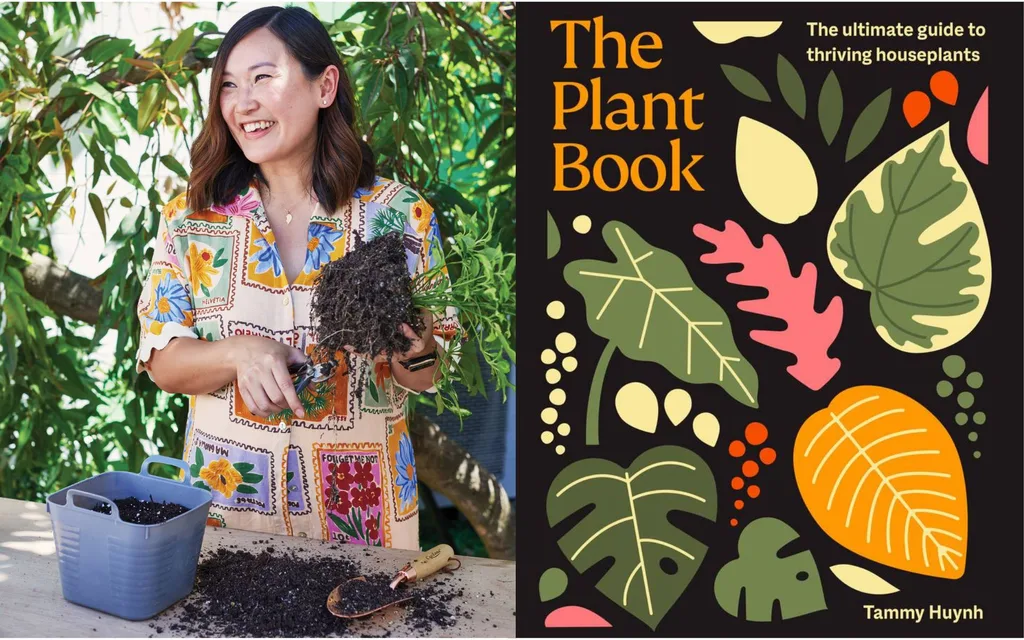
The following is an edited extract from The Plant Book: The ultimate guide to thriving houseplants by Tammy Huynh
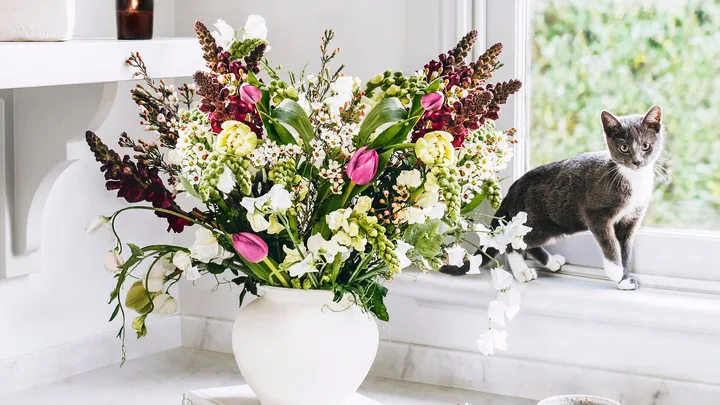
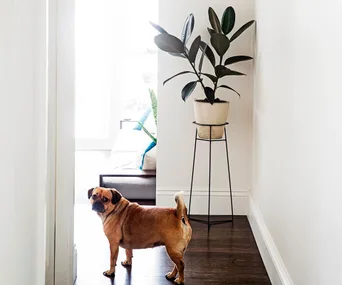
Some plants are toxic for our furry friends, who are often curious and like to play with or nibble on leaves. It’s important to research and choose varieties that are safe for animals. Always check for pet safety before bringing new plants home. If you have your heart set on plants that are considered toxic to pets, then it’s a good idea to position them out of reach, such as on high shelves, in hanging planters or within enclosed terrariums.

Fern leaf cactus
Epiphyllum chrysocardium (syn. Selenicereus chrysocardium )
Care: Low maintenance
Pet friendly: Yes
Light: Bright, indirect light
This is such a beautiful plant, don’t you think?
The fern leaf cactus looks similar to the fishbone cactus, but its broader, lush, flattened stems (cladodes) give it a softer appearance. As it grows, it spills wildly out of the pot. This quality makes it fabulous for imparting a tropical feel to indoor spaces. It’s a jungle cactus that grows as an epiphyte in the crooks of trees in its native Mexico. Unlike its desert cousins, it thrives in lower light, making it an excellent houseplant.
However, it won’t handle prolonged dry conditions, so be sure not to neglect its watering needs. The fern leaf cactus can produce large white or pale pink blooms, but they are rarely seen in an indoor setting. If you want to encourage this, then it’s best to position the plant outside.
When keeping it indoors, place the fern leaf cactus on a shelf or hang it from the ceiling to add a sculptural element to your vertical space and so you can fully enjoy its free-flowing, luscious stems. If the full-sized plant is too big for your shelf space, then you can simply grow cuttings in decorative vases or recycled jars. You can also mount a fern leaf cactus onto a board using sphagnum moss, but be aware that you’ll need to water it more often because moss dries out more quickly than potting mix. It makes for an intriguing display, though.
The dirt on the fern leaf cactus
Light: The fern leaf cactus thrives in bright, indirect light. A few hours of direct sun in the morning is ideal, but it should be filtered for the remainder of the day.
Potting mix: Use a moist, well-drained potting mix, such as two parts premium potting mix blended with one part perlite and one part orchid bark.
Fertiliser: Apply a general-purpose controlled-release fertiliser at the beginning of spring, reapplying as directed. Alternatively, once a month from spring to late summer, apply a liquid fertiliser that has been diluted to half strength.
Water: Water when the top 2.5–5 centimetres of potting mix is dry.
Humidity: The fern leaf cactus can tolerate the standard level of humidity found in most homes. It will appreciate a little more humidity if you can manage it, but it’s not necessary. To maintain a stable environment, it’s best to avoid placing the plant near draughts or air-conditioning vents.
Common problems of the fern leaf cactus
Surprisingly, this plant doesn’t seem to be plagued with problems. Overwatering or incorrect potting mix may lead to issues with root rot, but provided you use a moist, well drained potting mix and only water when it’s nearly dry, then your plant will be pretty happy.
Growing tips: Propagate your fern leaf cactus Whether your fern leaf cactus has grown too large and needs a haircut, or it’s looking a little bald at the top, propagation is a simple and rewarding way to rejuvenate your plant or to expand your cacti collection. Grab a sharp pair of secateurs, then follow these step-by-step instructions:
- Allow the potting mix to nearly dry out between waterings. Roots should form within four to six weeks.
- Take a 7–10-centimetre cutting from the end of a stem (cladode).
- Allow the cutting to callous over by placing it in a cool, dry spot for a couple of days.
- Fill a small pot or tray with a suitable potting mix (such as a cacti and succulent mix), and insert the cut end.
- Water in well, then position the pot in a warm, brightly lit spot out of direct sun.

Moth orchids
Phalaenopsis spp.
Care: Medium maintenance
Pet friendly: Yes
Light: Bright, indirect light
There are thousands of moth orchid hybrid cultivars, and the extensive breeding within this genus has led to a vast array of different flower colours, patterns and sizes. They’re readily available at nurseries, garden centres, supermarkets and florists, and their flowers look fabulous. So, they make excellent gifts for friends, family members and acquaintances. Plus, the flowers last for a while – often months – providing beauty and interest for an extended period of time.
Unfortunately, once the flowers fade, many moth orchids are discarded or neglected. Unbeknown to their owners, with the right care these orchids can produce stunning blooms again, and they’ll continue to do so for many years to come. The common name comes from the appearance of the flowers, which are said to resemble moths in flight. Despite being easily startled by flying insects, I’m certainly happy to be surrounded by these ‘moths’.
Moth orchid species are native to several regions in Asia and Australia, where they grow in warm, humid and tropical environments, often as epiphytes on trees or as lithophytes on rocks. They use their roots to anchor themselves and also to absorb moisture and nutrients from the air, rain or surrounding surfaces. Thankfully, they’ve adapted to most home environments, without the need to be mounted onto a tree or rock.
All the dirt on moth orchids
Light: Moth orchids need a brightly lit position to thrive, especially if you want to encourage flowering. Don’t place them in direct sun, otherwise the foliage will burn, and avoid low-light rooms.
Potting mix: Use sphagnum moss or orchid bark. Sphagnum moss can hold a significant amount of water, ensuring that there is consistent moisture for the roots, but its loose structure also allows for good air circulation around the roots.
Fertiliser: Feed regularly with an orchid-specific fertiliser when the leaves and flowers are actively growing.
Water: Insert your finger 2.5–5 centimetres into the growing medium, and feel if it’s moist or dry before watering. Moth orchids can be watered with tap water, rainwater or distilled water. If your orchid is sitting in a decorative outer pot, it’s best to remove it from the pot before watering. Take it over to the sink, run water over the growing medium and allow it to drain freely. Sit it in the sink for a few minutes to allow any excess water to drain before returning the plant to its outer pot. Reduce watering frequency in winter.
Humidity: Moth orchids thrive with 60–80 per cent humidity. Many people place their orchids in the bathroom, thinking it’s a high-humidity environment, but the humidity only increases during and a short
time after a shower. Dry leaf tips, wrinkled foliage or dropping buds are all signs that the humidity may be too low.
Growing tips: Encourage repeat flowering. Once the first flowers for the season have faded and dropped off, use a sharp pair of secateurs to cut the stem back to above the first node. Continue to care for the plant as usual, and this should encourage another flower stem to form. If the stem becomes straw-coloured or dries out, then cut it off at the base. Hopefully, this will encourage a healthy new flower stem to form.


Chinese money plant
Care: Low maintenance
Pet friendly: Yes
Light: Bright, indirect light I remember the obsession with this plant.
It was all over social media, and people were paying exorbitant prices for even the smallest specimens (myself included!). At the time, it was unlike anything we’d seen before in the plant world. Small to medium-sized, round, dark green, disc-like leaves perch on the ends of slender stems, which delicately emerge from a thin, corky trunk – like something out of a whimsical storybook. These days, you can find the Chinese money plant in most nurseries and garden centres at a reasonable price.
It can grow quite tall, reaching 50–60 centimetres, and often develops a bare stem with a lush crown of foliage, giving it a tree-like quality. However, it may not stay bare for long – the plant naturally produces little pups around its base. These pups can be either left to fill out the bottom of the mother plant or separated and replanted to create new plants. For this reason, it’s also known as the friendship plant or pass-it-on plant, as it’s easy to propagate and share with friends. Initially, the Chinese money plant makes an excellent desk specimen.
As it grows taller, however, it may be better on a plant stand or shelf where it won’t overwhelm the space. You may need to use a stake to keep it upright as it grows. Attach the plant loosely with a garden tie or piece of jute to avoid strangling it.
All the dirt on the Chinese money plant
Light: The Chinese money plant thrives in bright, indirect light or filtered light. Avoid placing it in direct sun because this can scorch the leaves. It won’t tolerate low light, which can result in poor growth, yellowing foliage and leaf drop.
Potting mix: Blend two parts premium potting mix with one part perlite to assist with drainage.
Fertiliser: Liquid feed regularly during the warmer months, or apply a controlled-release fertiliser at the beginning of spring, reapplying as directed.
Water: Water when the top 2.5–5 centimetres of potting mix is dry.
Humidity: Any humidity level will do, but if you ensure that it’s above 50 per cent, then the Chinese money plant will appreciate it. Keep it away from draughts, and group it with other plants to increase humidity.
Growing tips: Over time, the Chinese money plant may produce pups around its base. Once these reach around 10 centimetres in height, you can carefully separate them from the mother plant. Remove the mother plant from its pot, and gently tease the pups away.
If necessary, use a sharp pair of snips or secateurs to cut the roots. Pot the pups into small containers filled with a premium potting mix, and water them in well. Repot the mother plant back into its original pot with fresh potting mix.

African Violet
Streptocarpus ionanthus (syn. Saintpaulia ionantha)
Care: Medium maintenance
Pet friendly: Yes
Light: Bright, indirect light
The African violet deserves more love and attention. While it’s not big or showy, its small, fleshy, dark green leaves and sweet, delicate blooms in shades of pink, violet, blue and white brighten up any space. It’s the perfect plant for adding a touch of colour indoors with minimal effort. Once dismissed as an old-fashioned plant, the African violet is making a stylish comeback. Modern cultivars boast intricate ruffled edges, mottled foliage and multi-petal arrangements. With such variety and aesthetic appeal, the African violet is captivating indoor gardeners again.
Due to its compact size, it makes an excellent desk companion. Several plants can be grouped together to create a charming floral display. I’ve also seen African violets potted up in glass vessels that feature an inner pot sitting inside an outer pot. Essentially, the larger outside pot acts as a reservoir, while the smaller pot, filled with potting mix, has a wicking ribbon that draws moisture up as needed.
This set-up not only adds a modern, stylish touch to your decor but also makes caring for the plants quite easy. The self-watering system helps to maintain a consistent moisture level, reducing the risk of overwatering or underwatering. Plus, when watering from above, the leaves can become easily marked, so using this self-watering method helps to keep the foliage free from unsightly spots. This is especially important for the African violet, as its beautiful blooms and velvety leaves are best showcased without any blemishes.
All the dirt on the African violet
Light: The African violet grows best in bright, indirect light, such as on a windowsill behind a sheer curtain or tilted blinds. Be sure to keep it away from glass or reflective surfaces, as these can transmit heat or cold, which may stress the plant. If there is not enough light, the plant will not flower. Rotate the plant regularly to maintain symmetrical growth.
Potting mix: Use a potting mix created especially for African violets. You can make your own by blending two parts coco peat, one part premium potting mix and one part perlite.
Fertiliser: Feed regularly with a liquid fertiliser specially formulated for African violets. Dilute to half or quarter strength and apply every time you water.
Water: Water when the potting mix is nearly dry, being careful to avoid getting it on the leaves, as this can cause unsightly brown marks to appear. To prevent this, gently lift the leaves and use a narrow-spouted watering-can to deliver water directly to the base of the plant. Use room-temperature or slightly tepid water as cold water can shock and stress the roots.
Humidity: The African violet thrives in a slightly humid environment, ideally with around 60 per cent humidity. Keep the plant well away from draughts, heaters and air-conditioning vents, as it doesn’t tolerate cold air or dry conditions well. Maintaining an environment that is stable and warm will help to keep the plant happy and blooming.
Growing tips: Wick this way! A great tip I learned from African violet enthusiasts is to use a wicking system for watering. This technique involves utilising a synthetic cord to draw moisture from a water reservoir below the plant. The cord is inserted through the drainage hole in the pot, with one end in the potting mix and the other end submerged in the water below. This method ensures that the potting mix remains evenly moist without becoming waterlogged, reducing the risk of root rot and water splash on the leaves. It’s a great way to water, especially if you’re away from home for a week or more.
The Plant Book: The ultimate guide to thriving houseplants by Tammy Huynh is available to buy at Mighty Ape.
Read more:
- 13 common house plants that can be toxic to your pets
- Pretty deadly: Watch out for these toxic plants
- The best leafy indoor plants to bring the outdoors in