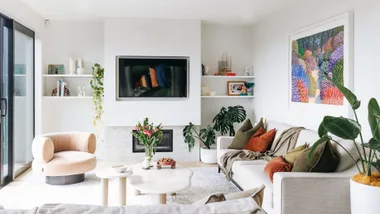
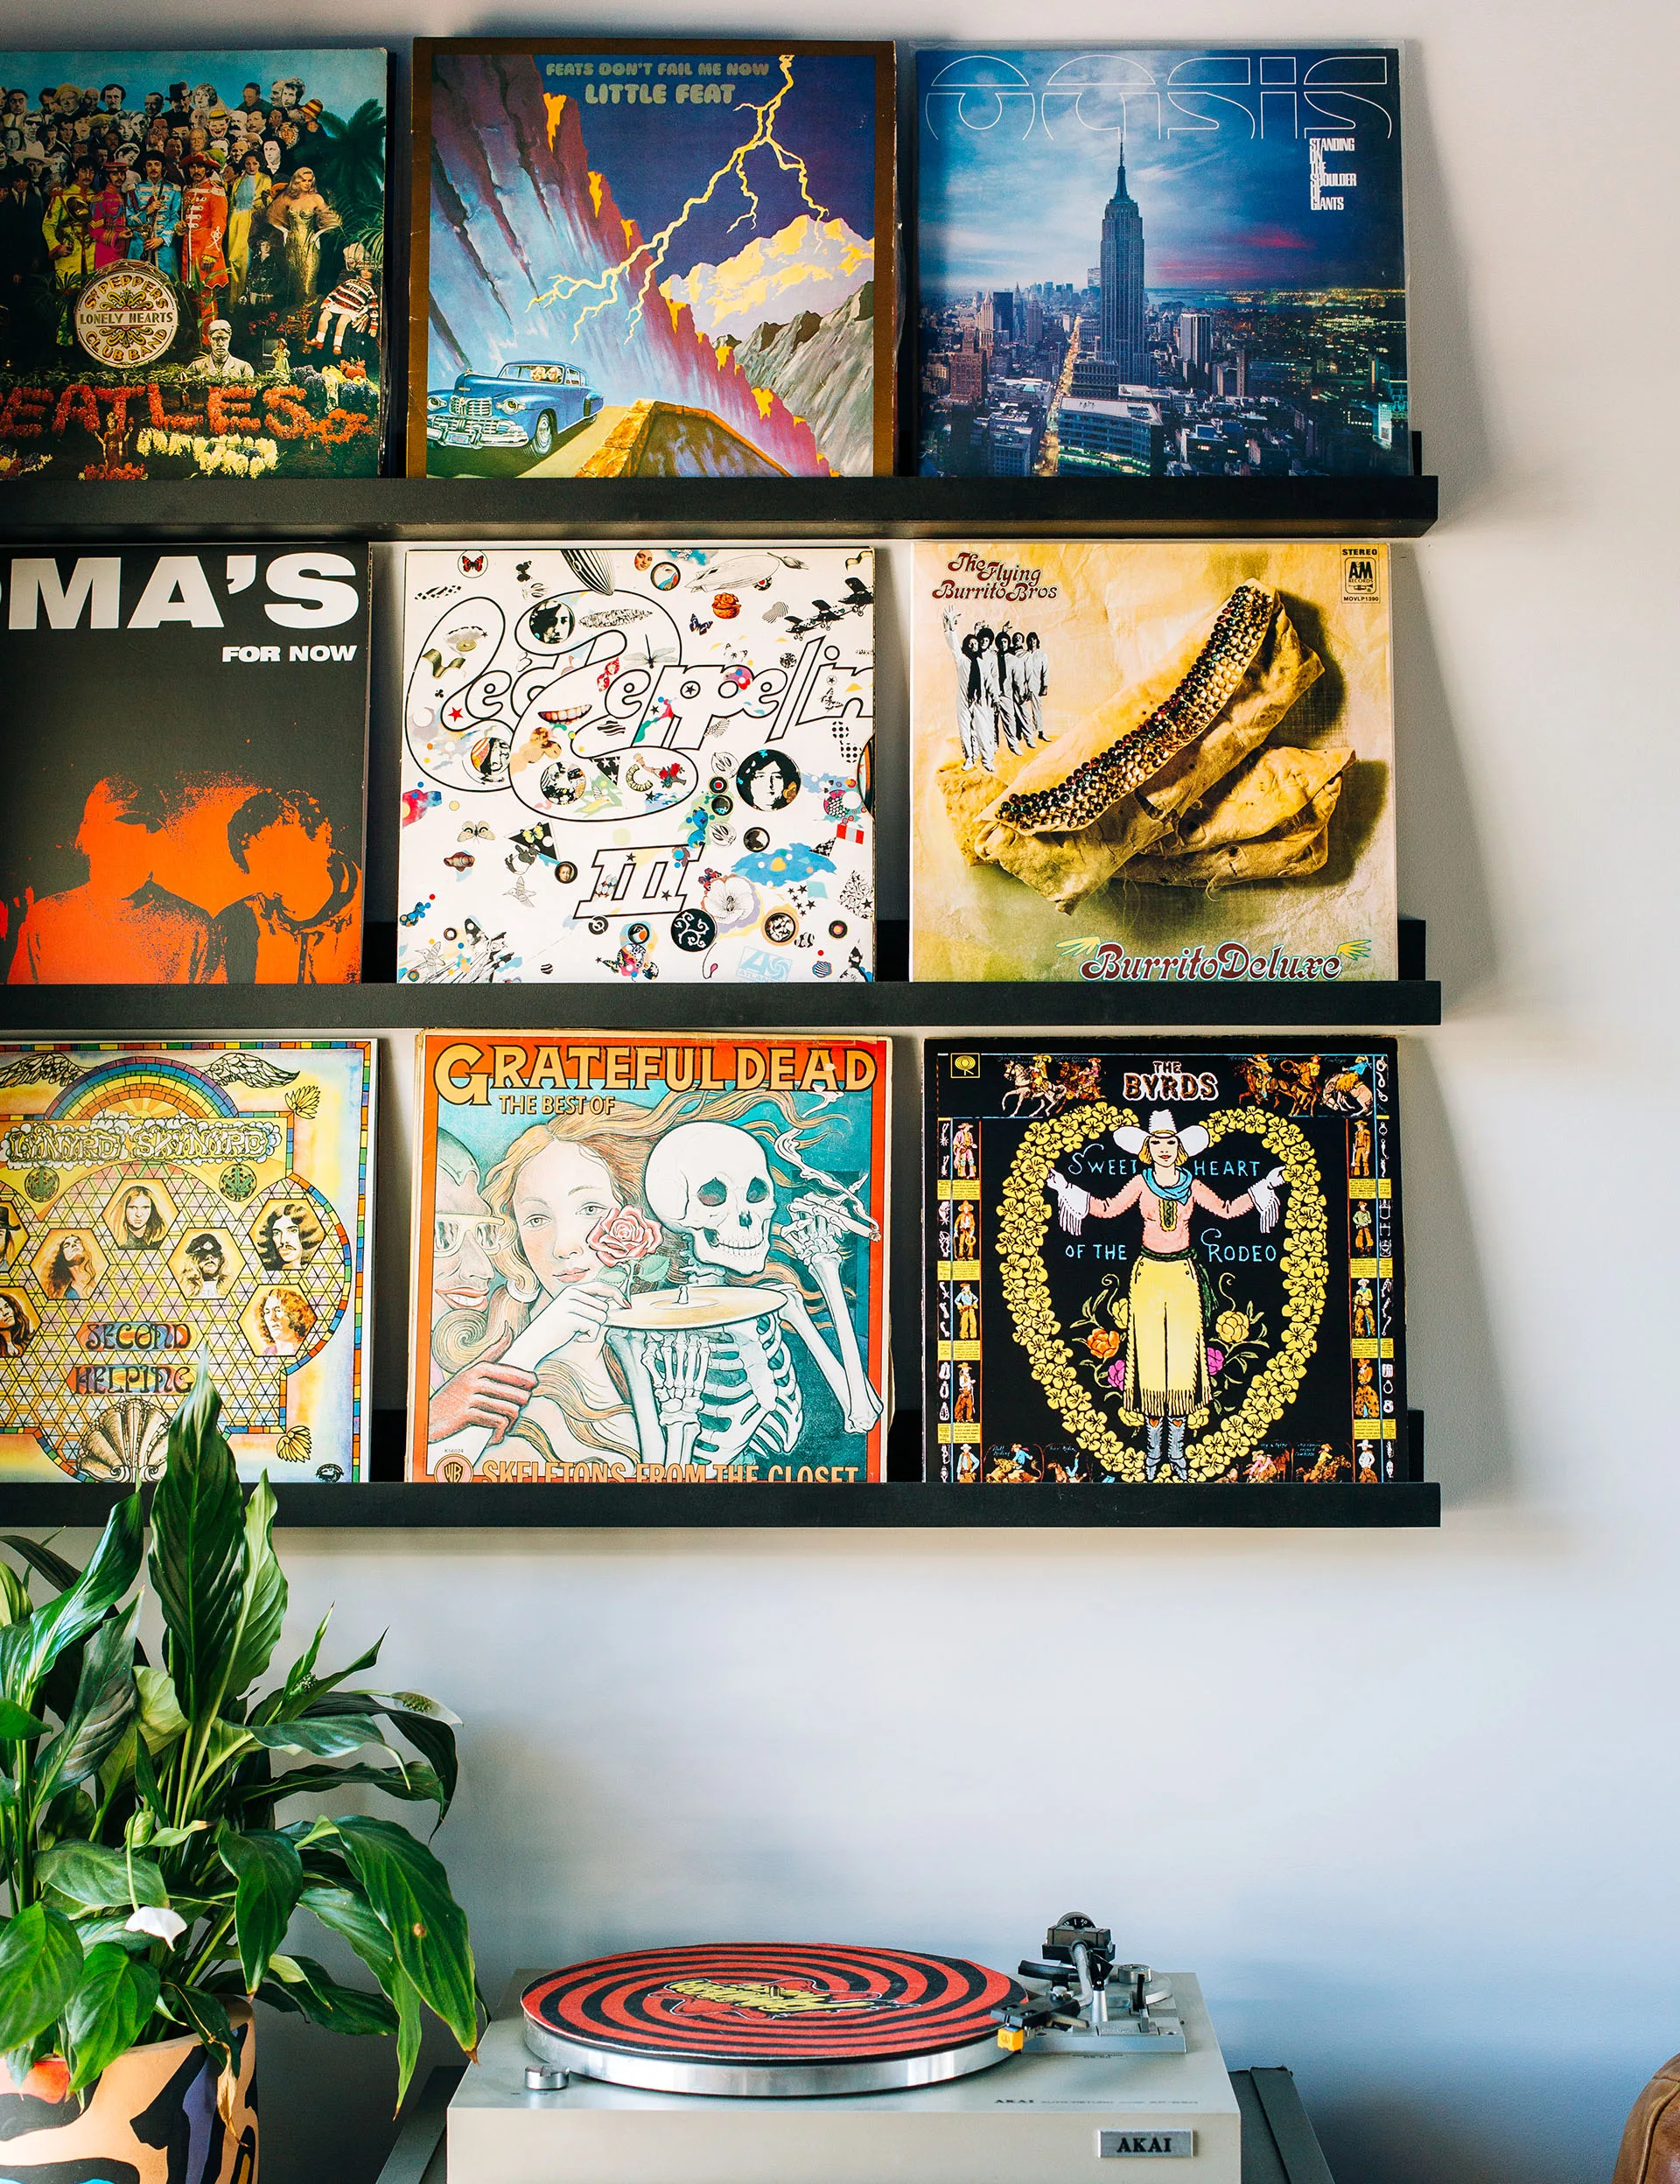
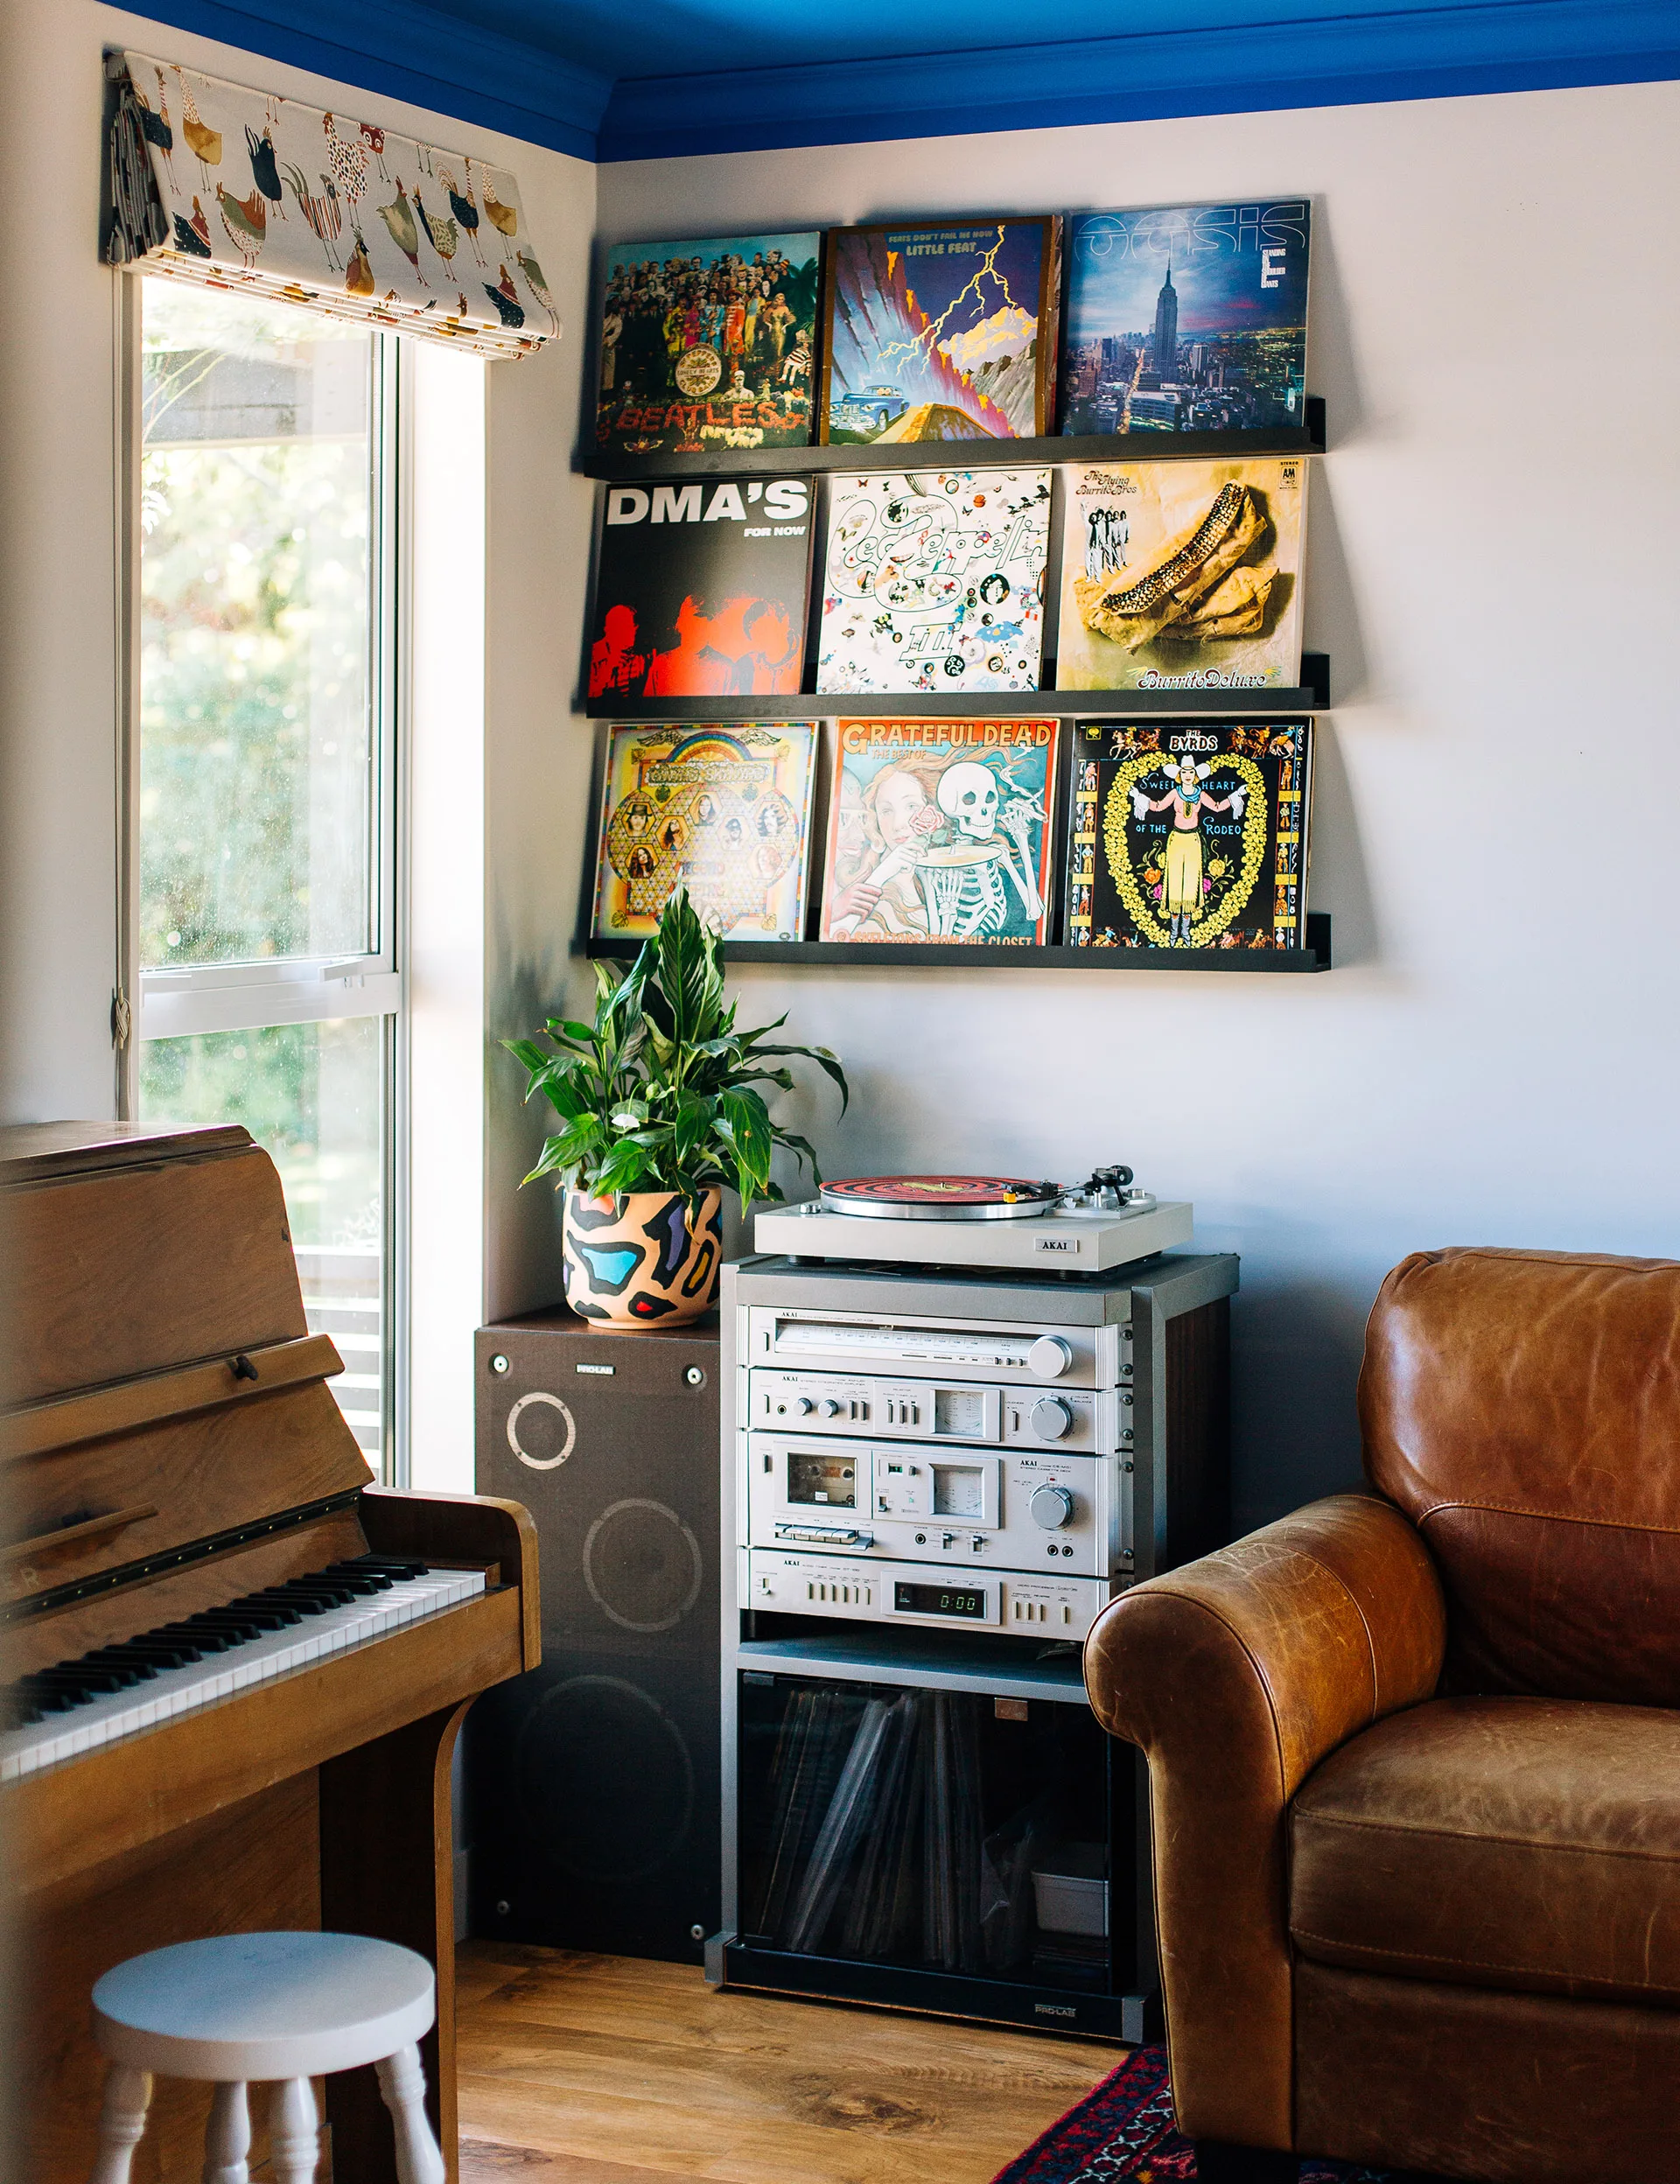
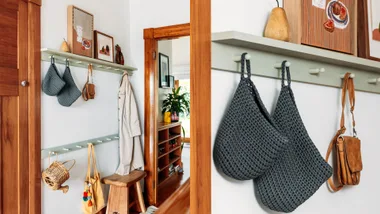
Our DIY expert Nikki Kettle rustles up some display shelving
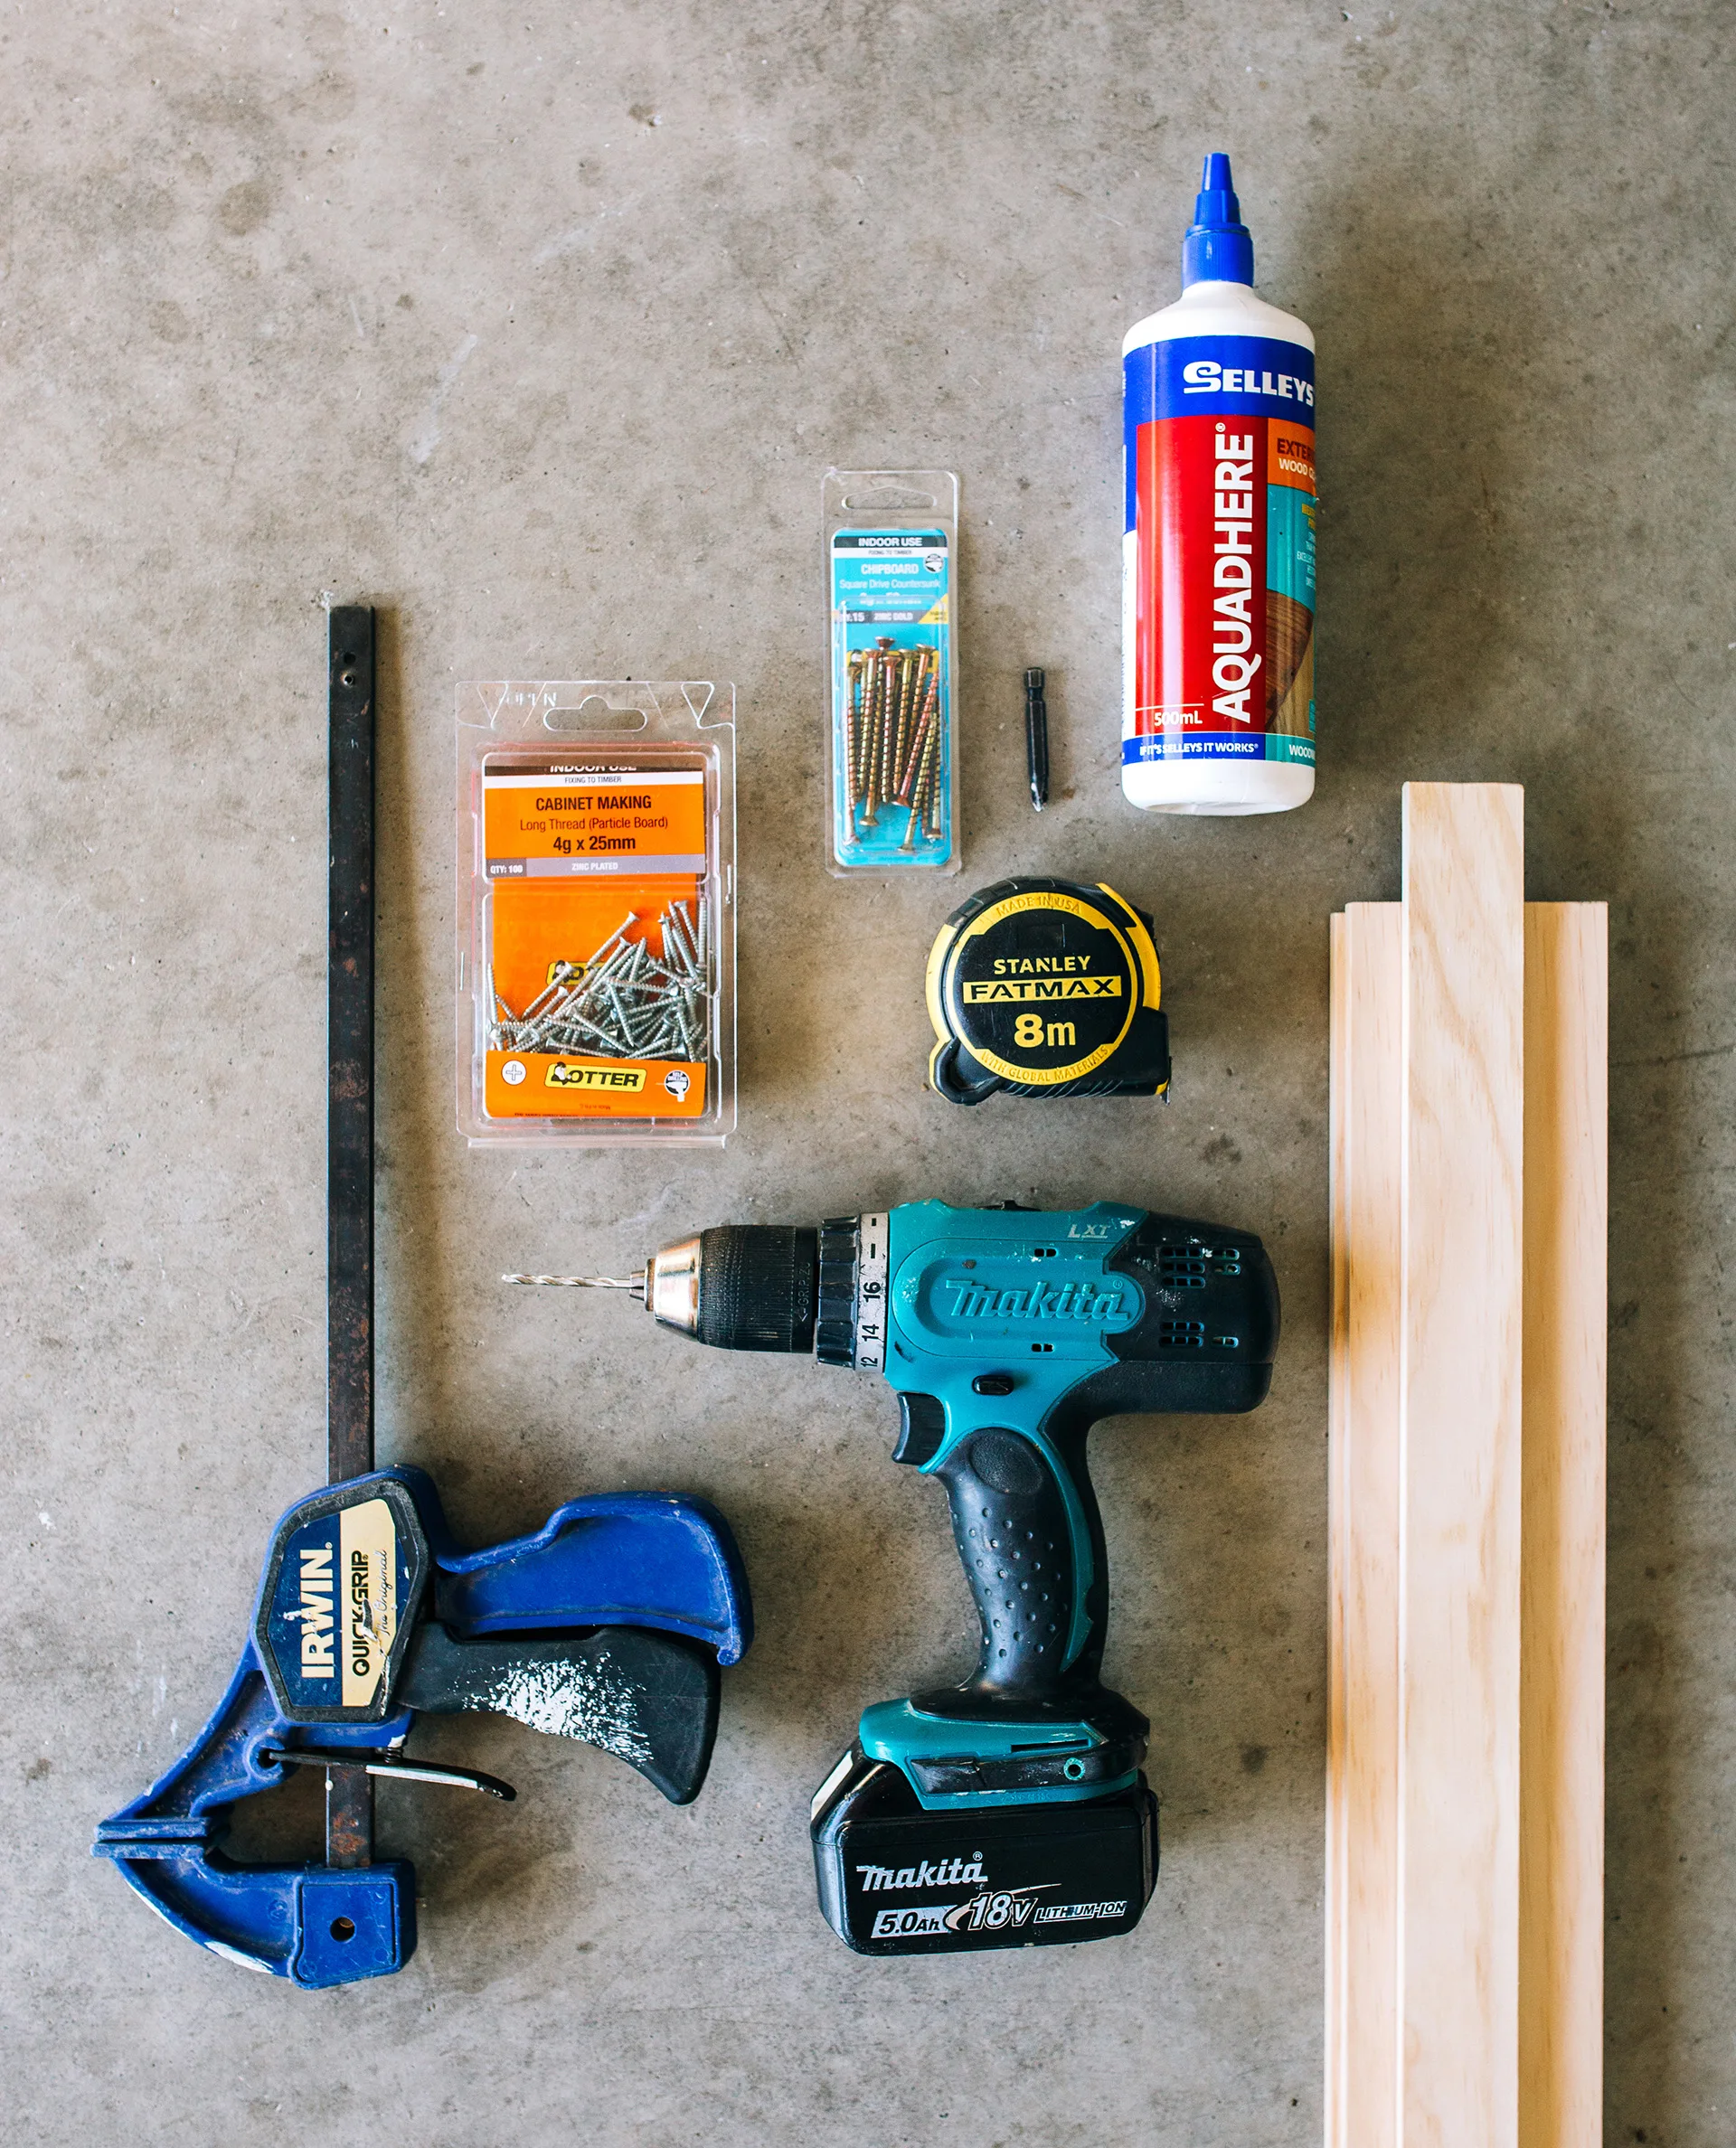
You will need
• Measuring tape
• Timber. I’ve used 90mm x 10mm pine for my shelf base and the same for the back upstand. I bought this off the rack at 1200mm long. Then, 40mm x 10mm for my upstand at the front
• Saw (unless timber is pre-cut)
• Drill
• Drill bits – 2mm to pre-drill the shelf together and 4mm to pre-drill into the stud
• Carpentry glue
• Clamps (optional)
• Screws (20mm to fix shelves together)
• Screws (40-50mm to fix completed shelves to the wall)
• Paint (or keep the natural timber look)
Before you start
Measure the space you’d like the shelves to go and the items you want to put on them. I made sure mine would fit three records side by side. These frames are deep enough for items to lean in, so if you are displaying frames you should be able to stack or stagger them in front of each other.
Think about what the shelves are going to be fixed to. I don’t like using wall plugs or anchors for things that are this heavy so you really want to find some studs.
Most studs are 600mm apart so if you make your shelf at least 1000mm you will get good fixing into two studs and have some room to wiggle to the desired position.
Because you are going into studs you want to make sure you aren’t going to screw into anything like electrical wires. Stay away from power points and plumbing – check both sides of the wall.
How to
1. Fix your front and back upstand to the base piece. To do this pre-drill five to six holes along the bottom face of the 40mm piece.
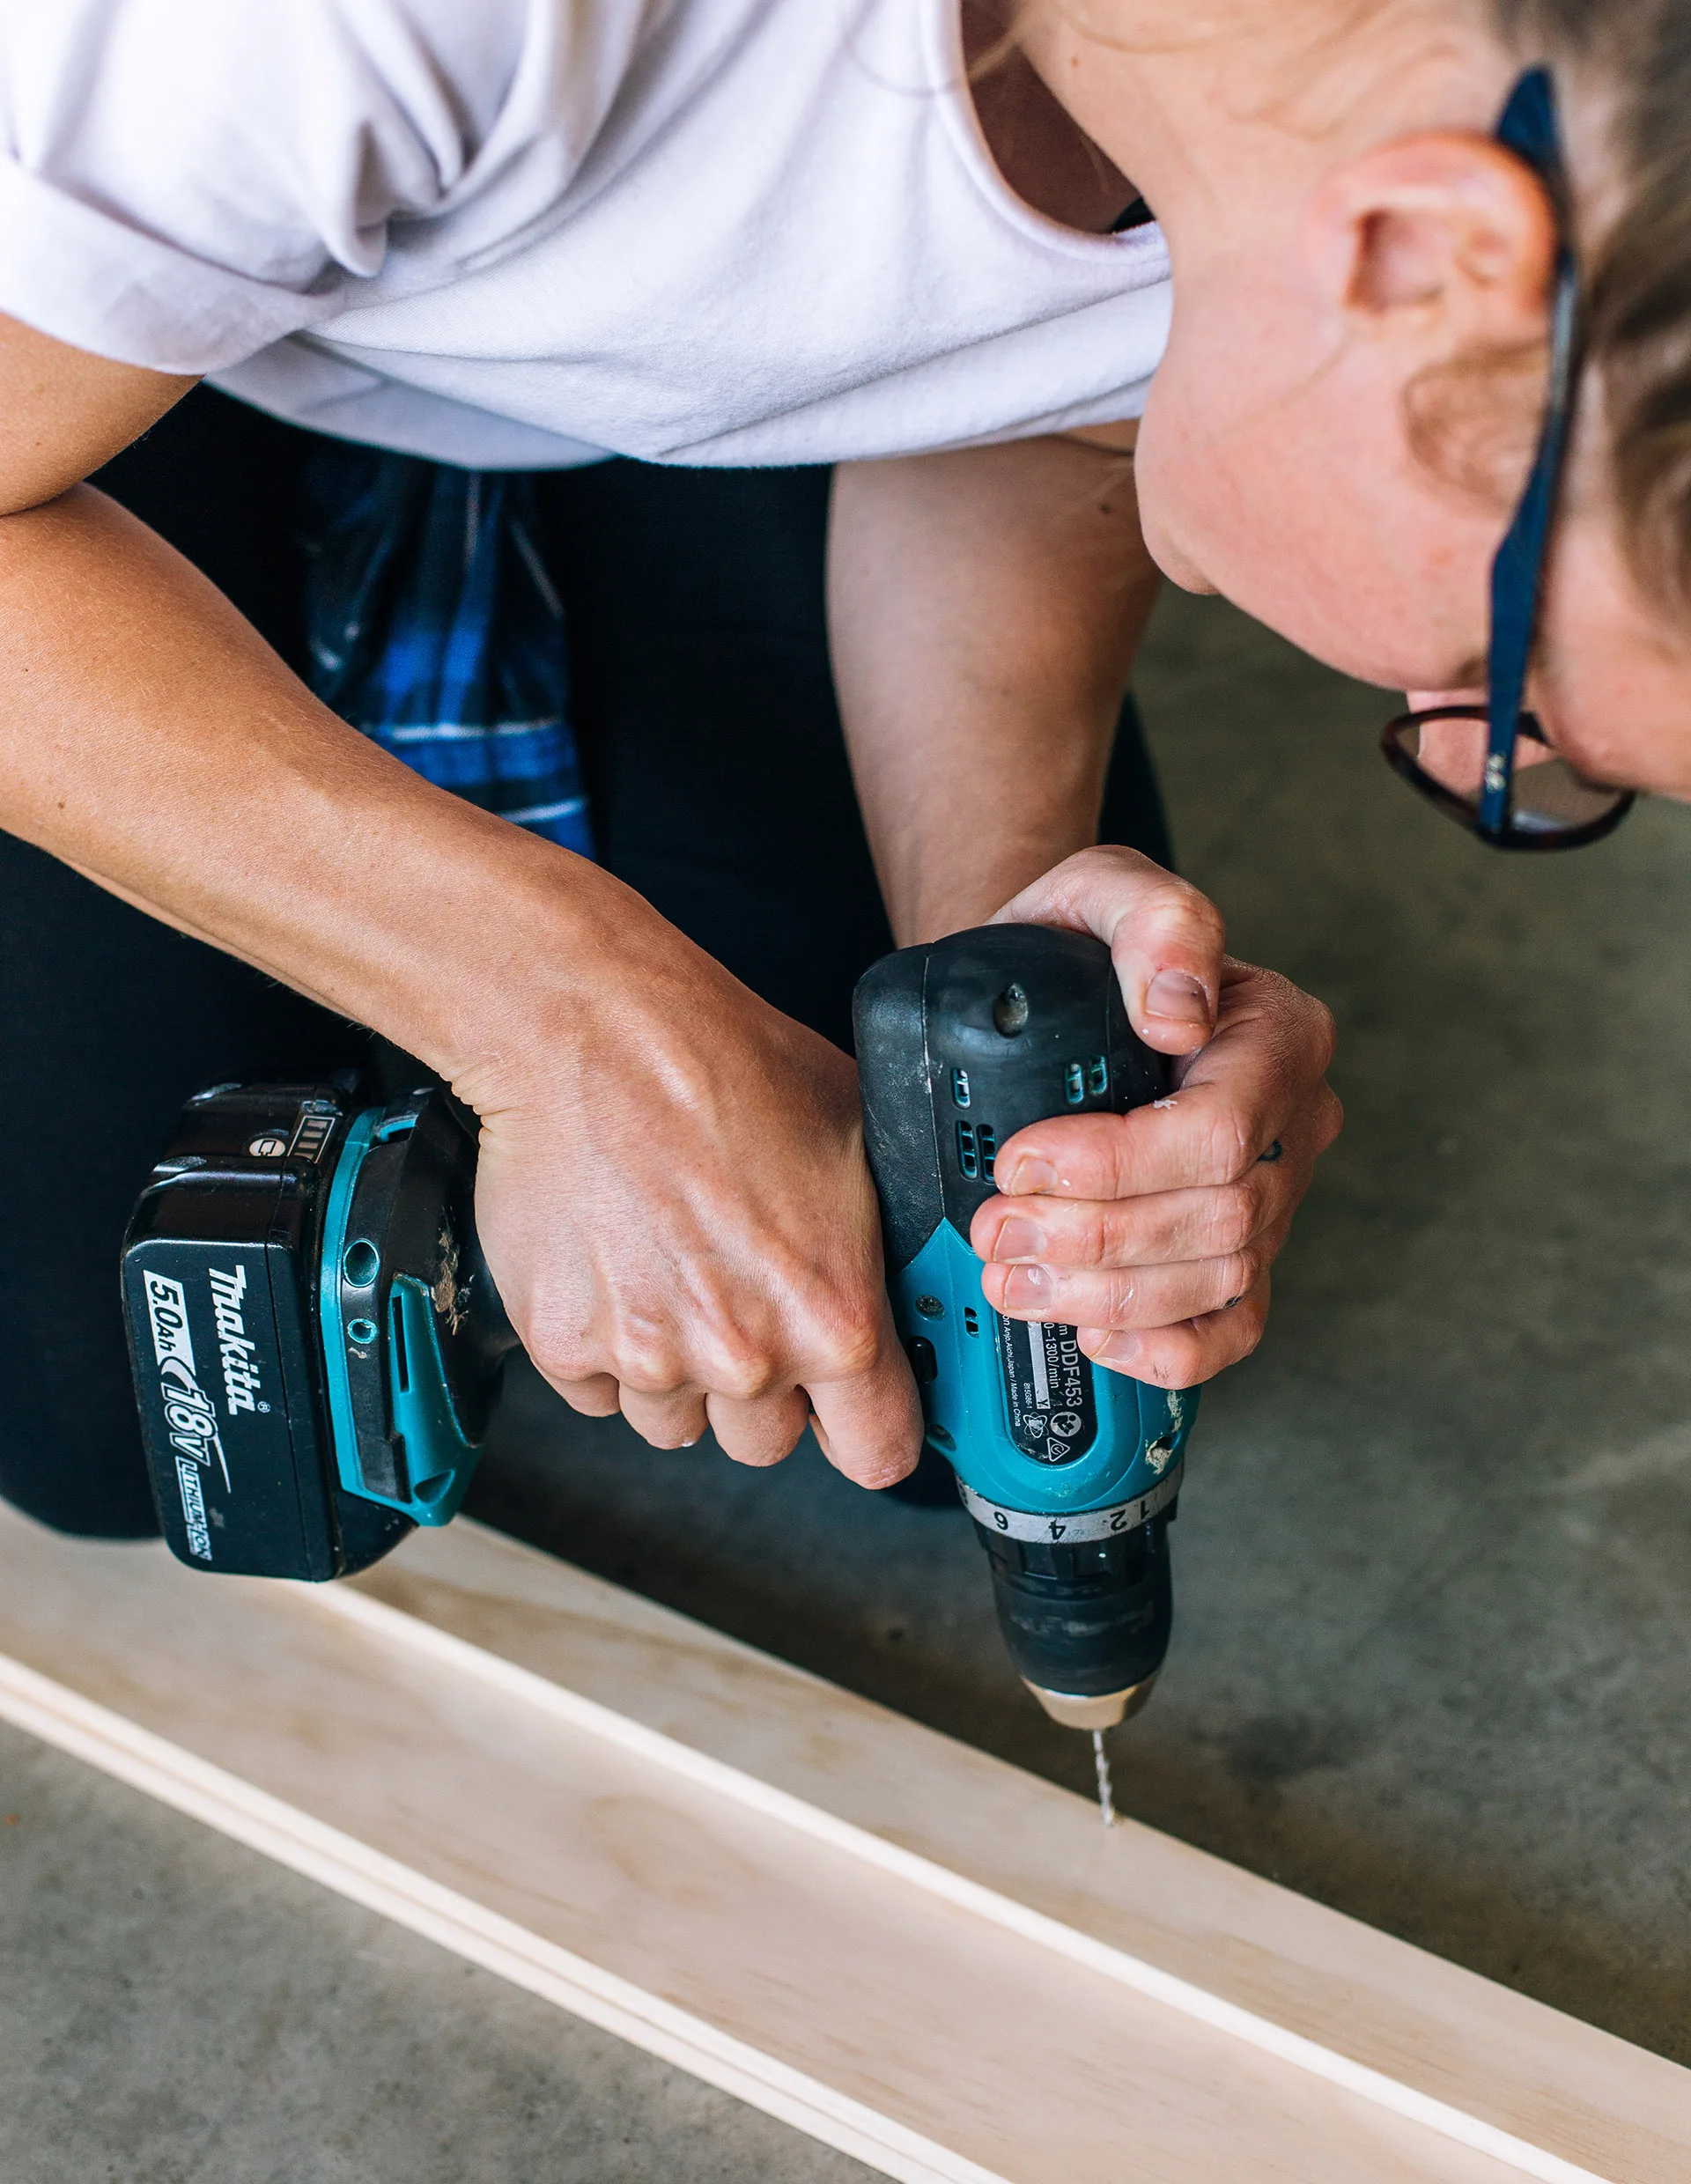
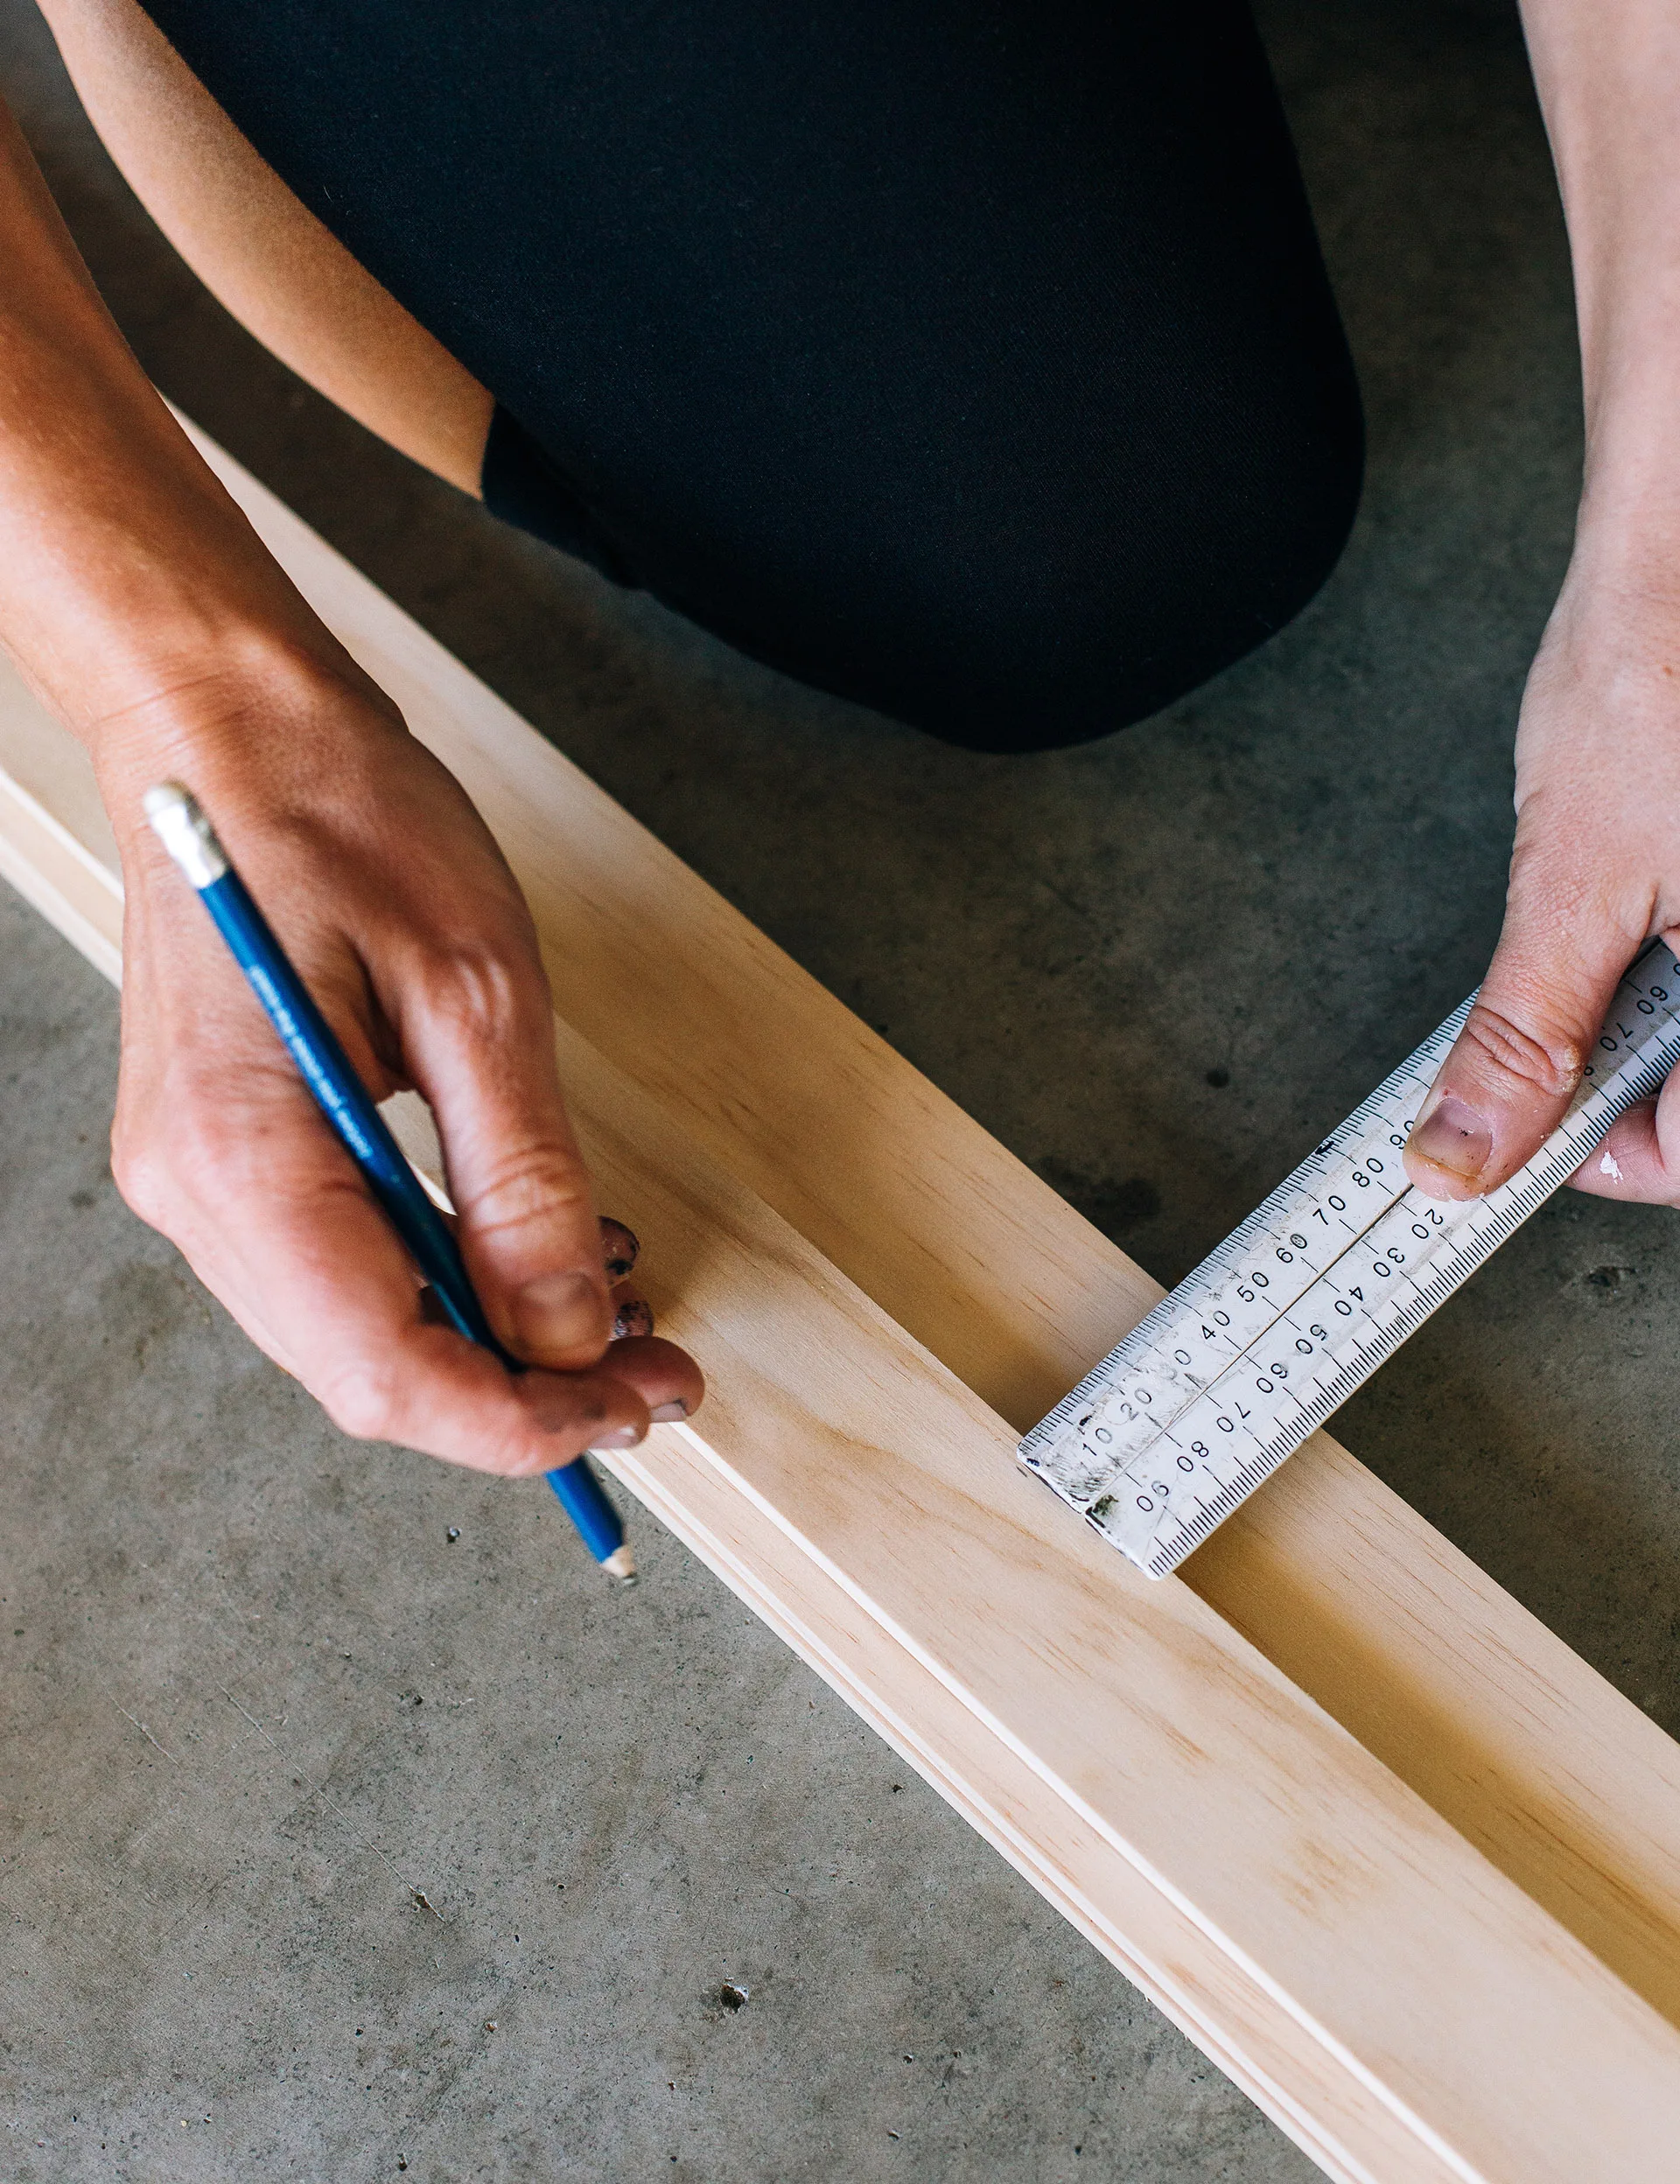
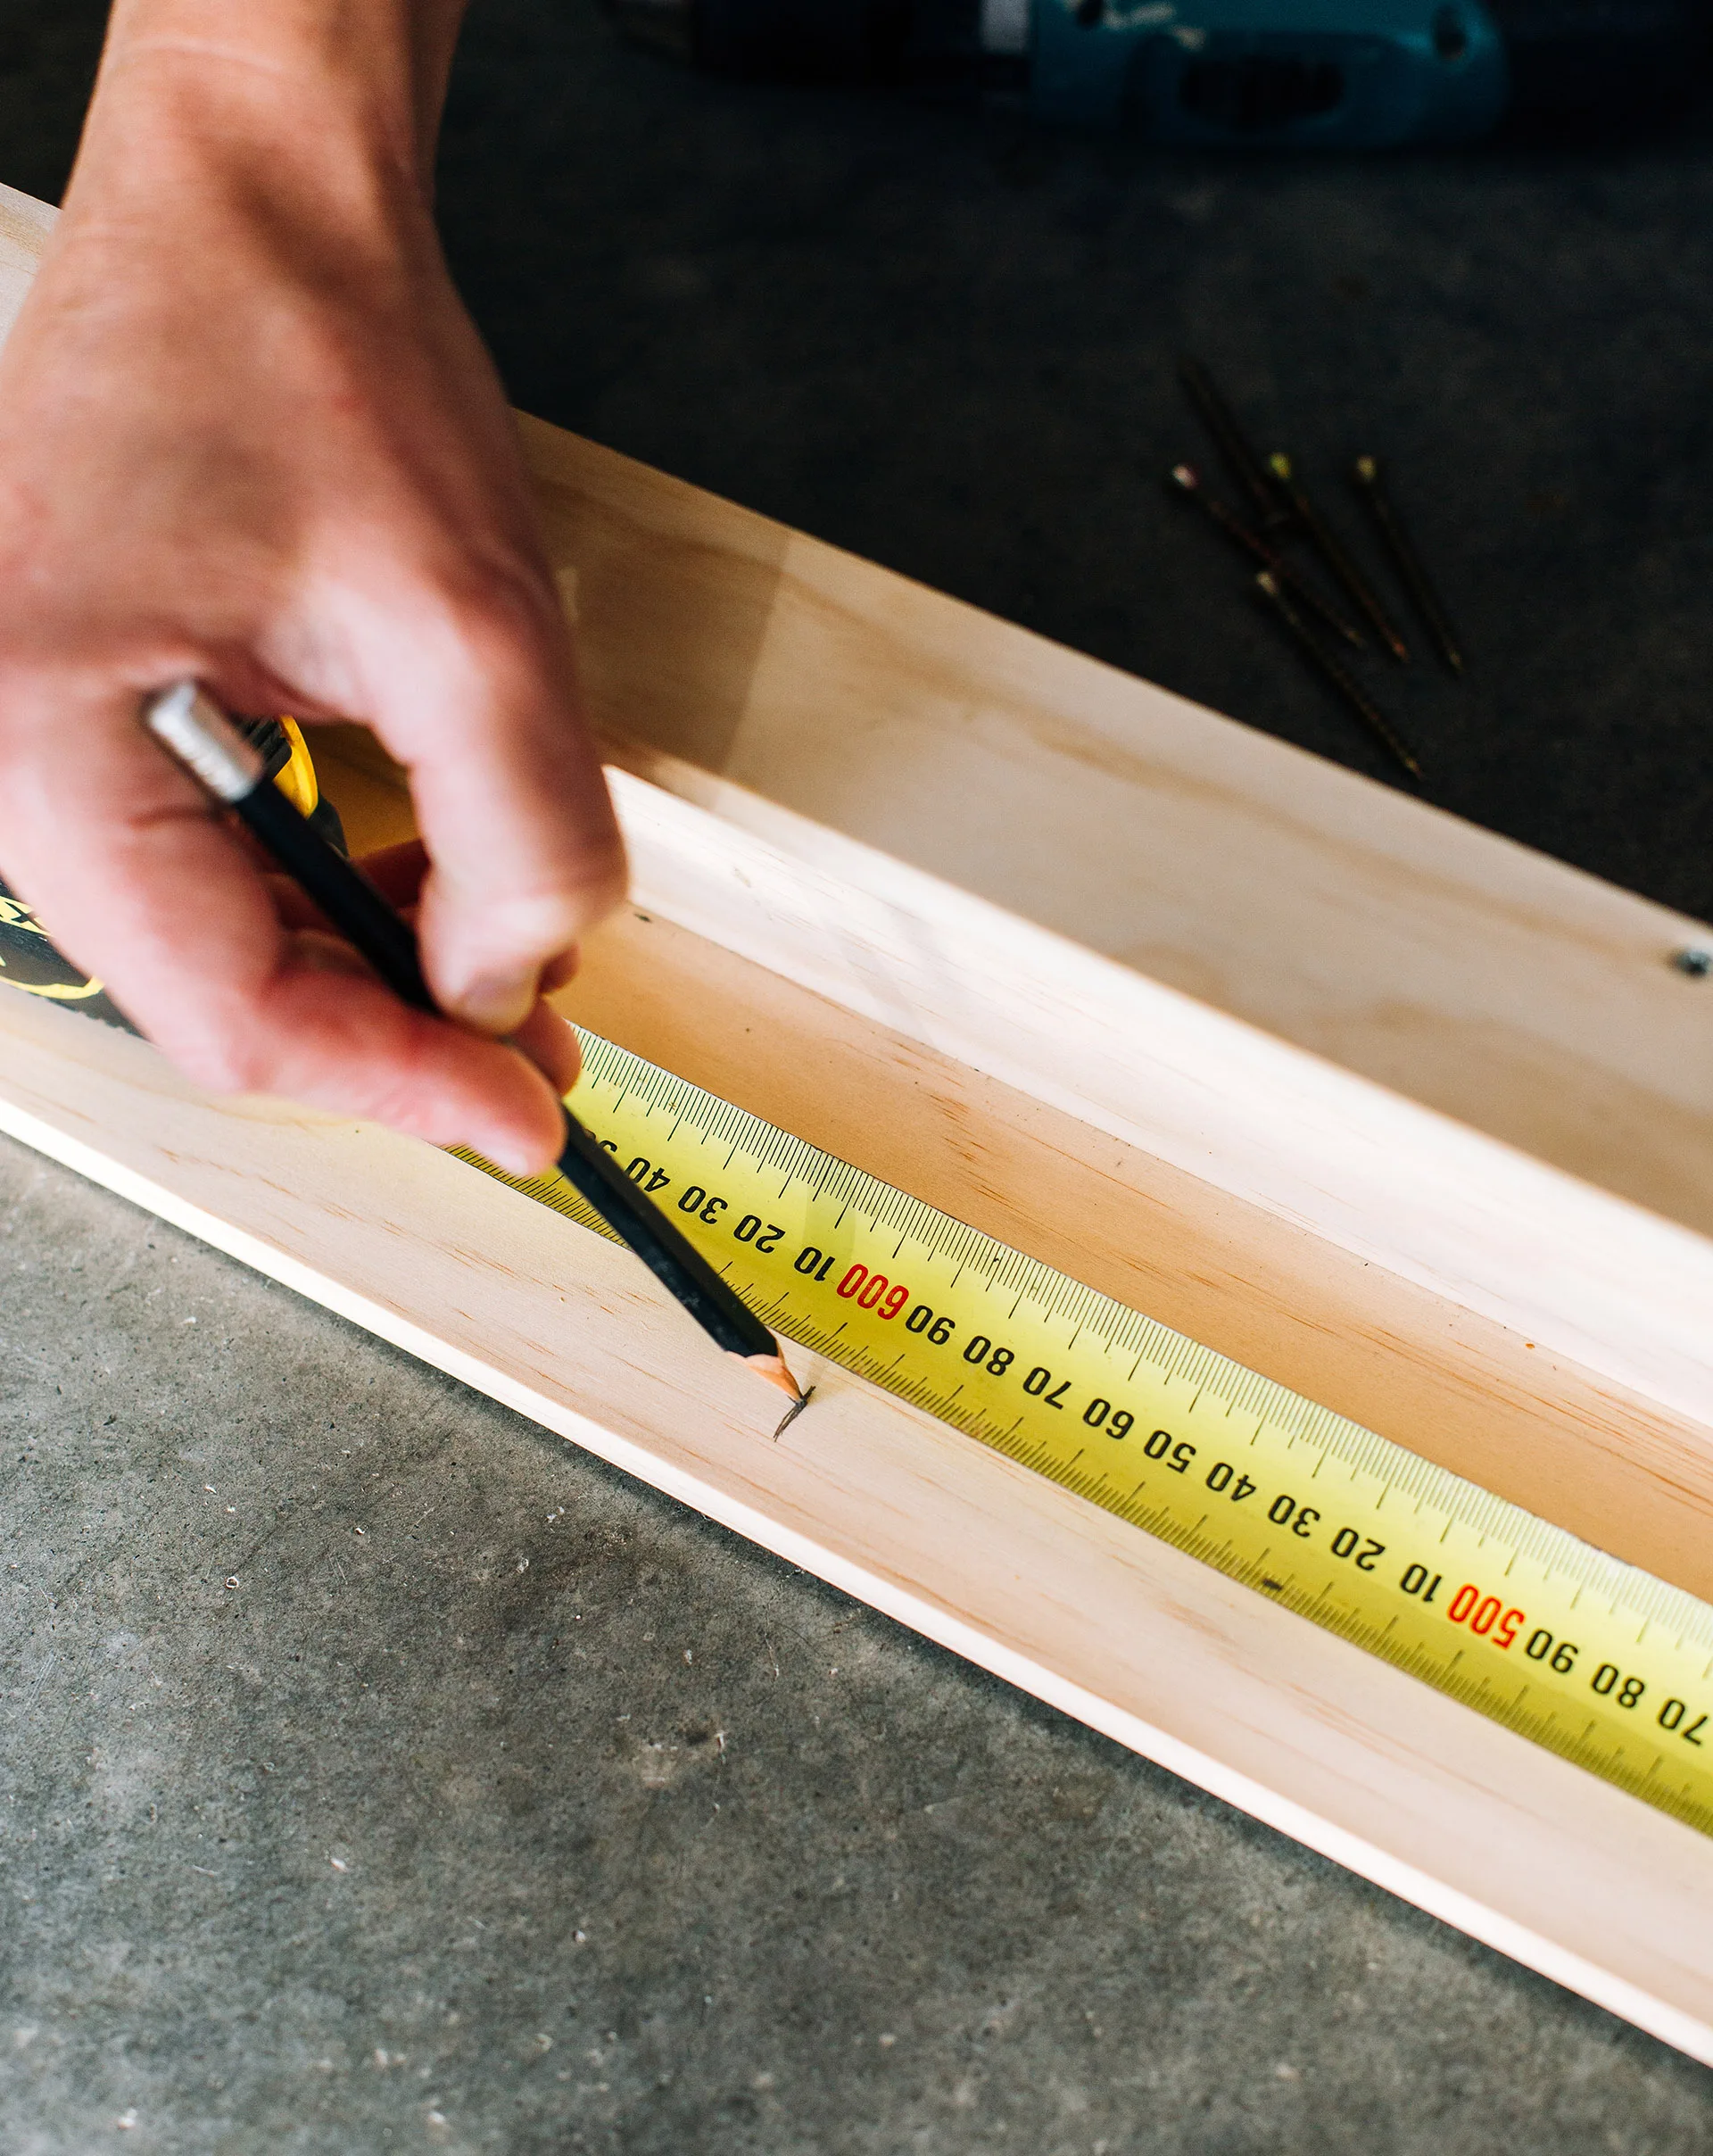
2. Measure up 4mm to find the centre of the timber, then drill a 2mm hole.
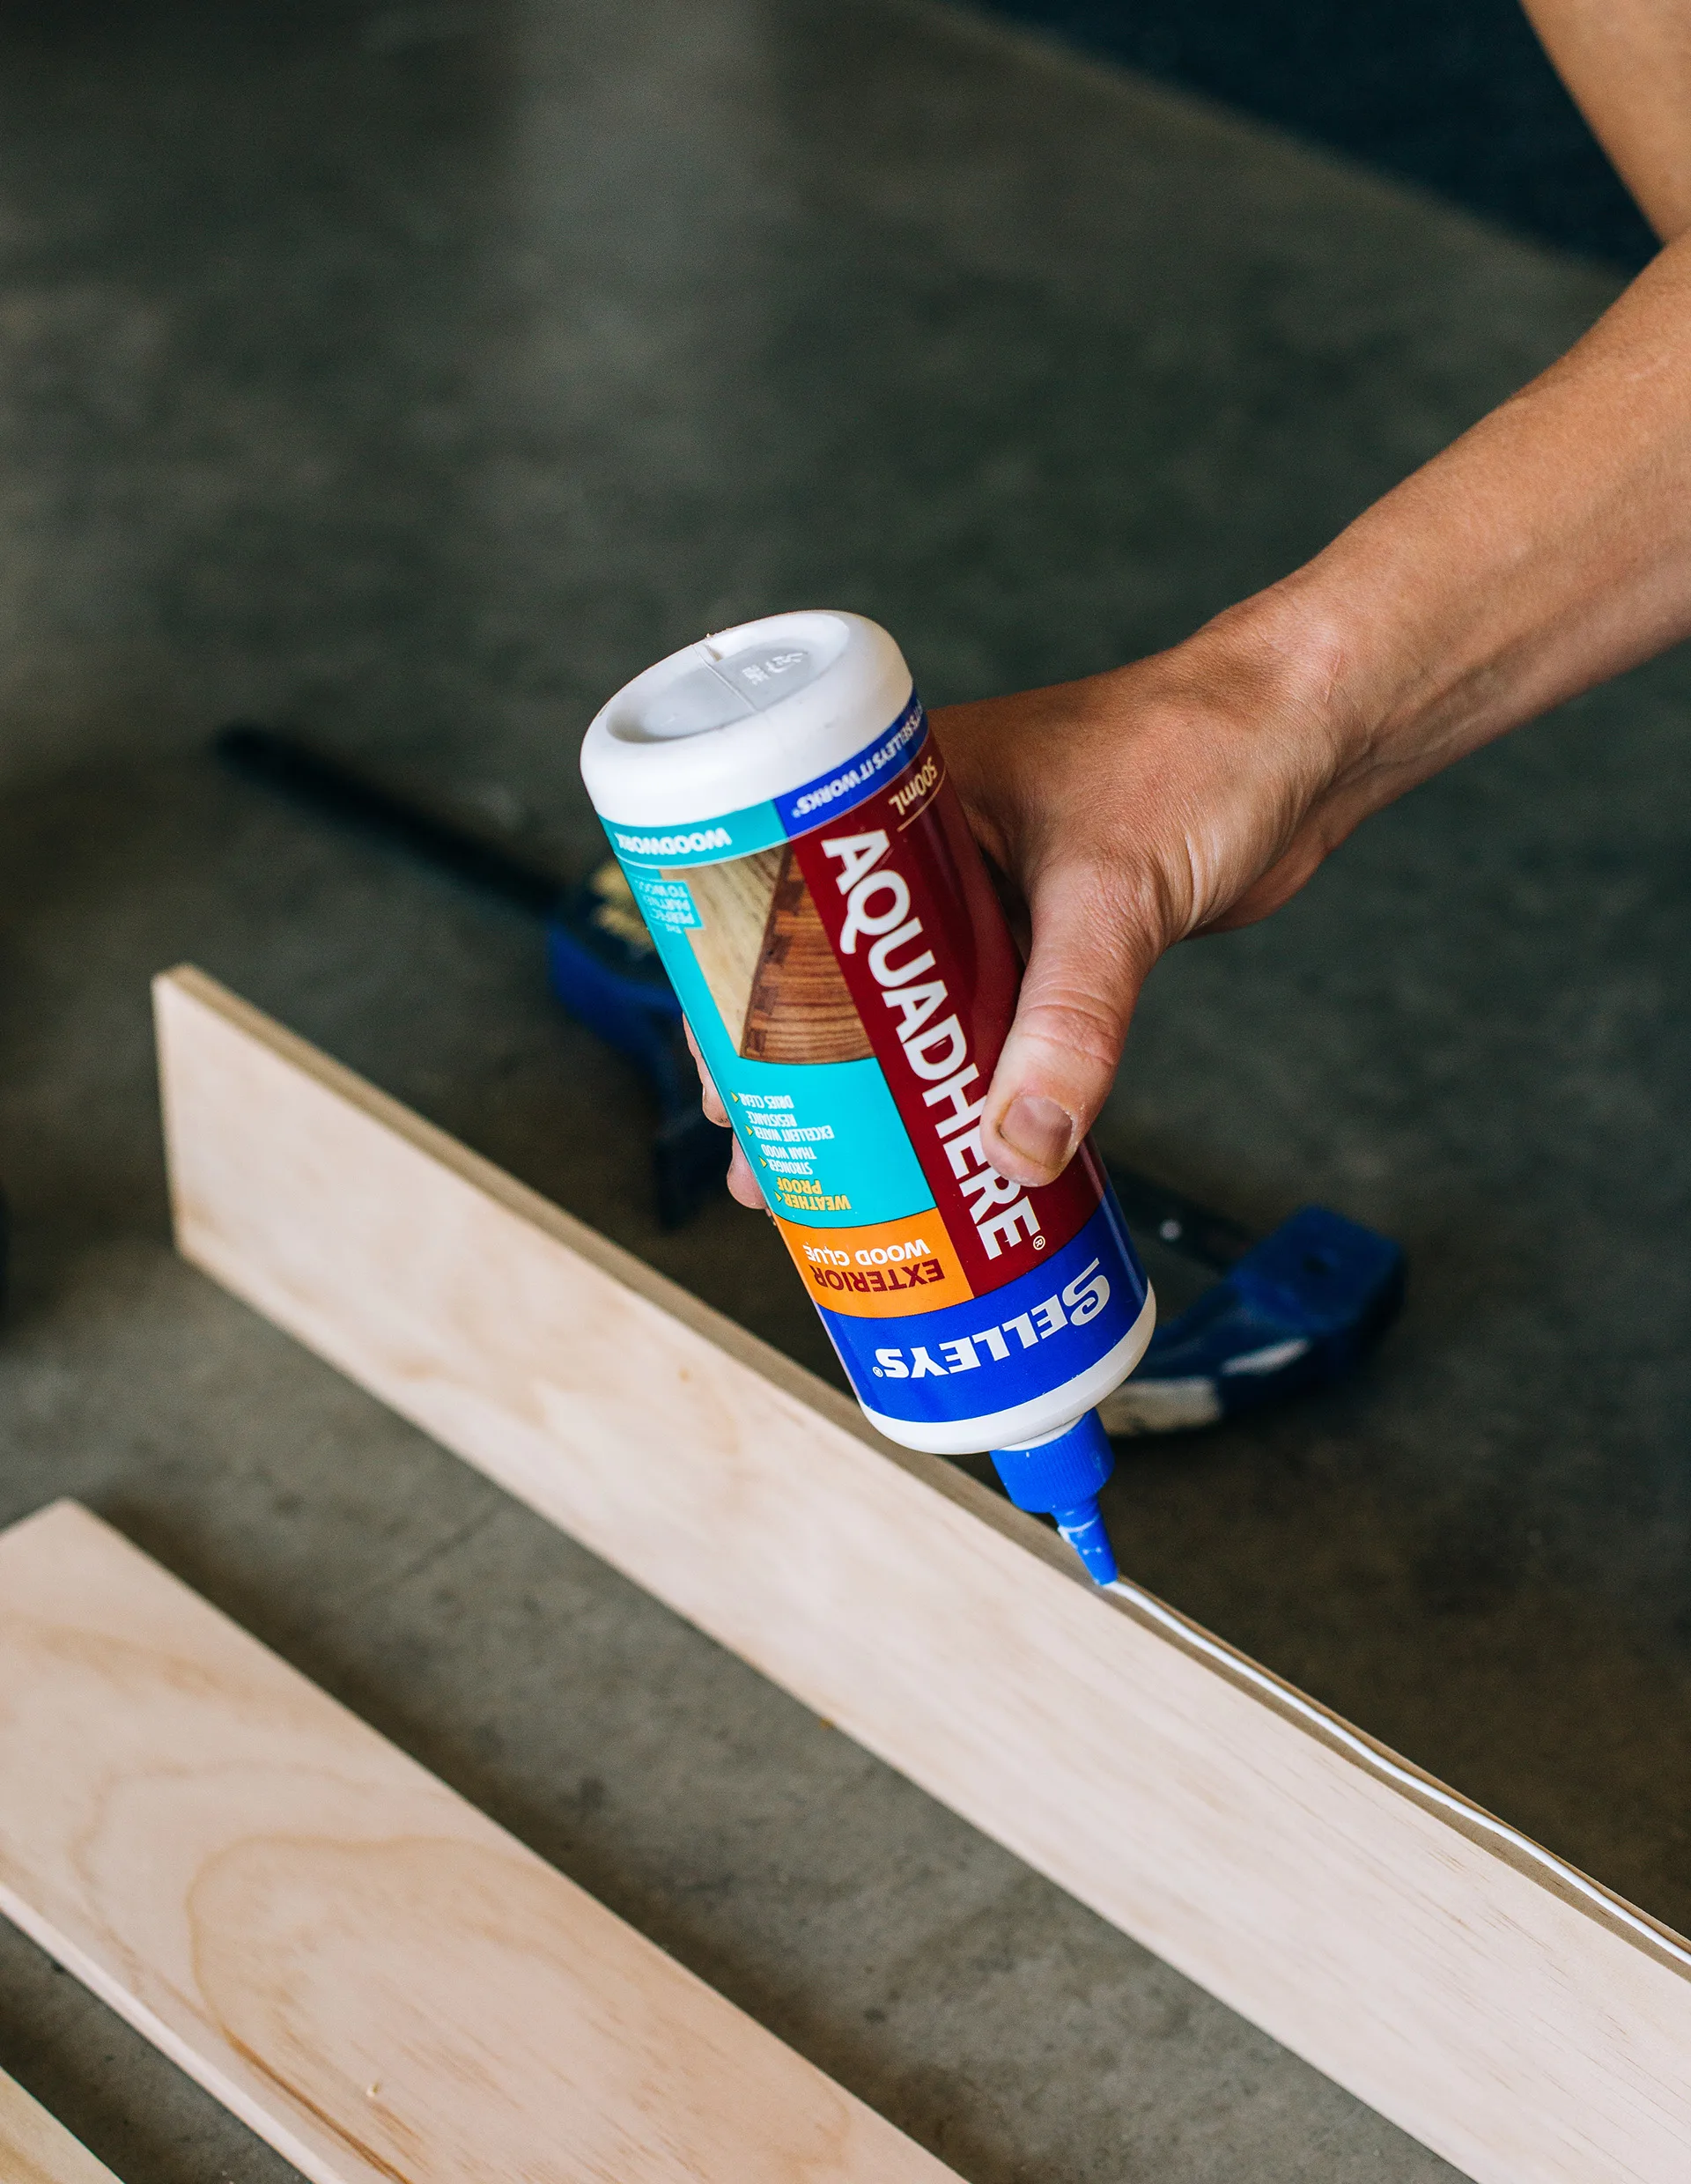
3. Run a bead of glue along the edge of one of the 100mm pieces
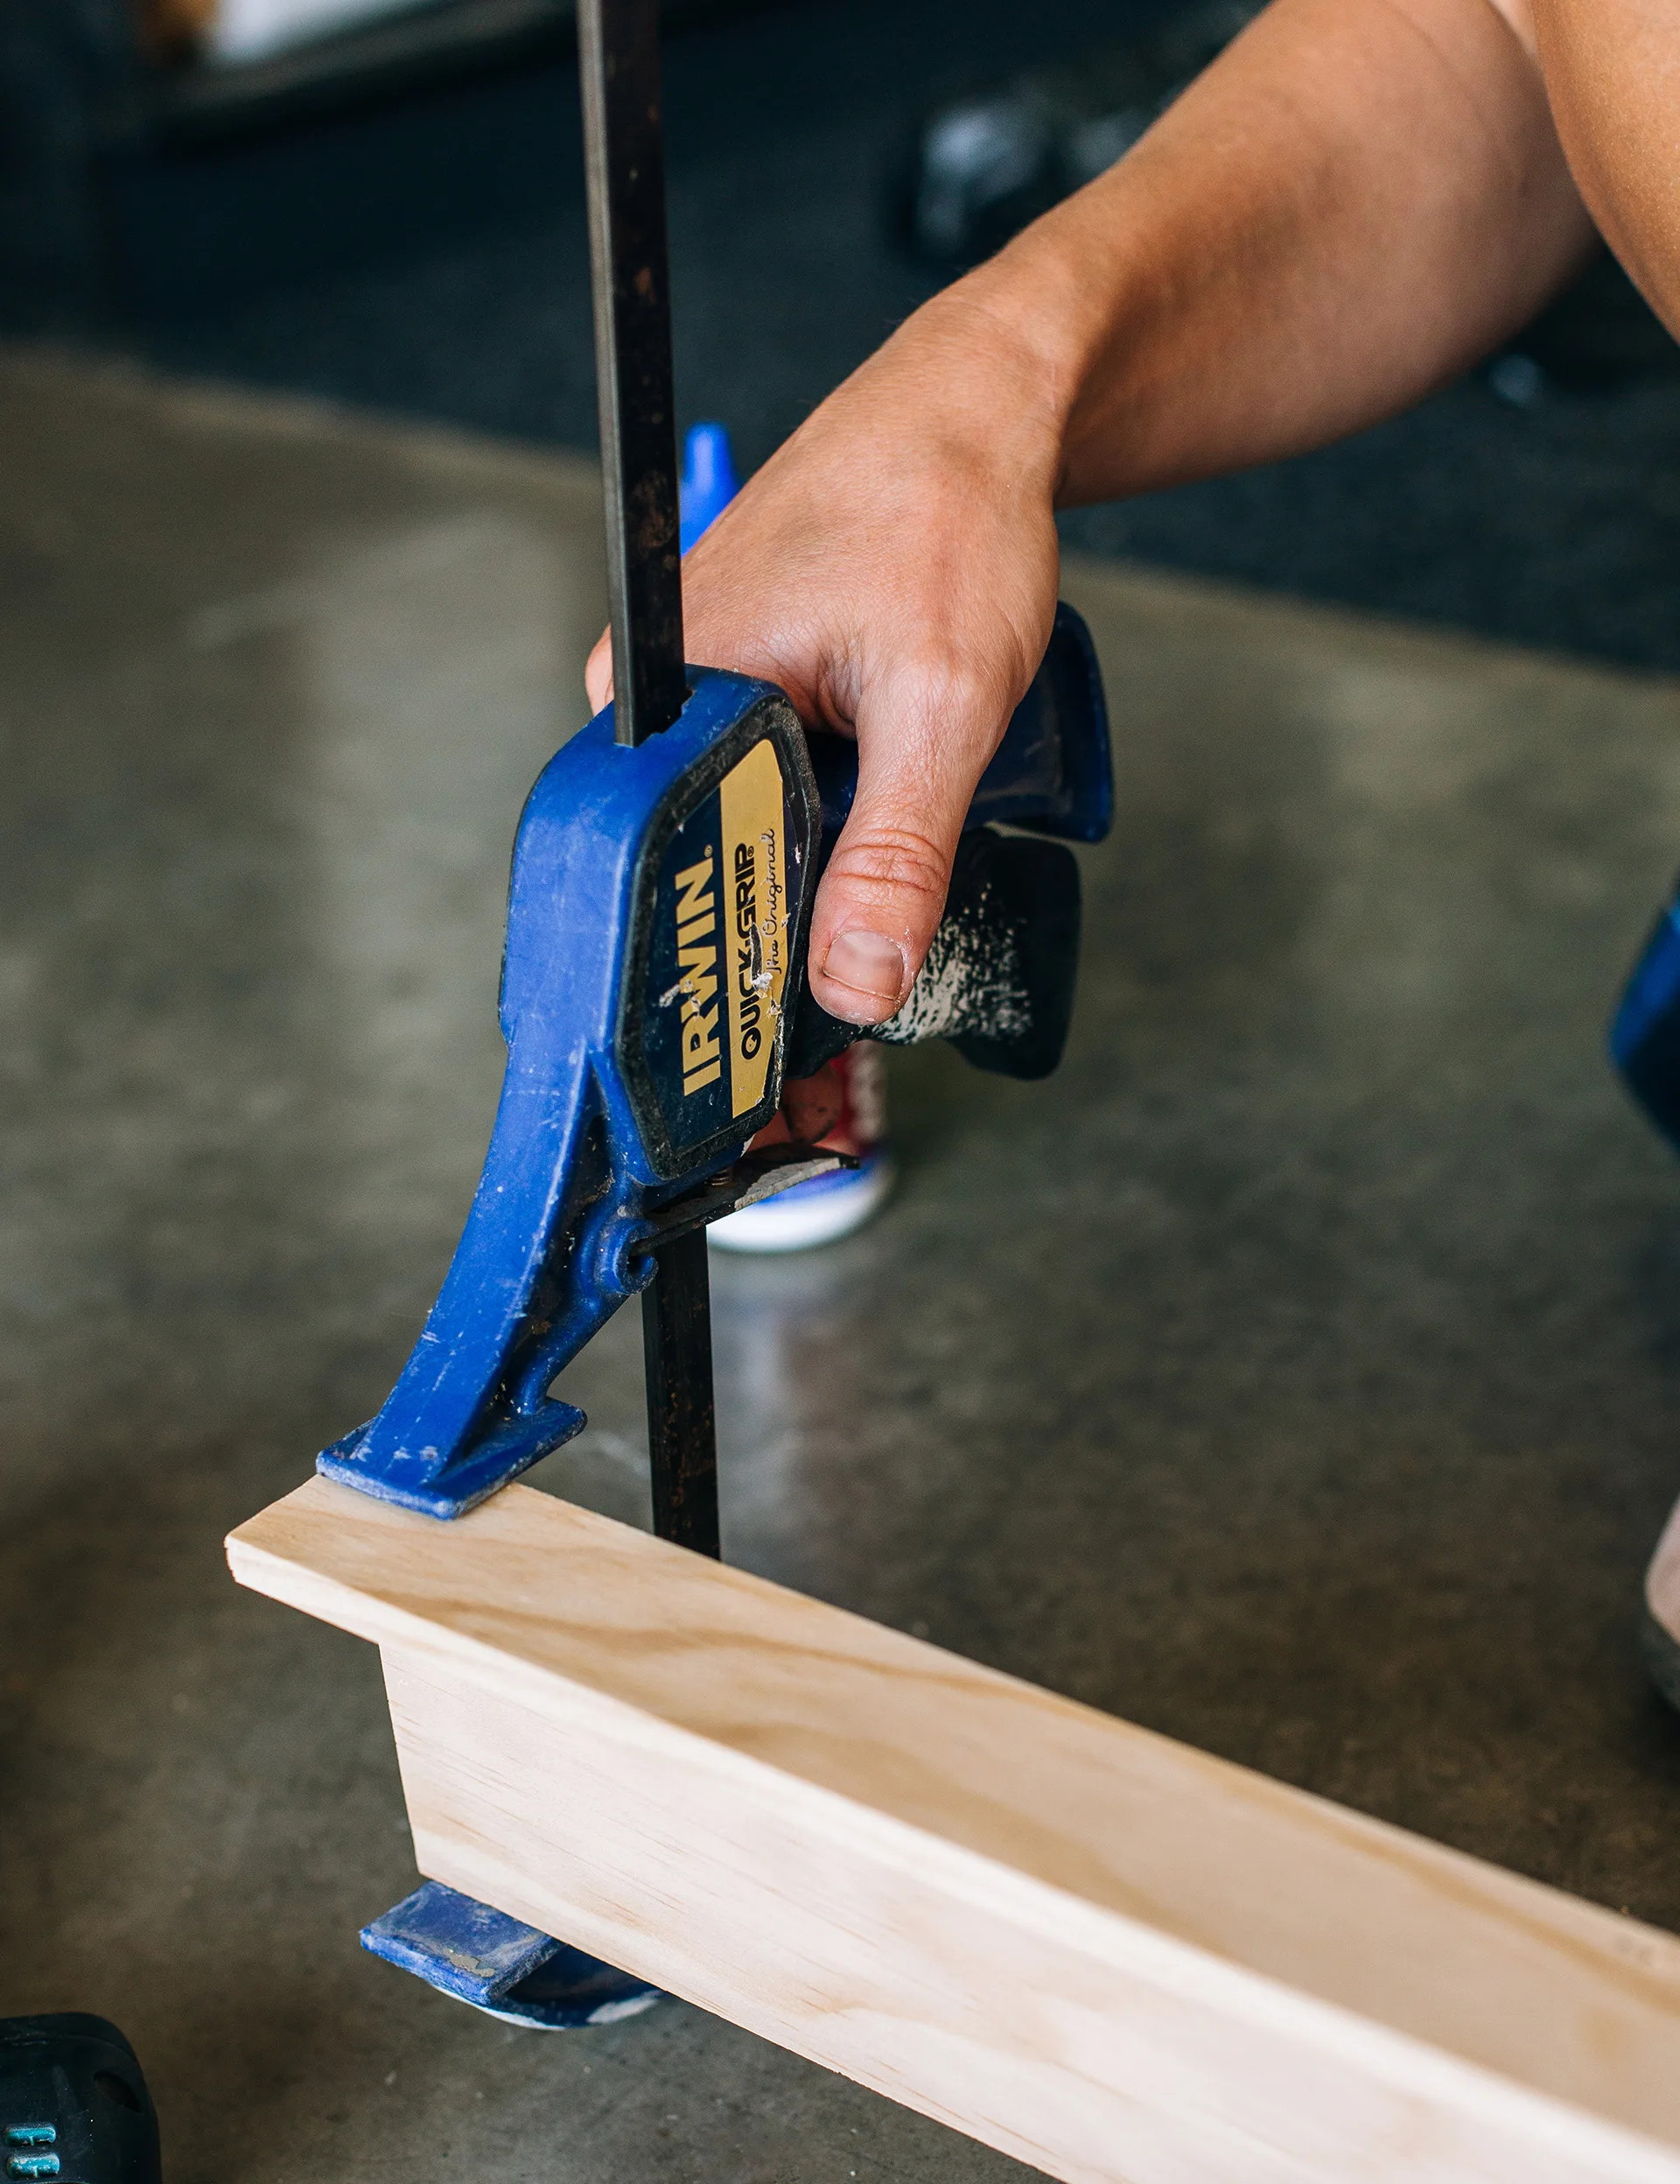
4. Hold or clamp the 40mm piece onto the glued edge.
5. Screw these two pieces together.
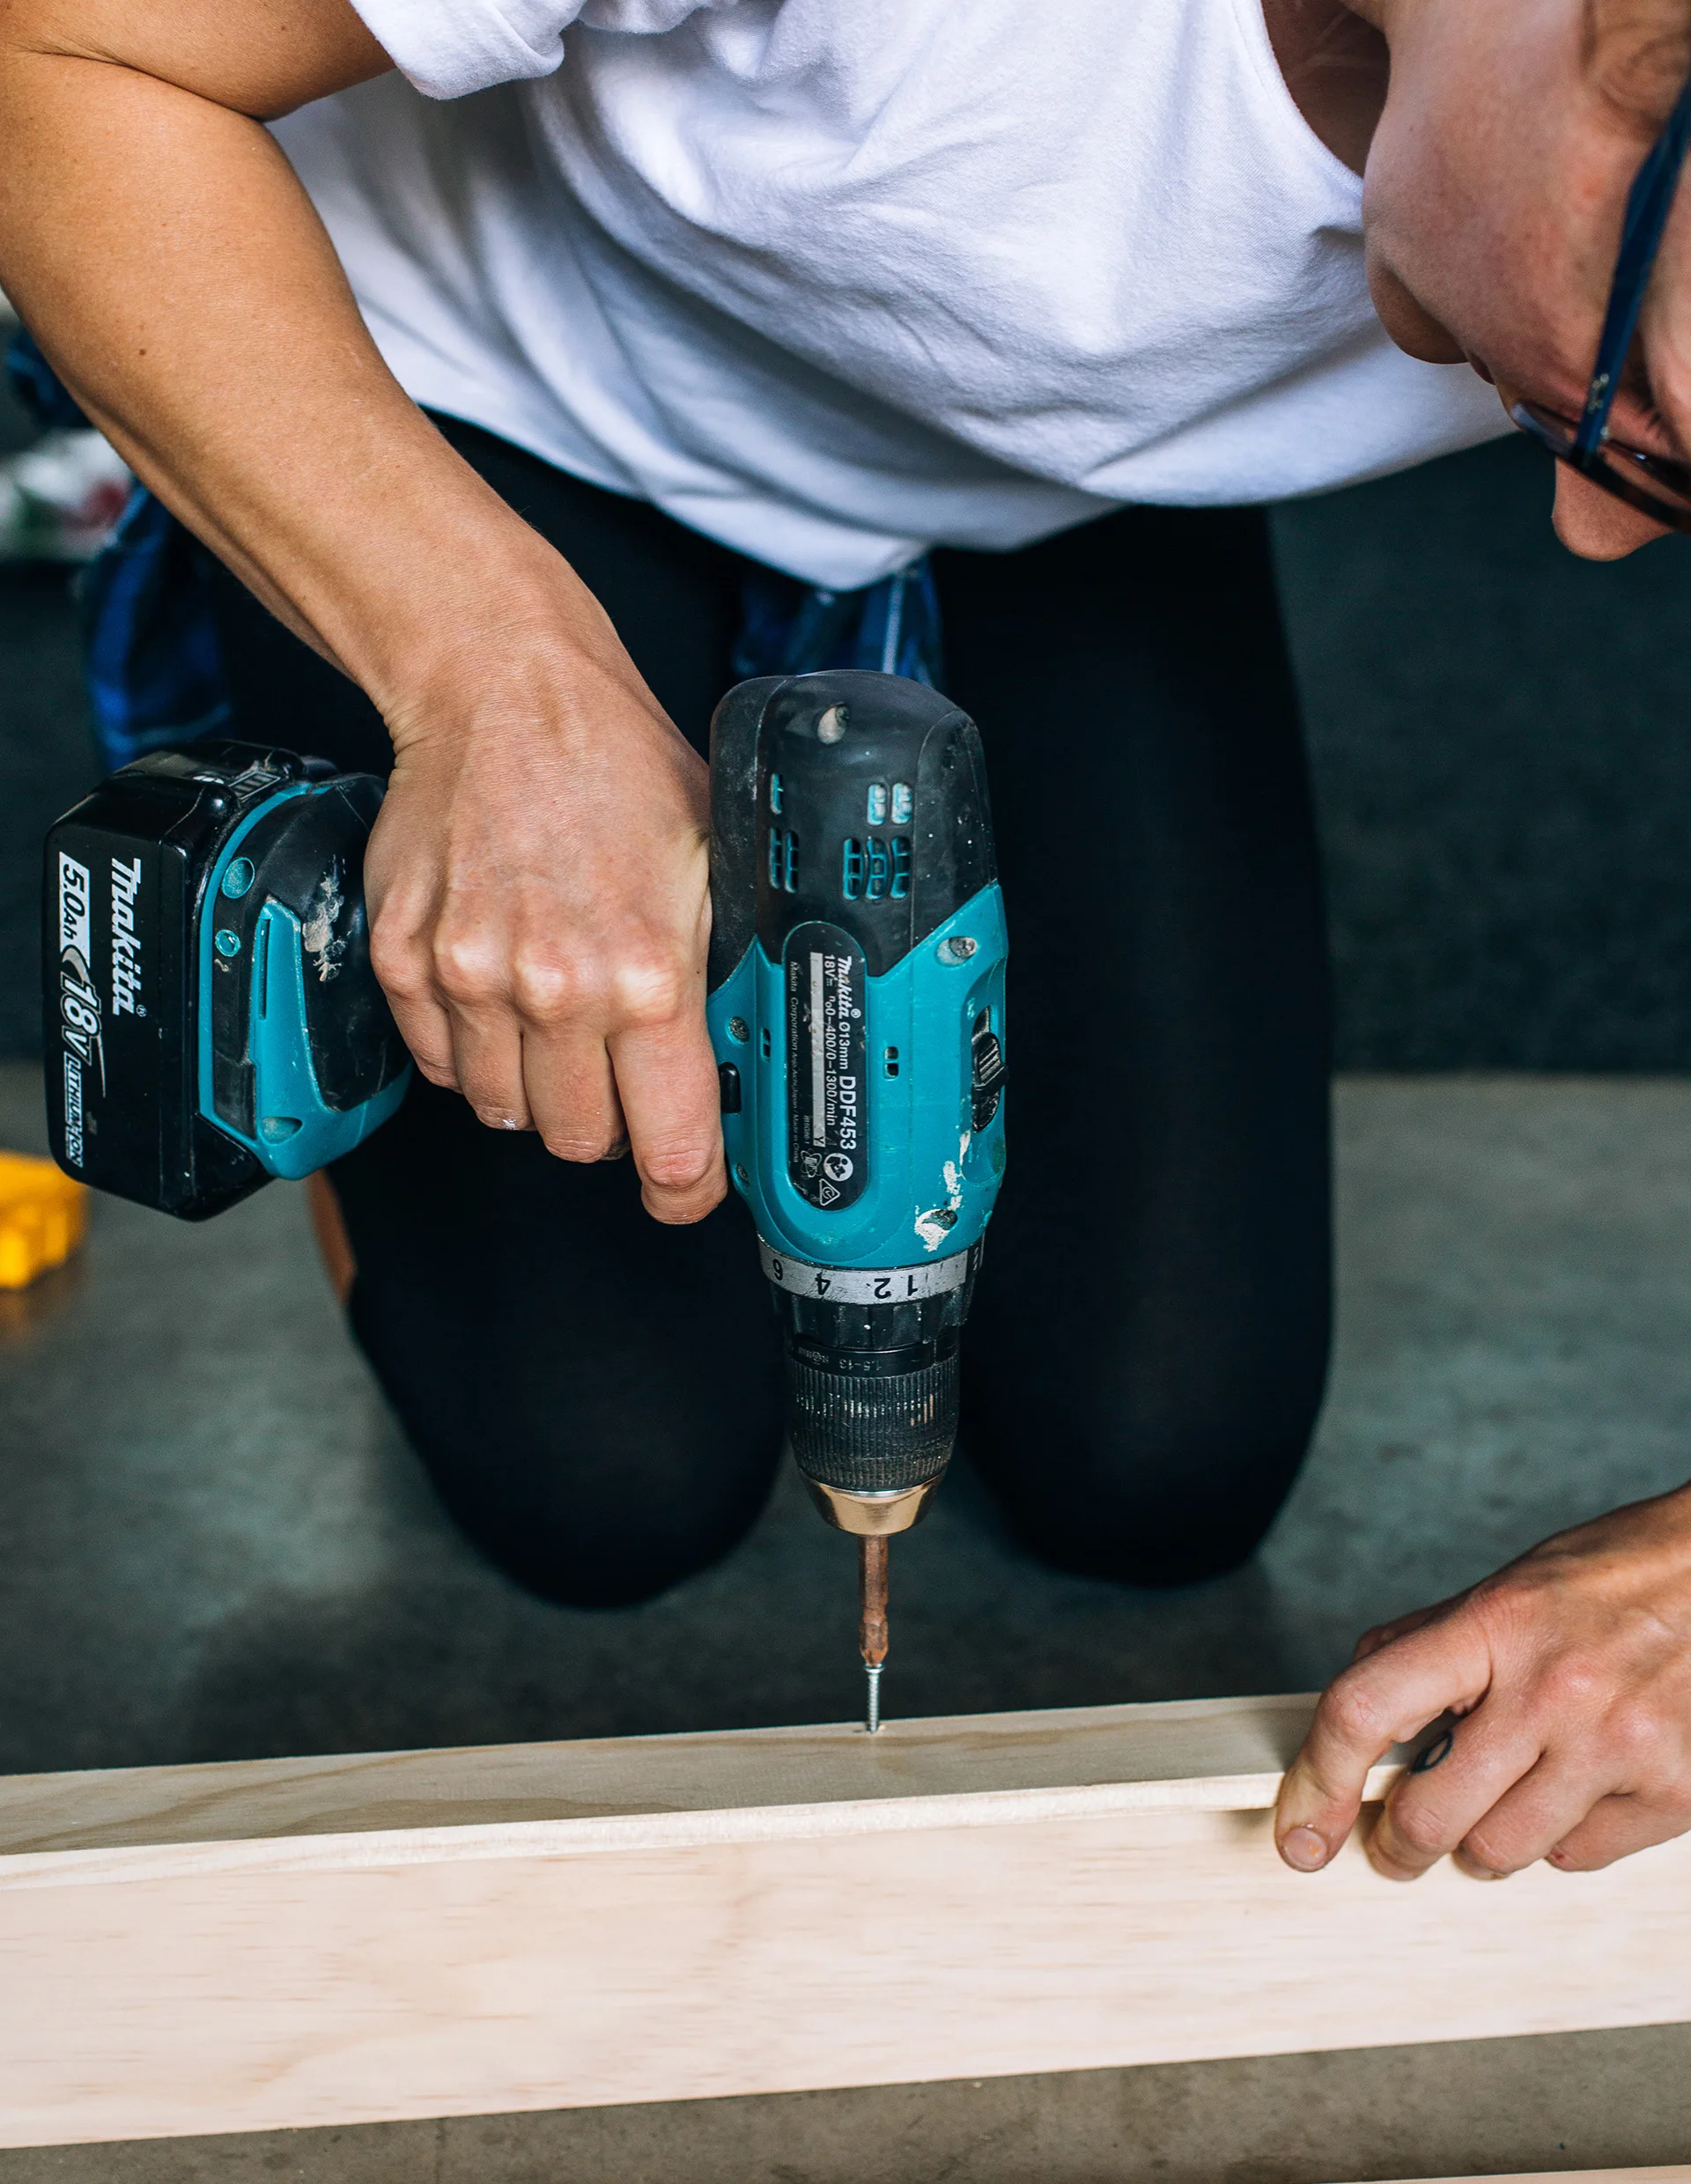
6. Repeat this process for your back upstand. Measure up 4mm on the face of the 100mm timber and drill a 2mm hole. Run a bead of glue along the other edge of your base and clamp or hold your pre-drilled 100mm piece against the glue, then screw them together.
7. Now one shelf is complete. Repeat to make as many others as you want. We are doing three. You can leave them as natural timber or paint them.
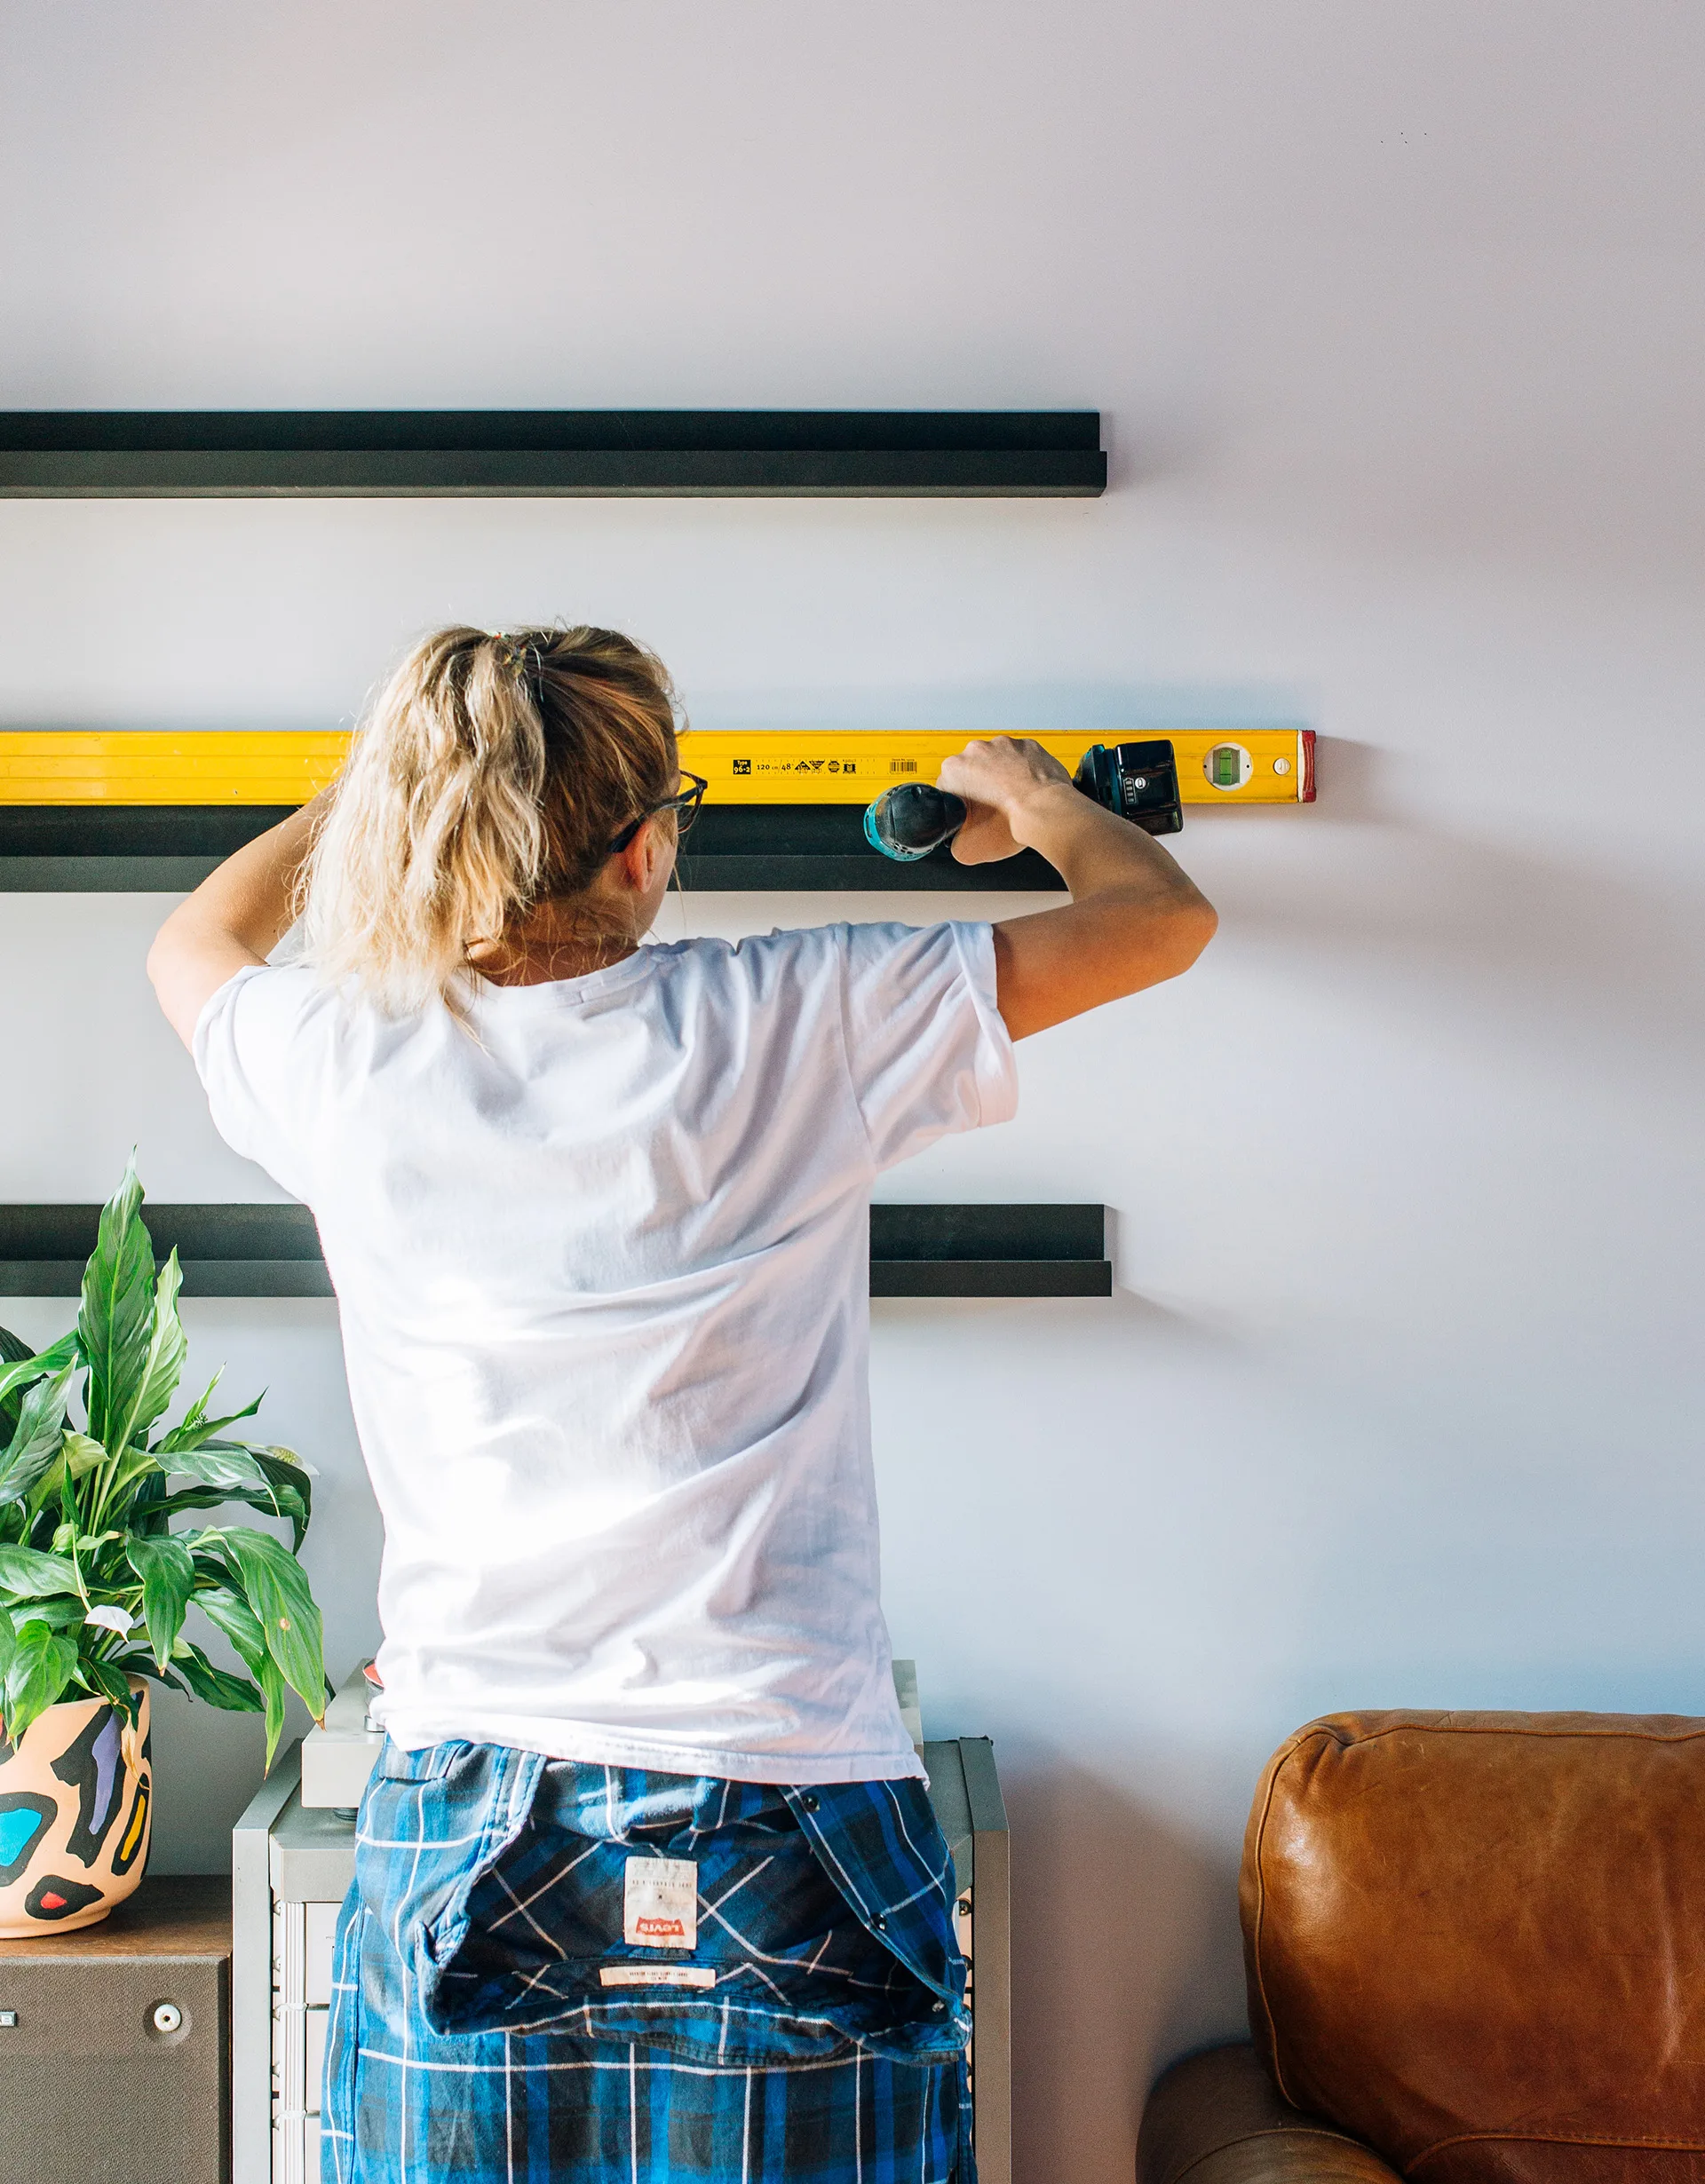
8. To fix to the wall simply find the studs you located earlier and mark these on the wall and then your shelf. Now mark your desired height on the wall. Using a level (if you don’t have one you could measure down from the ceiling or up from the floor) mark a level line. Pre-drill your two stud-fixing holes by holding your shelf up and drilling through the shelf and wall. Hold the shelf up again on your line and use your 50mm screw to fix the shelf to the wall. Repeat for all shelves.
Project and styling by: Nikki Kettle. Photography by: Anna Briggs.
Related stories
How to build a DIY coat rack for your entryway
Native ad body.

Native ad body.


Native ad body.