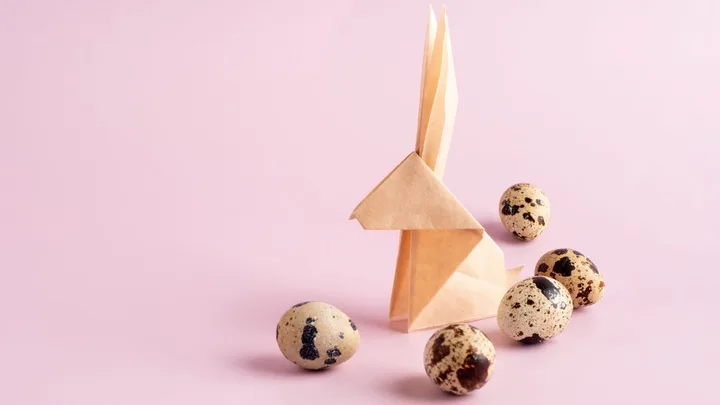
Level up your Easter crafts with some sweet decorations. Use these bunnies as table settings (write the person’s name on the body or do each bunny in a different colour), or string them up by the ears to make a garland. If you want to entertain a group, buy a pack of origami paper and see who can create the best one.
Step-by-step instructions: Origami Easter bunnies

Start with a square sheet of paper, coloured side down if your paper has one. Fold the paper in half diagonally to form a large triangle. Crease firmly, then leave it folded.

With the long edge of the triangle at the top, fold the left corner down toward the bottom point. Repeat with the right corner so both corners meet at the bottom. You should now have a square.

Shape the lower section. Fold the left and right outer edges inward toward the centre line. You should now have a diamond.

Next, fold the small bottom tips downward to create two small triangular flaps. Unfold.

Squash fold the flaps. Using your thumb, open each small triangular flap slightly and press it flat, so each side becomes wider and flattened.

Then fold in half along the centre line, keeping the folds on the outside.

Form the ears. You will now have a long, thin triangular section. Fold this inward 45 degrees, then upward.

Fold it lengthwise in half to narrow it. Repeat on the other side so you have two upright ears.

Shape the head. Gently push the small front triangle downward to form the rabbit’s head. Pinch the extra paper just below the ears to round out the head shape.

Add the final details.Fold the tip of the head slightly inward to form a nose. At the back, make a small pleat fold to create a tail.