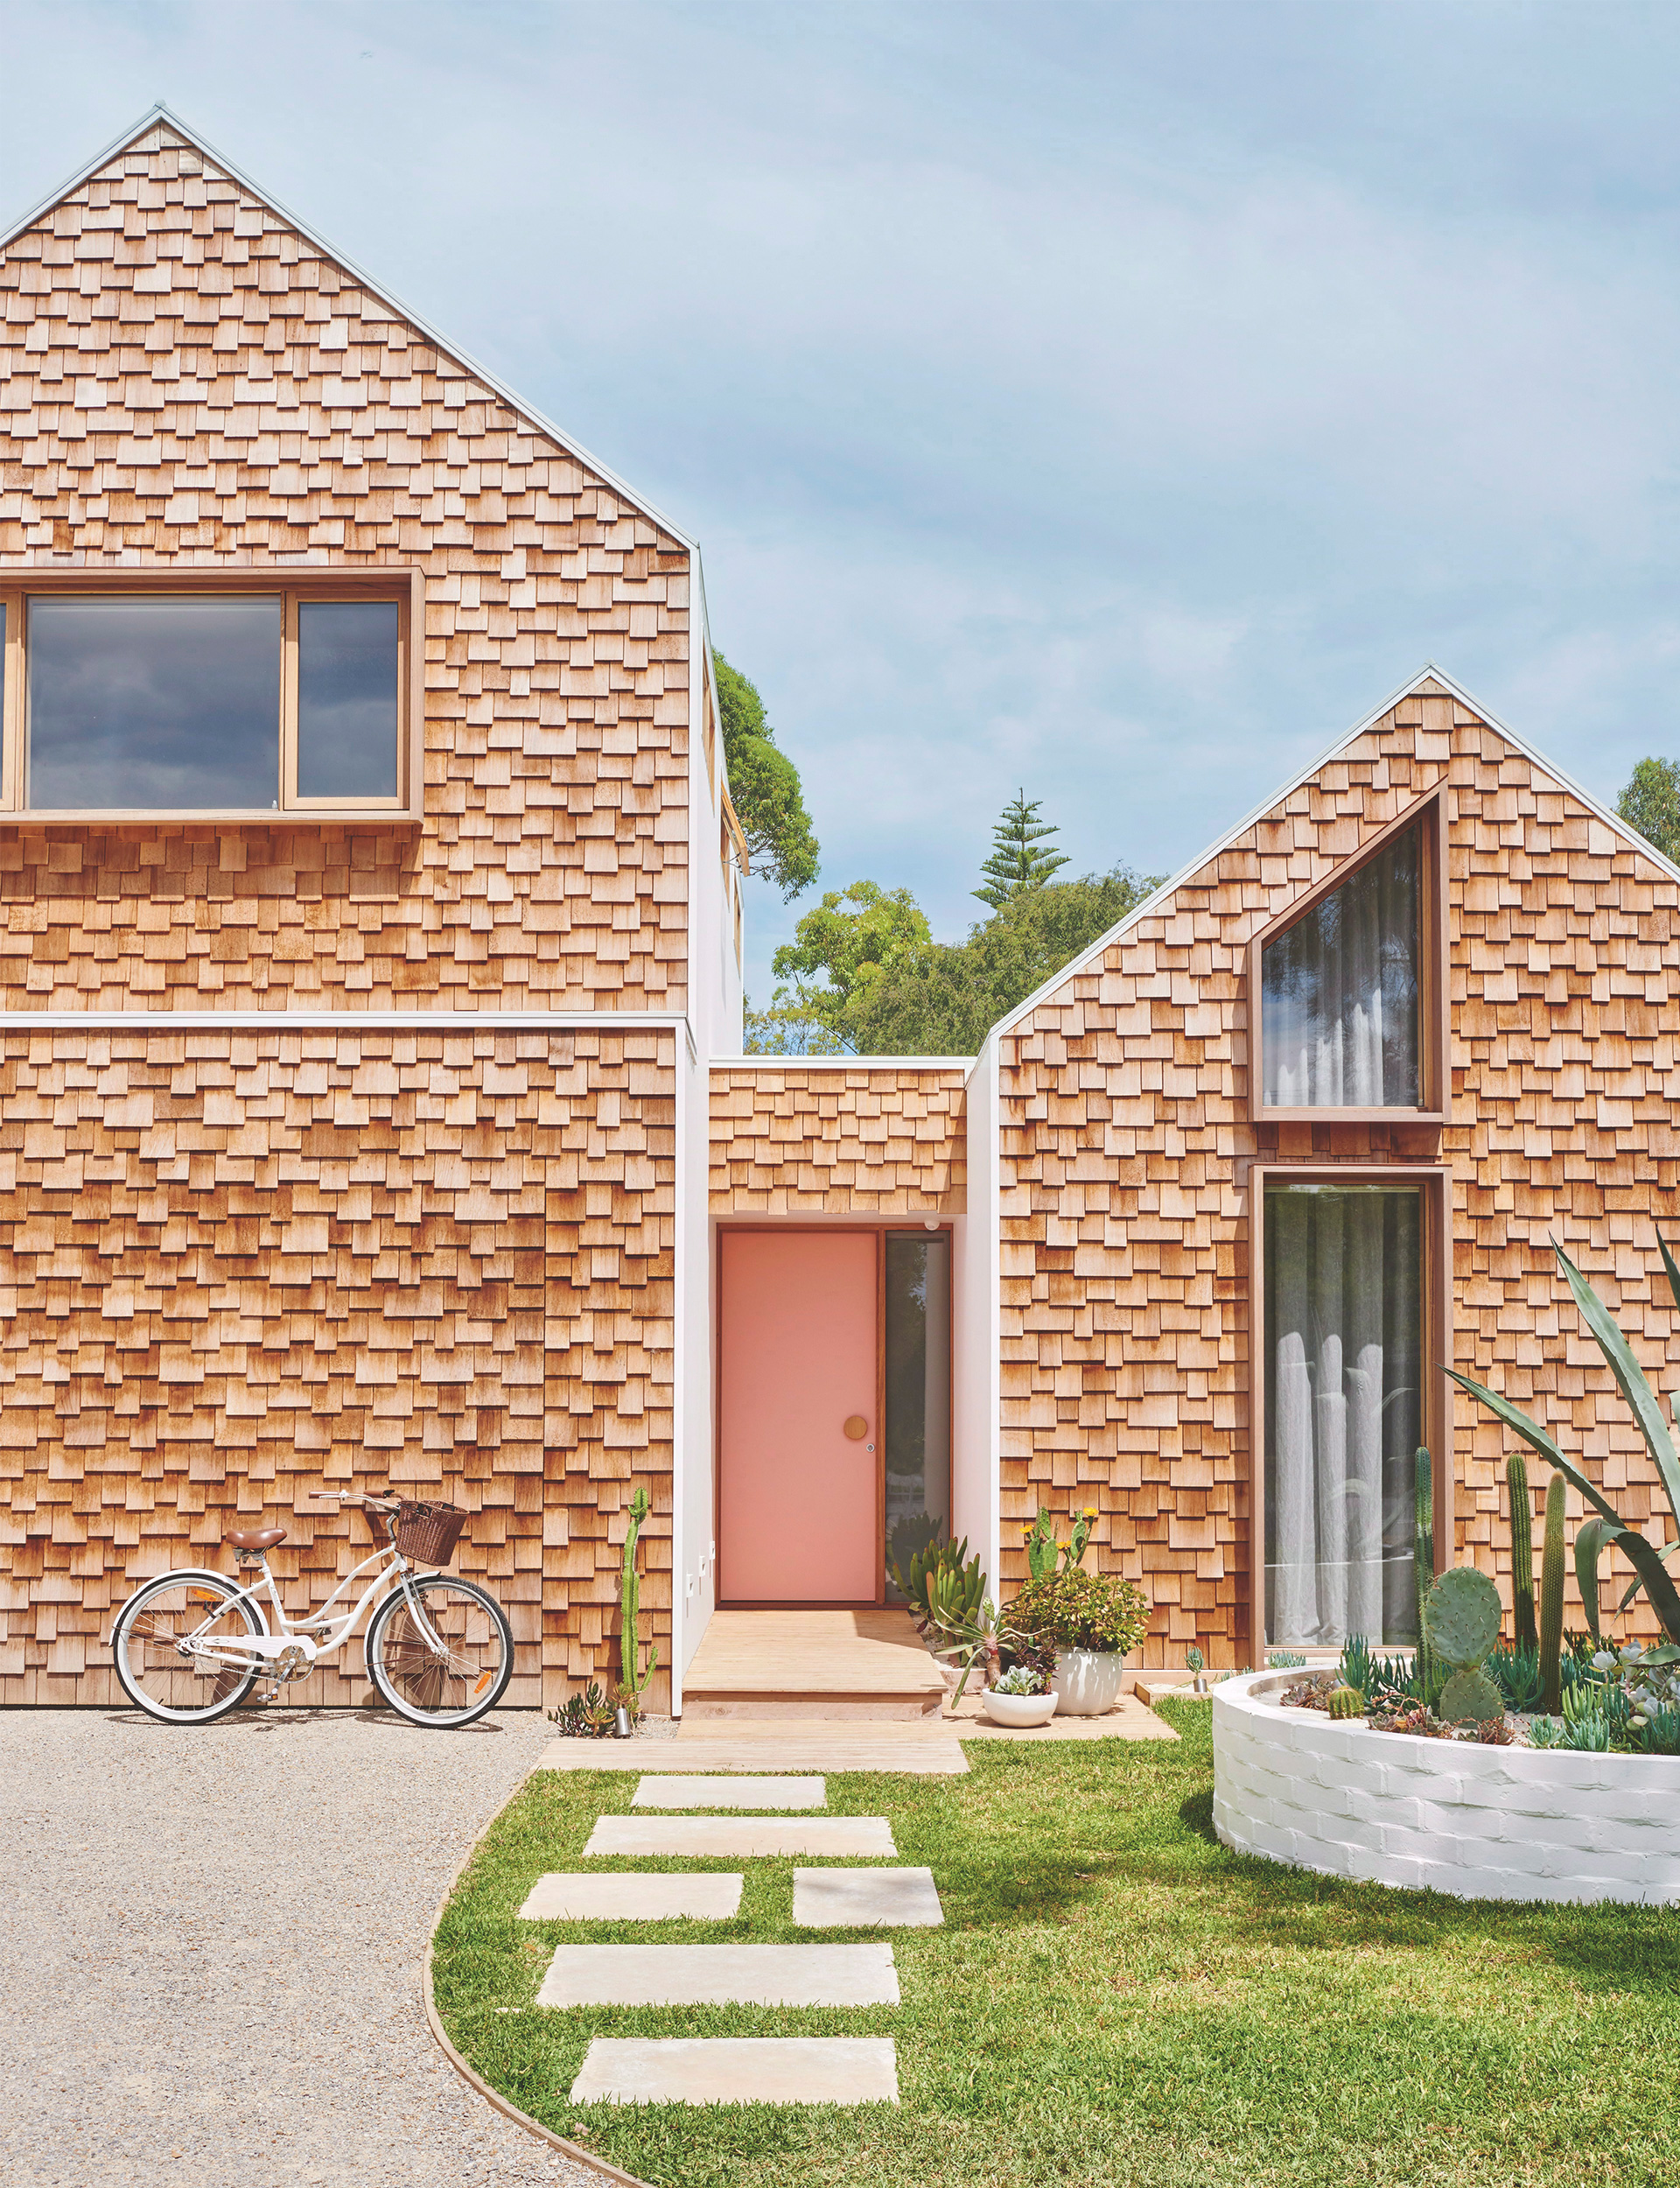
Professional renovators and past The Block NZ winners Alice and Caleb Pearson share their five favourite DIY hacks for adding value and transforming spaces
1. Do your own wallpapering
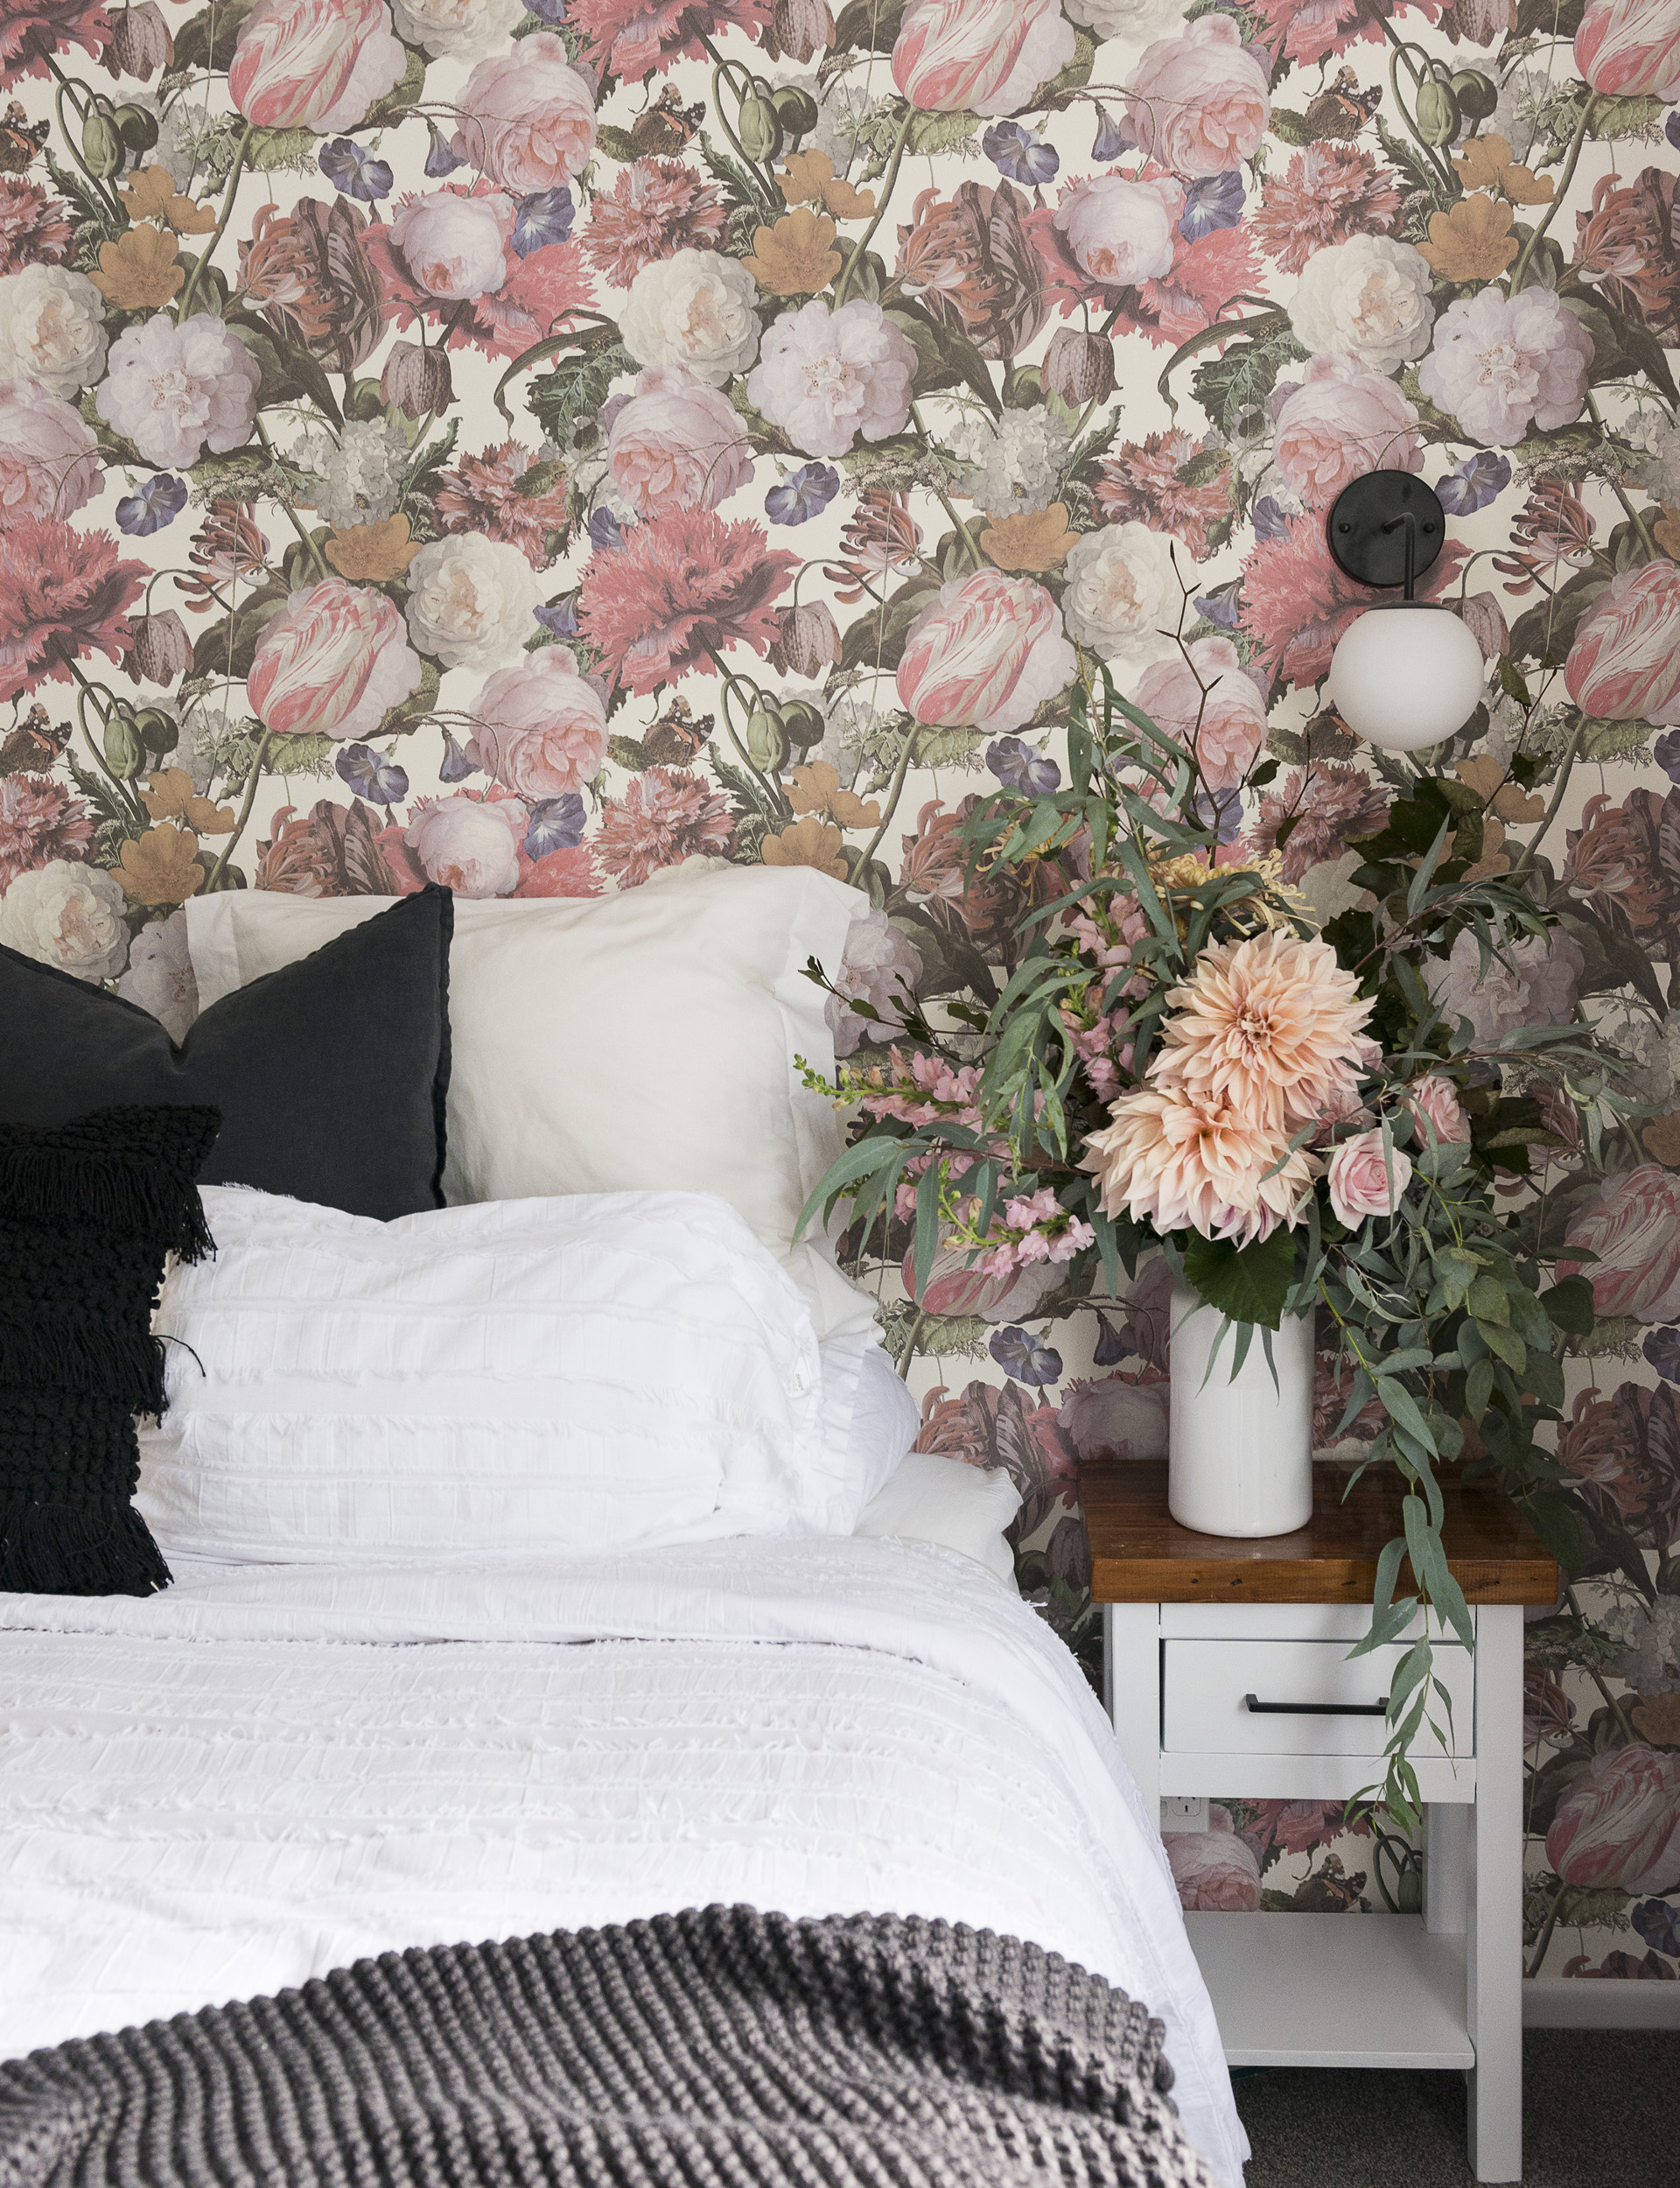
For a while wallpapering seemed almost a lost art. But with advances in digital printing making any design possible, modern wallpapers now come in an almost infinite range of styles and can make a massive impact in your space. We have become big wallpaper fans and regularly use it in our renovations as it adds warmth, pattern and texture – something paint can’t do.
‘Paste the wall’ wallpaper makes applying and removing wallpaper a far simpler process than it used to be. You don’t need a professional to install wallpaper and you only need a handful of simple tools such as a smoother and a plumb line. This DIY task takes time, patience and planning – if you have those, you can wallpaper. You don’t need a flawless surface as you do with paint, which saves the cost of skim coating.
Use a pigmented sealer before you apply wallpaper, to keep any stains or colours from bleeding/showing through. Next, apply size (a wallpaper primer) to the wall and leave for 24 hours to fully cure. When you’re ready to hang, start with a plumb line to make sure the wallpaper will be straight. Apply one drop of wallpaper at a time, abutting the first one to the plumb line; if there is a pattern, take your time to make sure it lines up from one drop to the next. At the end, use a metal ruler and a sharp knife to trim the edges.
2. Tile your own splashbacks
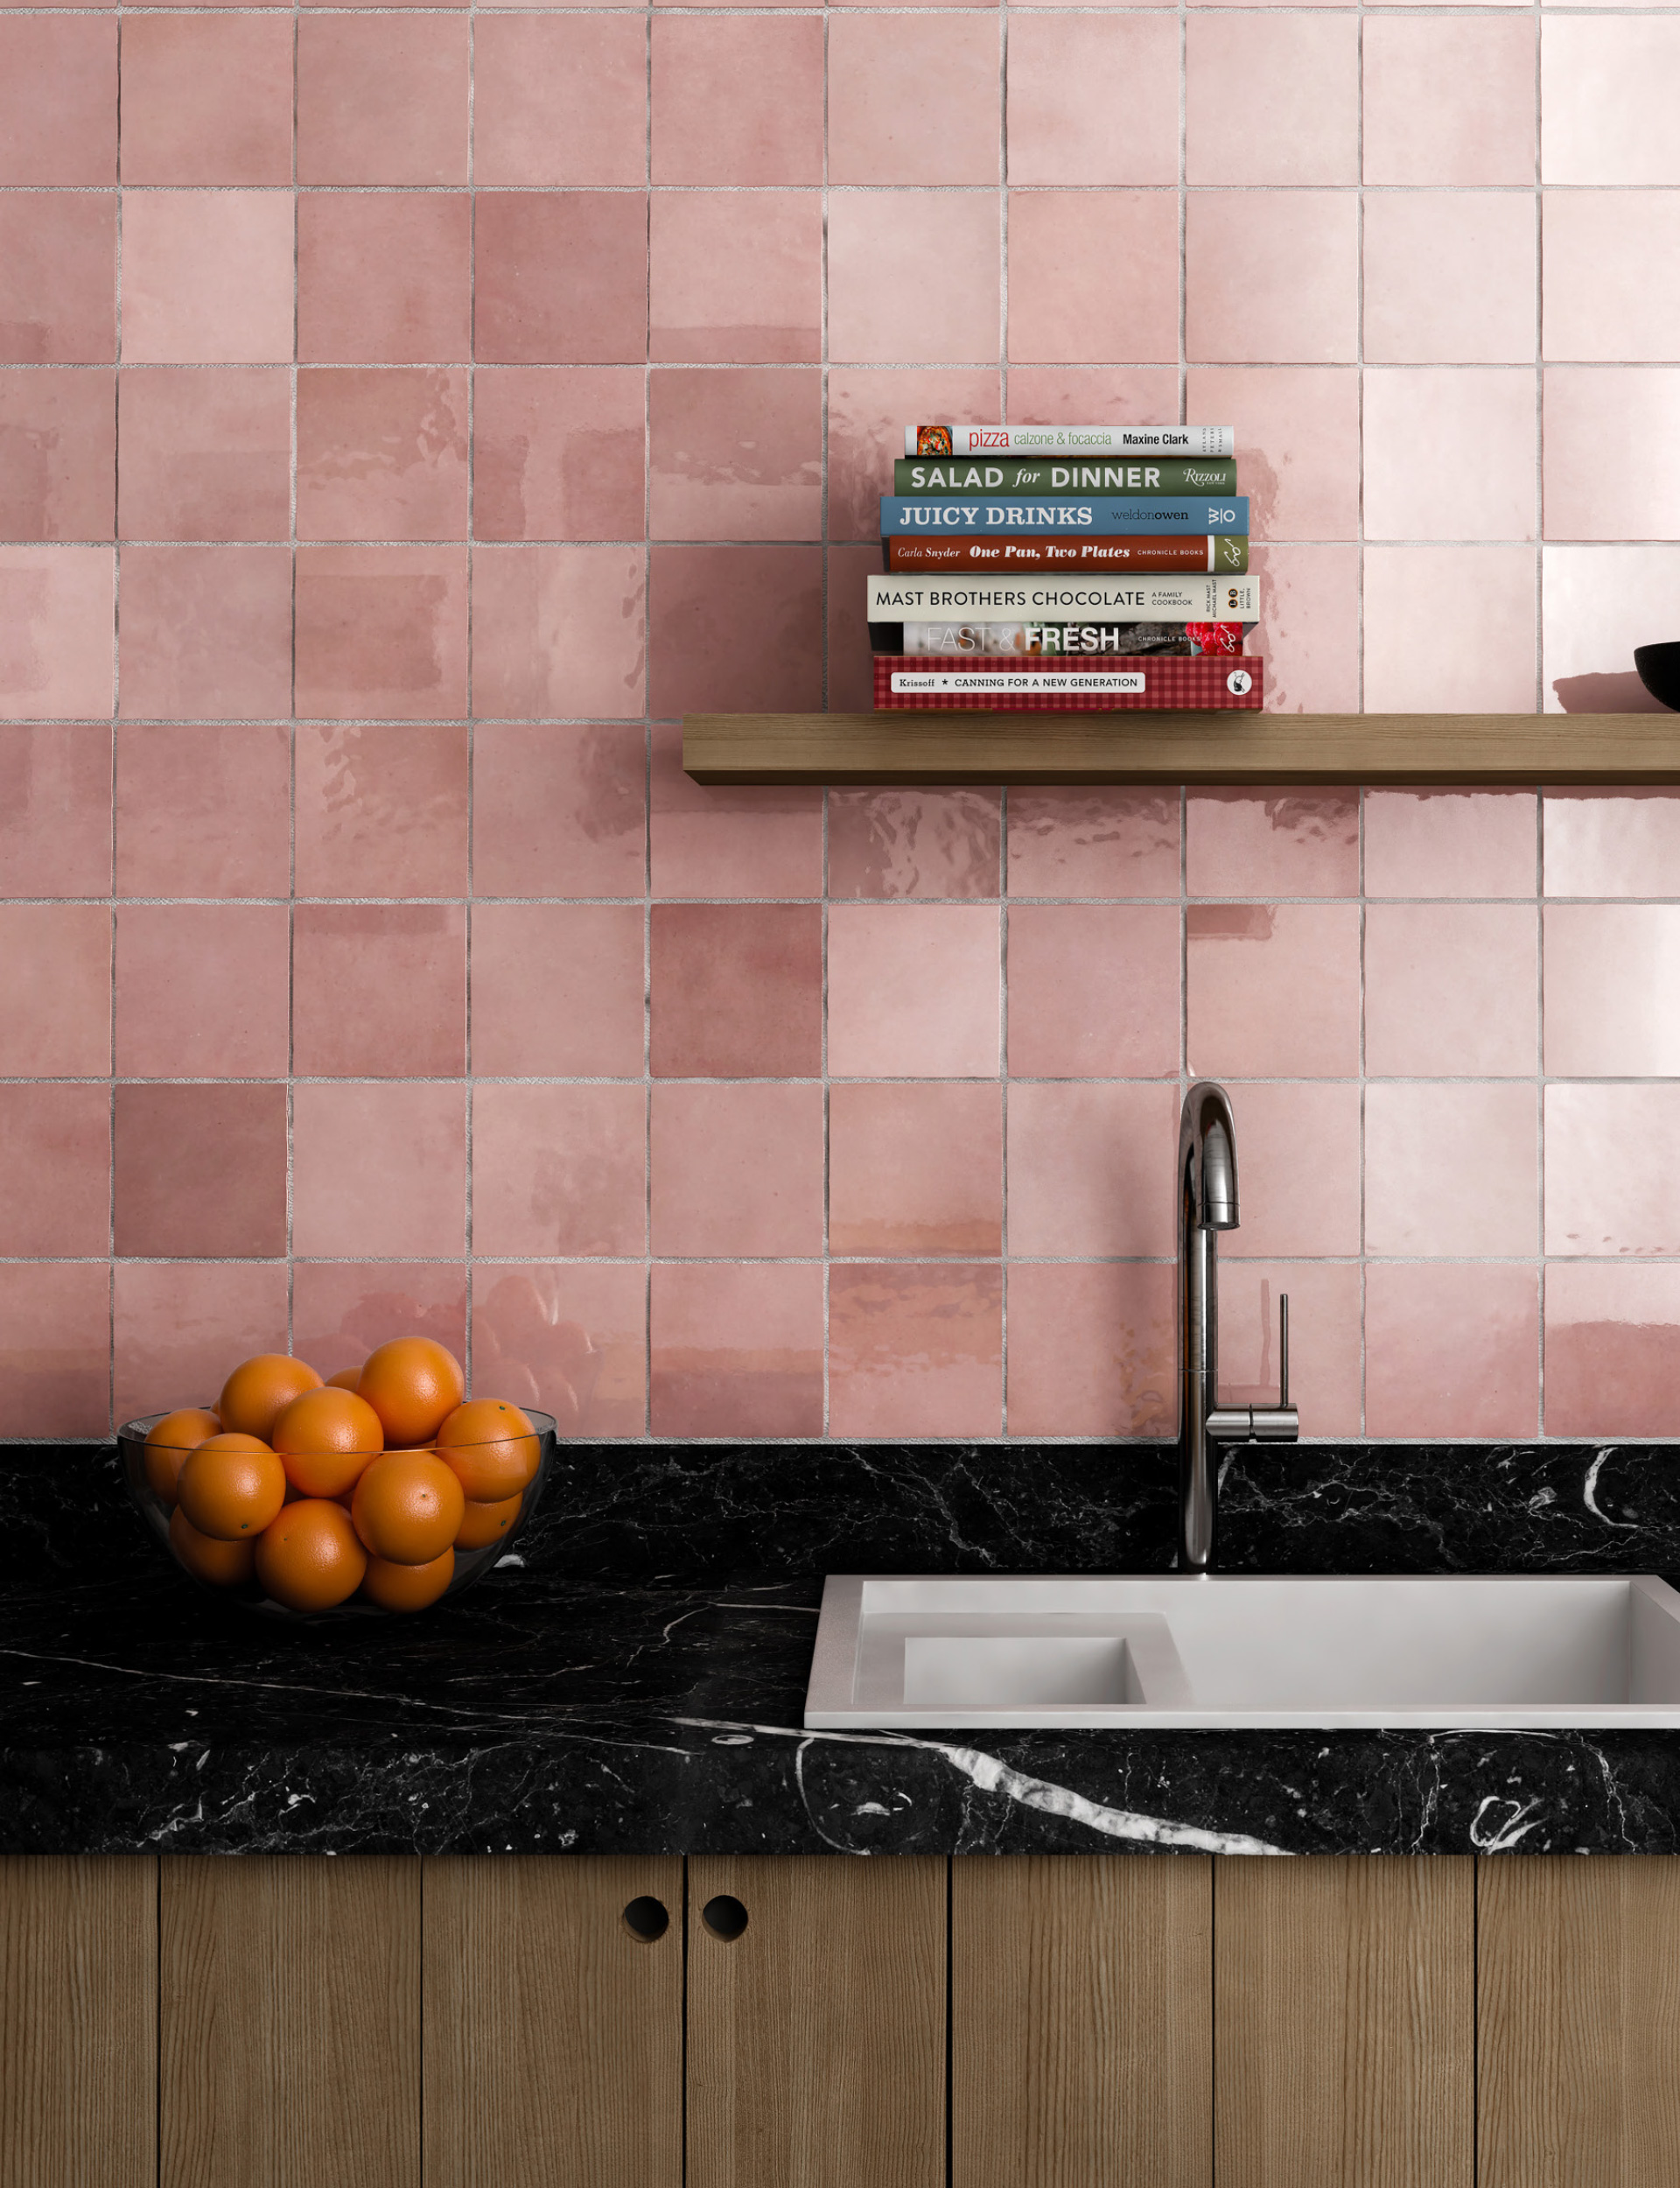
A tiled splashback can breathe new life into a kitchen, bathroom or laundry and will add some signature style as well as giving you all the benefits of a cleanable, hard-wearing surface. If your space needs an update but you can’t justify or afford a full remodel, a freshly tiled splashback might be just the solution.
Tiles can be relatively inexpensive, as are the tools required, so this is a great opportunity to have a go yourself. Splashback spaces are not created equal and some will present more challenges than others, eg you may have to navigate corners, power outlets etc.
It’s the same with tiles: some shapes and patterns will be trickier to deal with than others. Keep this in mind when buying your tiles: a regular shape and a simple pattern will make life easier.
Plan your tile layout before you apply any grout so you know where you will need to cut tiles and where grout lines will line up. This way you can minimise cuts and avoid having to make decisions on the fly – that’s where DIYers can get into trouble. Check out our website for more detailed instructions.
3. Build a bench seat
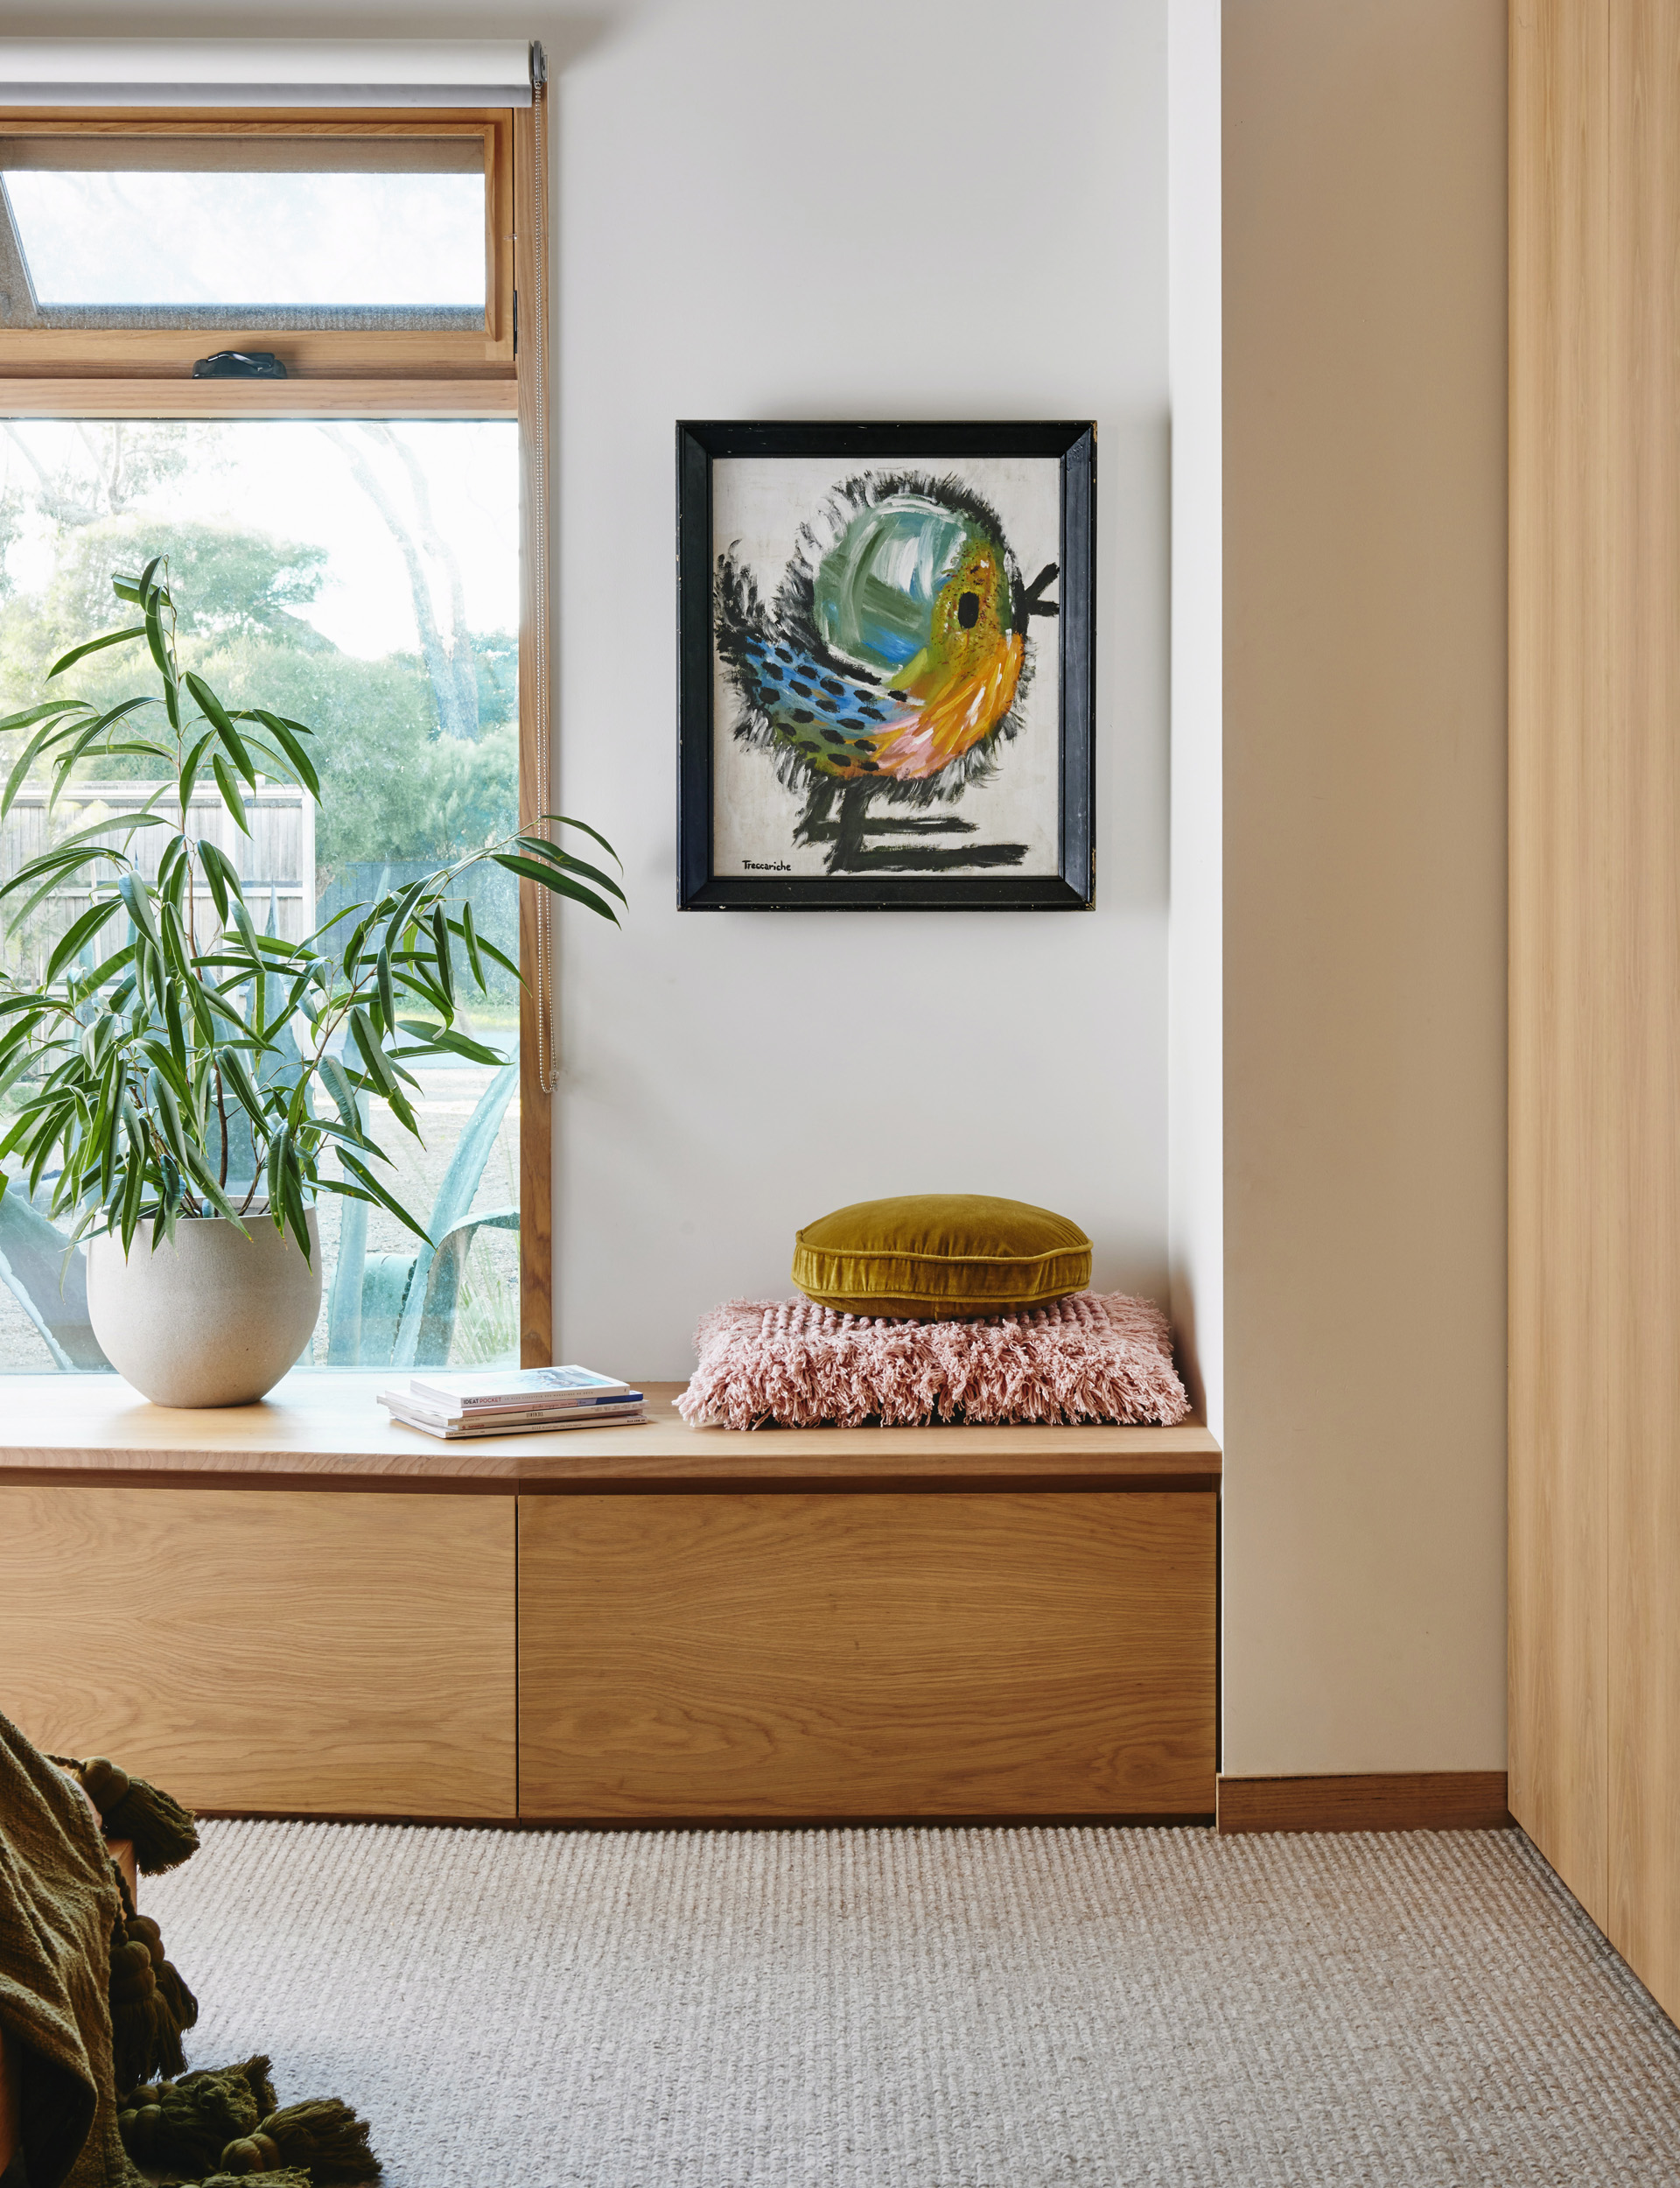
If you have a space you think would be perfect for a window seat or some form of built-in seating, have a go at making your own – it might end up cheaper than buying a piece of furniture. Building a seat will involve some basic carpentry to frame, line and finish a suitable base, as well as some sewing skills to create a squab to sit on top. While you’re at it, these seats can easily double as great storage if you add access panels in the top or build the squab into a removable seat. Consider the height you want your seat to be at and don’t forget to make suitable allowances for the thickness of the squab. Don’t be shy with the width of the seat or the quality of the foam for your squab – you want to be comfortable!
Tip: Add storage space inside your bench or window seat.
Style note: Use Stacked cushions as an easier alternative to a squab.
4. Sand and polish wooden floors
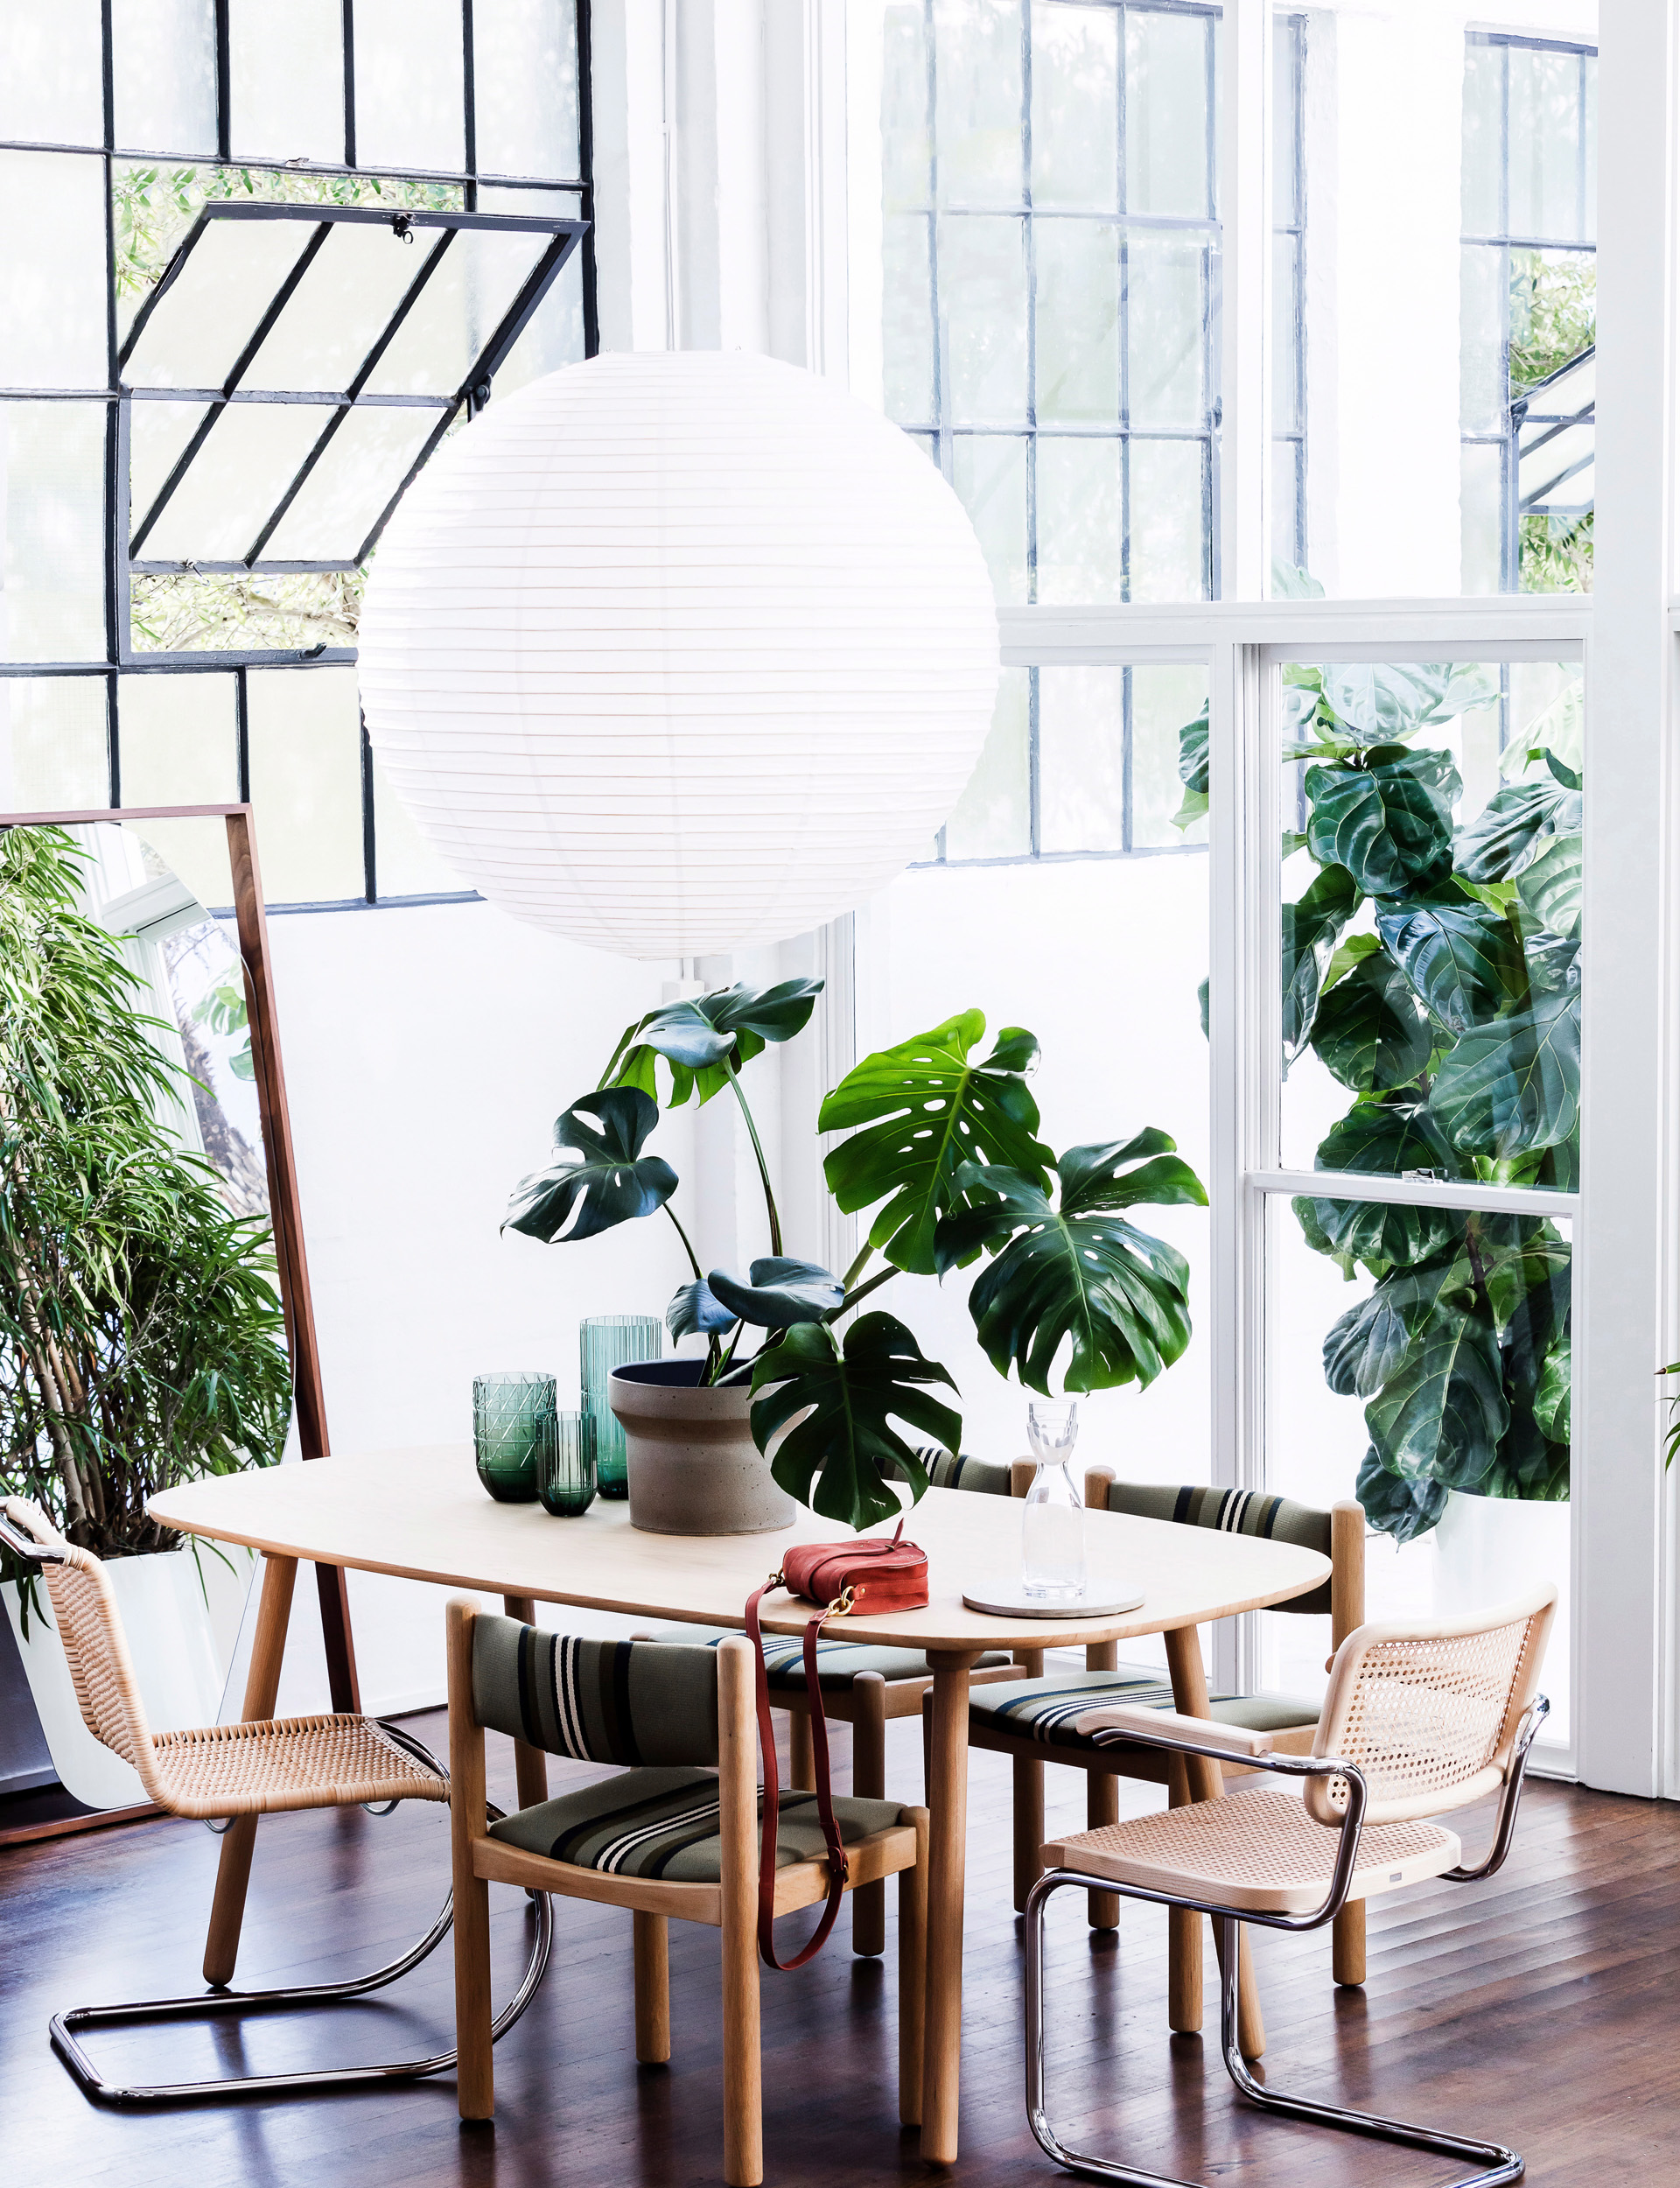
For a DIY task that your friends won’t believe you did yourself, you can’t beat sanding and sealing your own wooden floorboards. Removing the existing finish, sanding and restoring the boards to look like new, then coating them in your preferred seal is something you can definitely do yourself – if you can find the courage.
This is not a job for the faint-hearted, but one that will be extremely rewarding. It is physical, dusty work and it will take several days to sand through the different grits and allow drying time between coats of seal.
We recommend hiring the right equipment for the job along with plenty of sanding discs and sheets. Don’t scrimp by trying to get extra use out of sanding discs – they need to have grit to be effective. Once the sanding is over, your floorboards will mark and stain very easily so get the seal on quickly to avoid compromising your hard work. Check out our website (pearsonandprojects.com) for more detailed instructions on sanding floors.
5. Pave outdoor areas
Ever since our time on The Block NZ and our first experience of laying pavers, we have never looked back. Working on the outdoor areas is a great way to save money and make changes on a bigger scale. Paving can both define and create spaces and pathways. Consider the texture and colour of the pavers and how they will work with your exterior colours and landscaping.
When it comes to getting your pavers right, take your time with the preparation. Excavate to a sufficient depth for base course (a gravel layer that stops pavers from sinking), consider how you will edge or lock your pavers in, and plan your paver layout to minimise cuts. Work out the desired height of your finished surface, then clear and excavate the area, making deductions for the paving, base course and a slight fall to direct rainwater. Check the levels with a string line before you start laying to keep the surface consistent.
Planning is key
Research – Work out every step involved.
Plan – list All the materials and equipment you’ll require.
Budget – Know what everything will cost and always have a contingency.
Alice and Caleb Pearson – renovation experts
Alice and Caleb Pearson renovate for a living and have transformed nine houses so far – their most famous project being their winning renovation on The Block NZ in 2013. Alice and Caleb (and their two young children) are currently in the middle of their Renovation Road Trip and are chronicling this journey through their Pearson + Projects website and social media channels. “Pearson + Projects is an extension of our passion for renovation and wanting to share this with our readers – people who, like us, have got a thing for design, getting hands on and learning new skills,” says Alice.
@pearsonandprojects | pearsonandprojects.com
Shop the looks
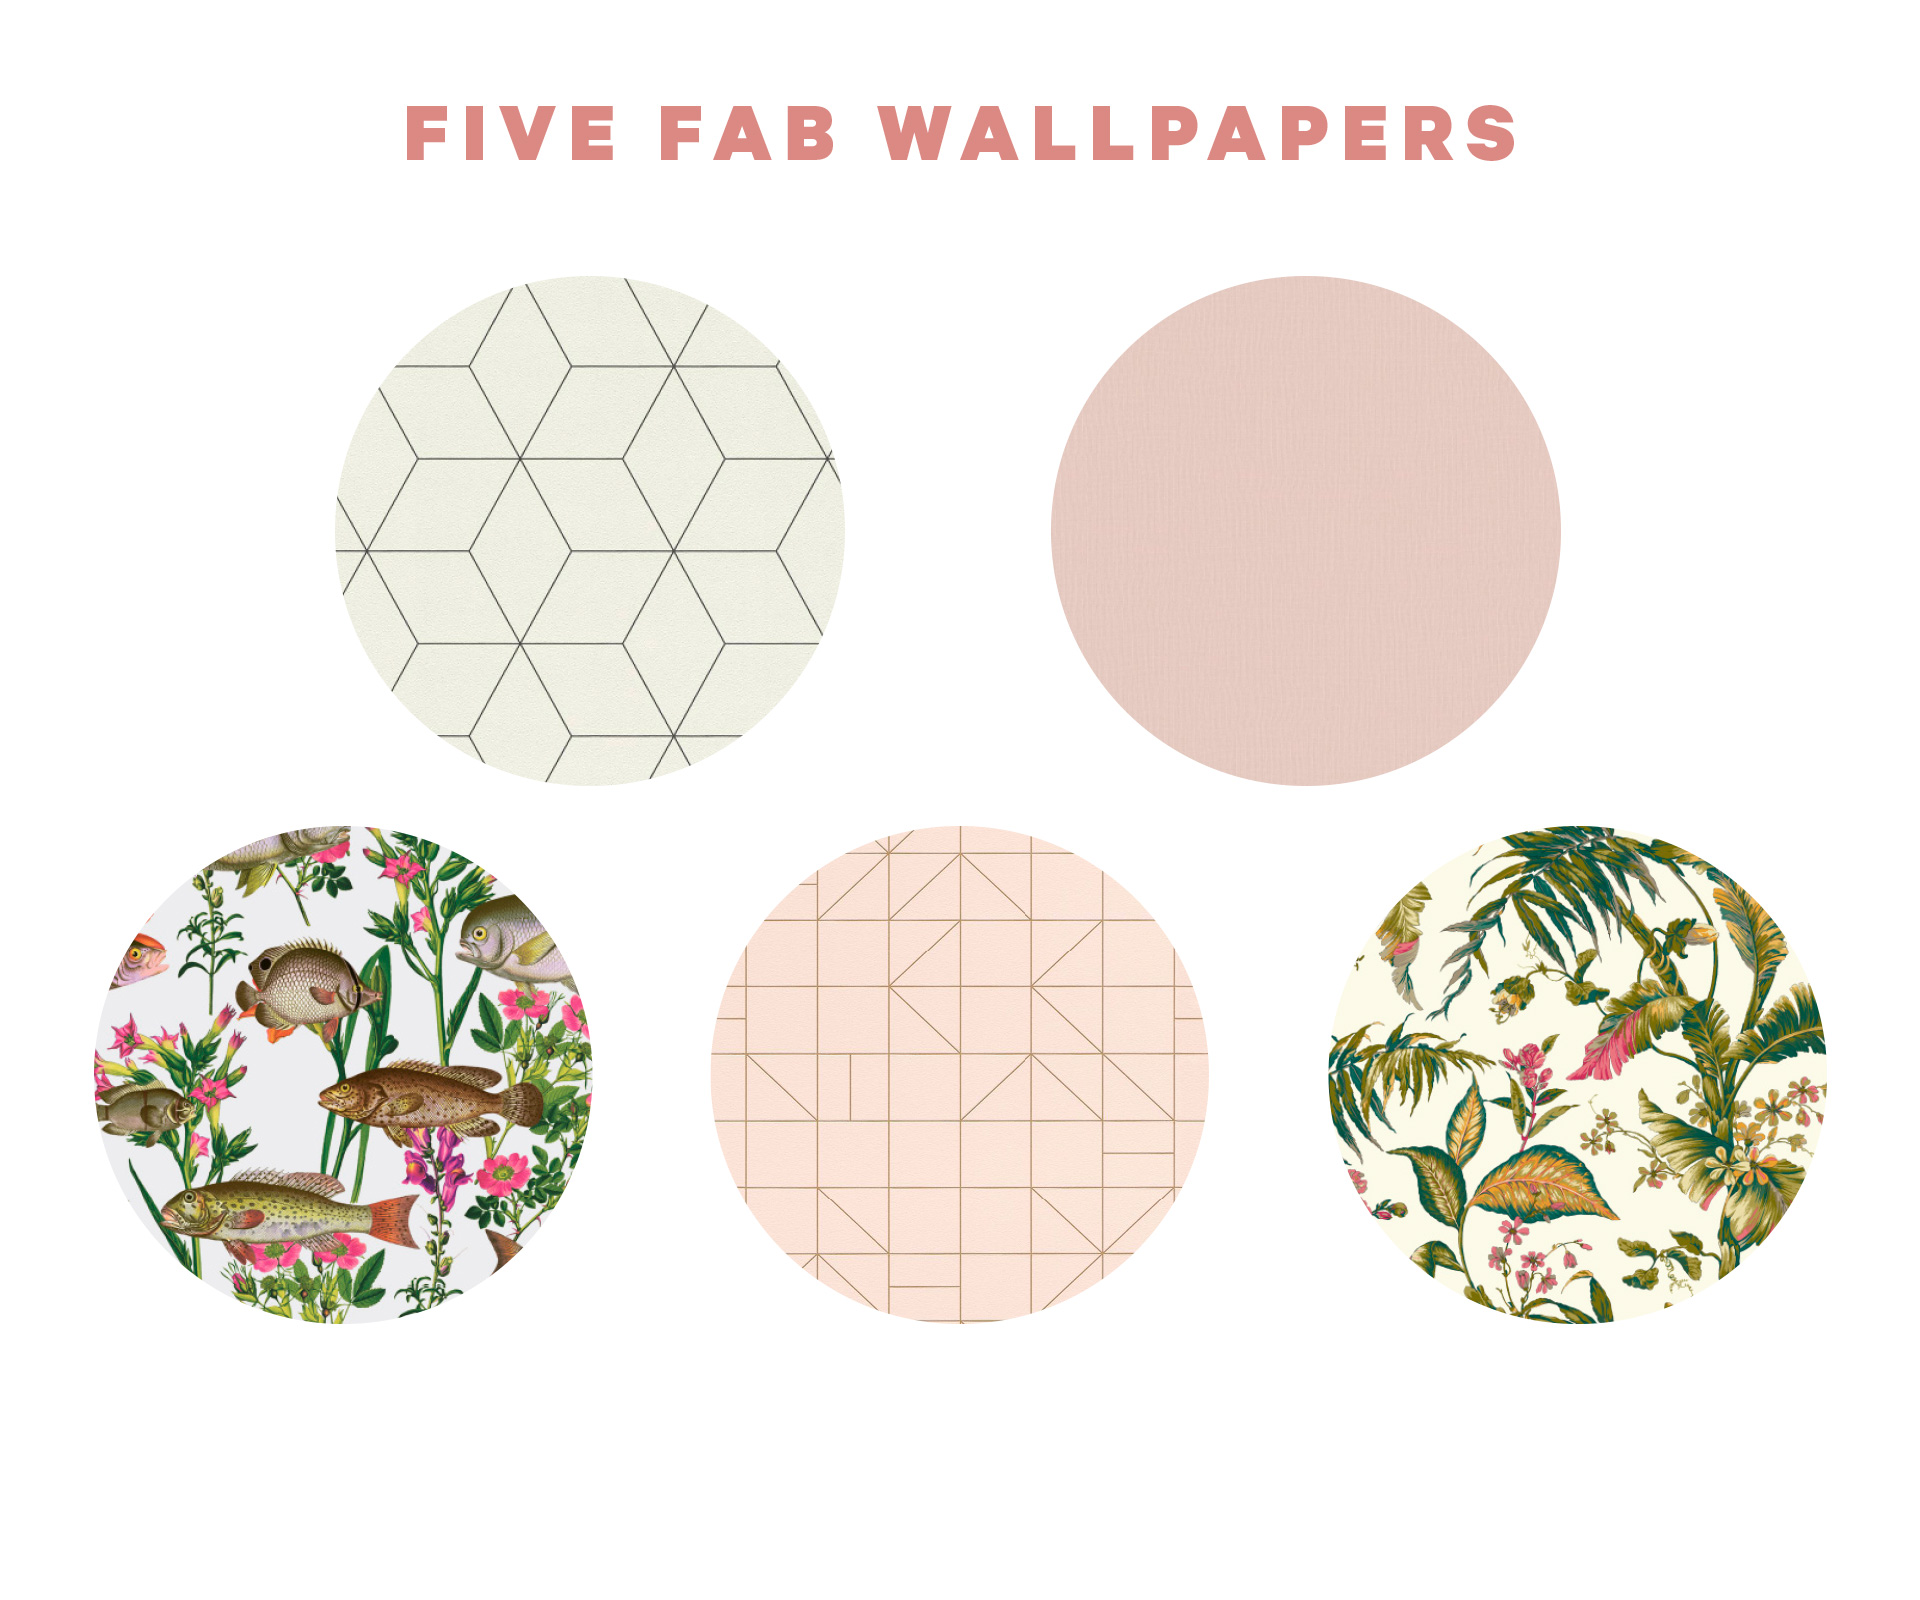
Clockwise from top left 1. Modern Art 624304, POA, from Aspiring Walls. 2. #Smalltalk 219213, $136.99 a roll, from Guthrie Bowron. 3. Ashford Tropics AT7092, $200.95 a roll, from Resene. 4. Modern Art 610734, POA, from Aspiring Walls. 5. Imaginarium 12170, $109.95 a roll, from Resene.
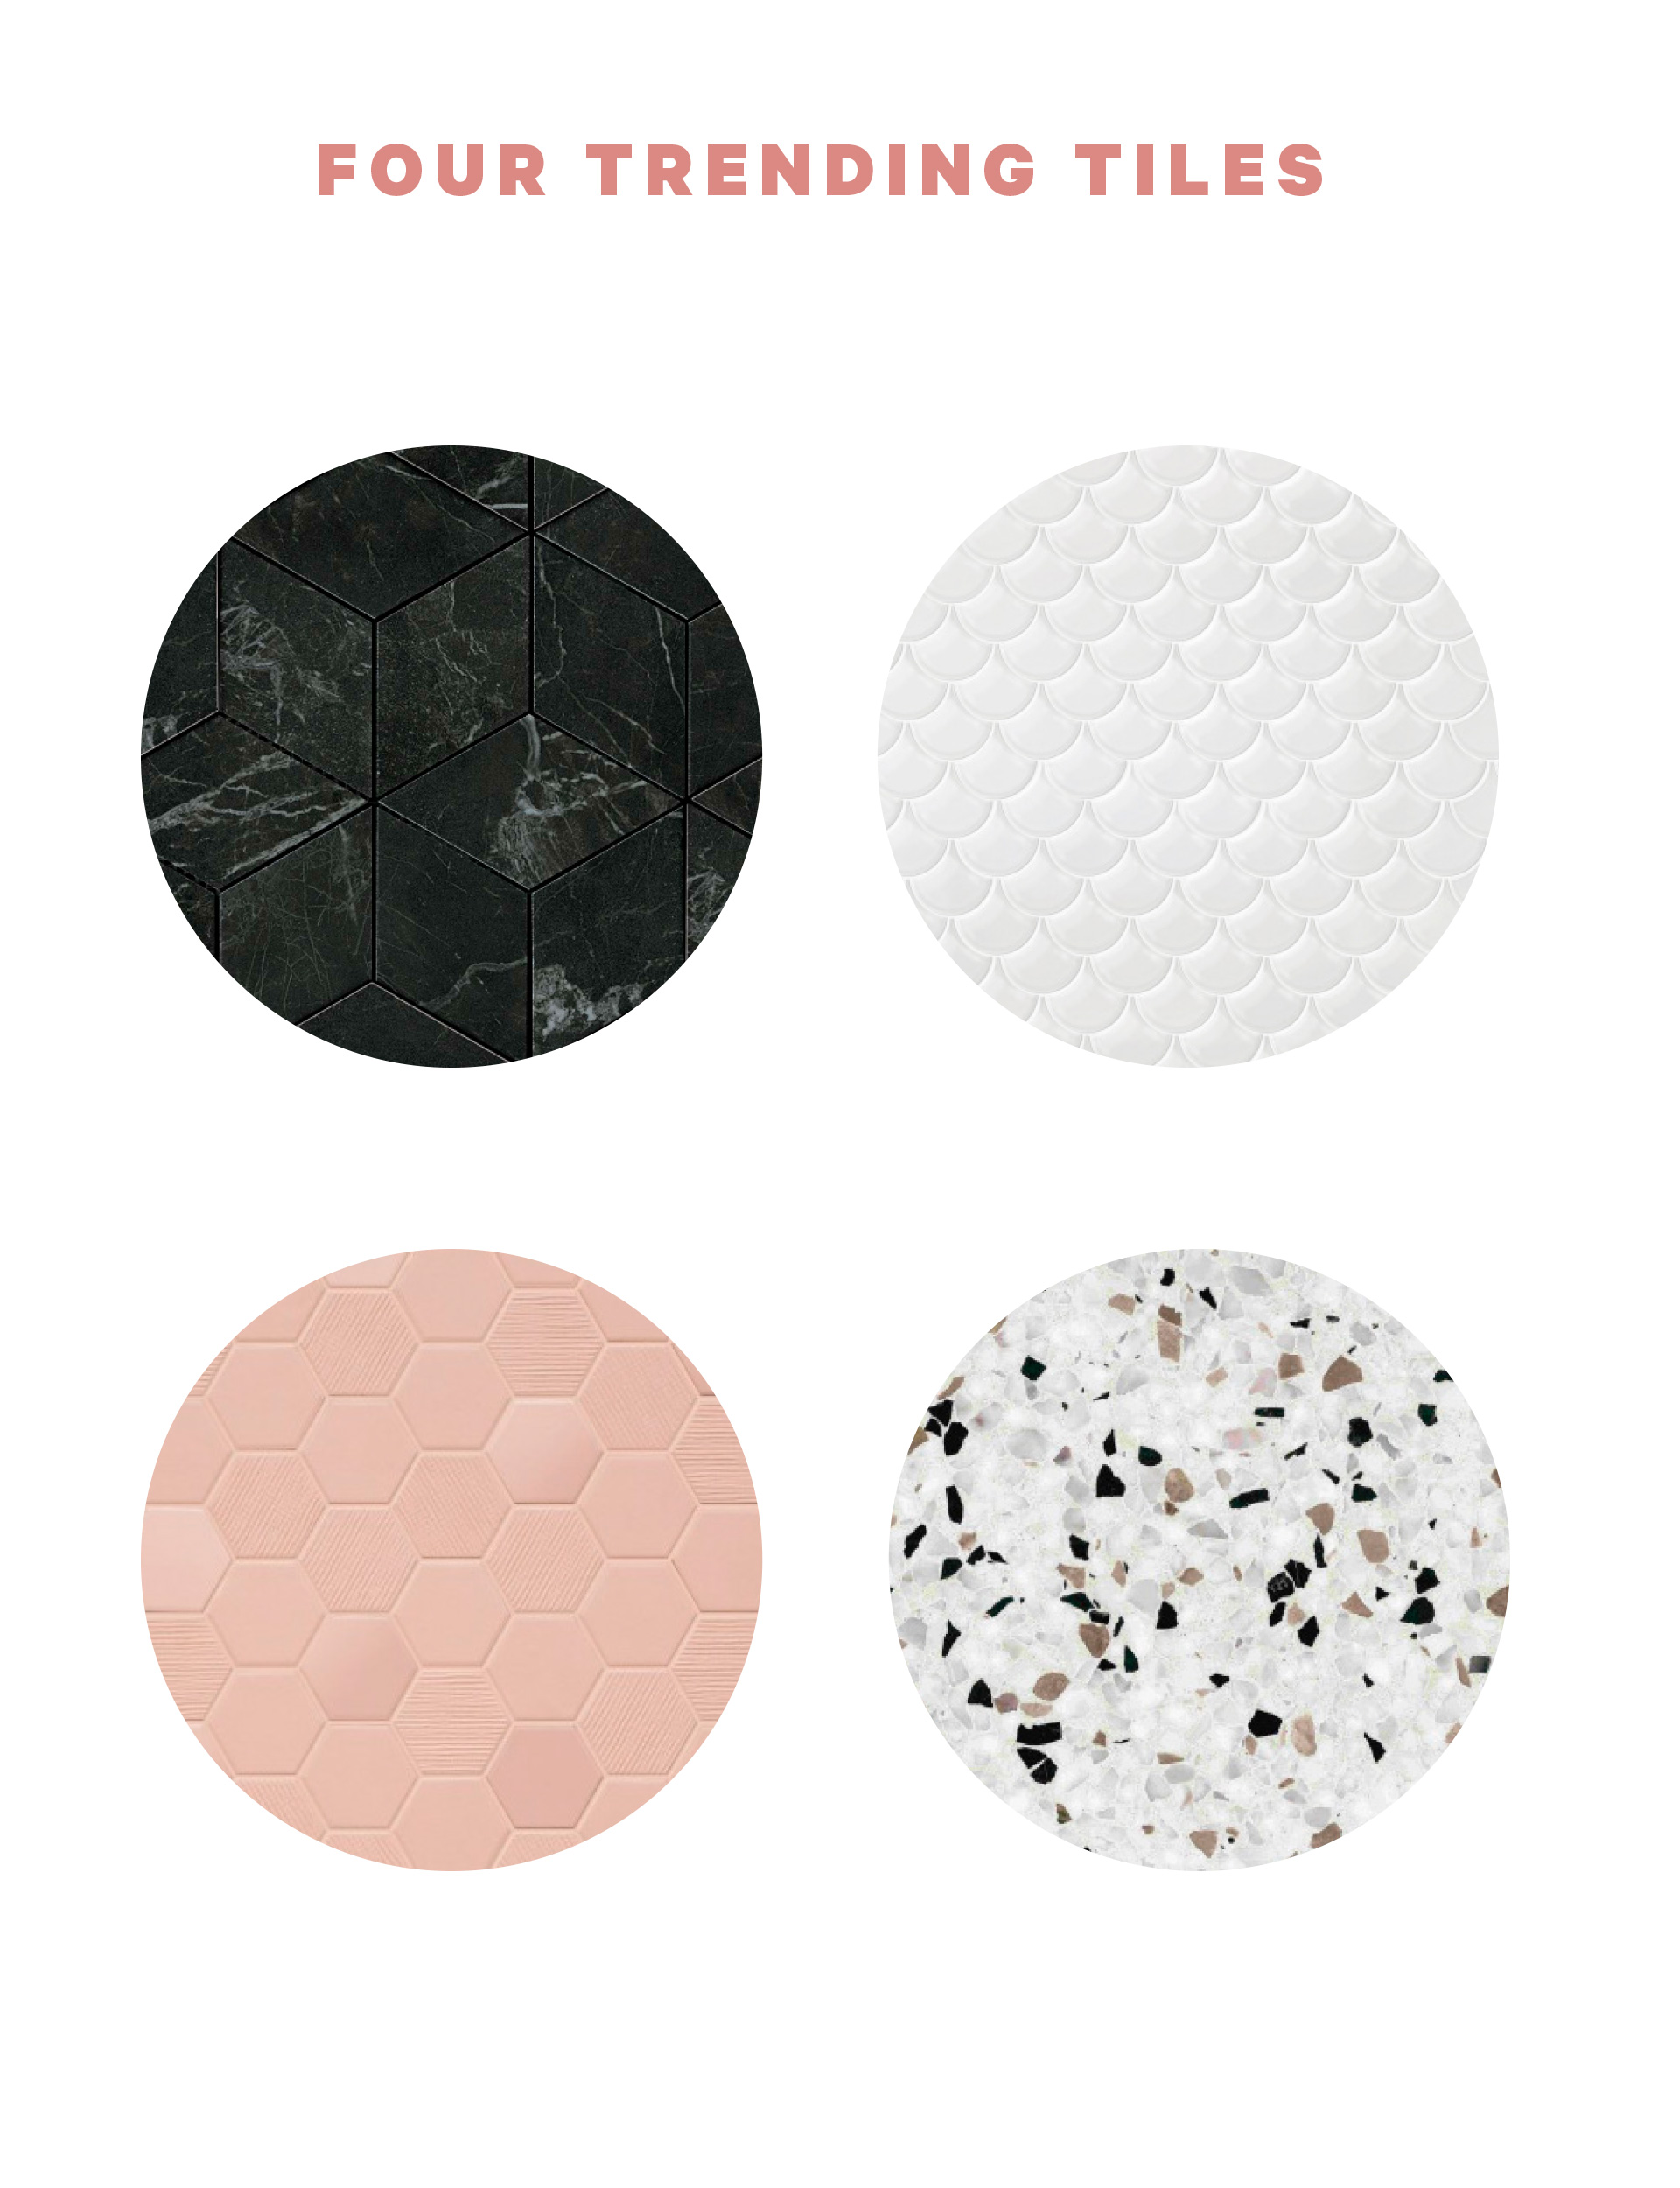
Clockwise from top left 1. Marvel cube mosaic in noir, $45 a sheet, from Tile Space. 2. Ritmos tile, $24 a sheet, from Tile Warehouse. 3. Beton Still mosaic in rosy blush, $39.90 a sheet, from Tile Depot. 4. Ecostone terrazzo tile, $185 per sqm, from Tile Space.
Words by: Alice and Caleb Pearson. Photography by: Helen Bankers, Bauer Syndication.
EXPERT PROJECTS


Create the home of your dreams with Shop Your Home and Garden
SHOP NOW


