Setting up a compost bin takes a little time and practice but will improve the quality of your veges, the vitality of your garden and the health of our planet
If you fancy yourself as a vege gardener, or any type of gardener for that matter, composting should be one of your priorities. Some say composting is a gardener’s most important job; it’s definitely one of the best things you can do for the planet. There are many different methods for, and theories about, composting, which can make it seem very complex, especially to newbie gardeners. So we’ve come up with a beginner’s guide to this age-old and very satisfying process.
Why compost?
Compost is a natural way to recycle garden and kitchen waste and keep it out of the landfill. The many different types and varieties of beneficial soil organisms in compost help release nutrients and keep plant diseases at bay, meaning healthier, stronger plants. Those same organisms also improve the structure of the soil, whether it’s clay or sandy, by aerating it and turning it into a crumbly, soil-like mix. They also make soil more friable, meaning it can hold water yet also drain well.

What type?
There are many types of compost, but in New Zealand we are most familiar with the English hot or cold composts, worm farms and the Japanese bokashi system. Here, we’ll focus on hot and cold composting. The former is quicker and will kill weed seeds and diseases but takes more effort. The latter is easier but takes longer and you need to avoid weed seeds and diseased plant material.
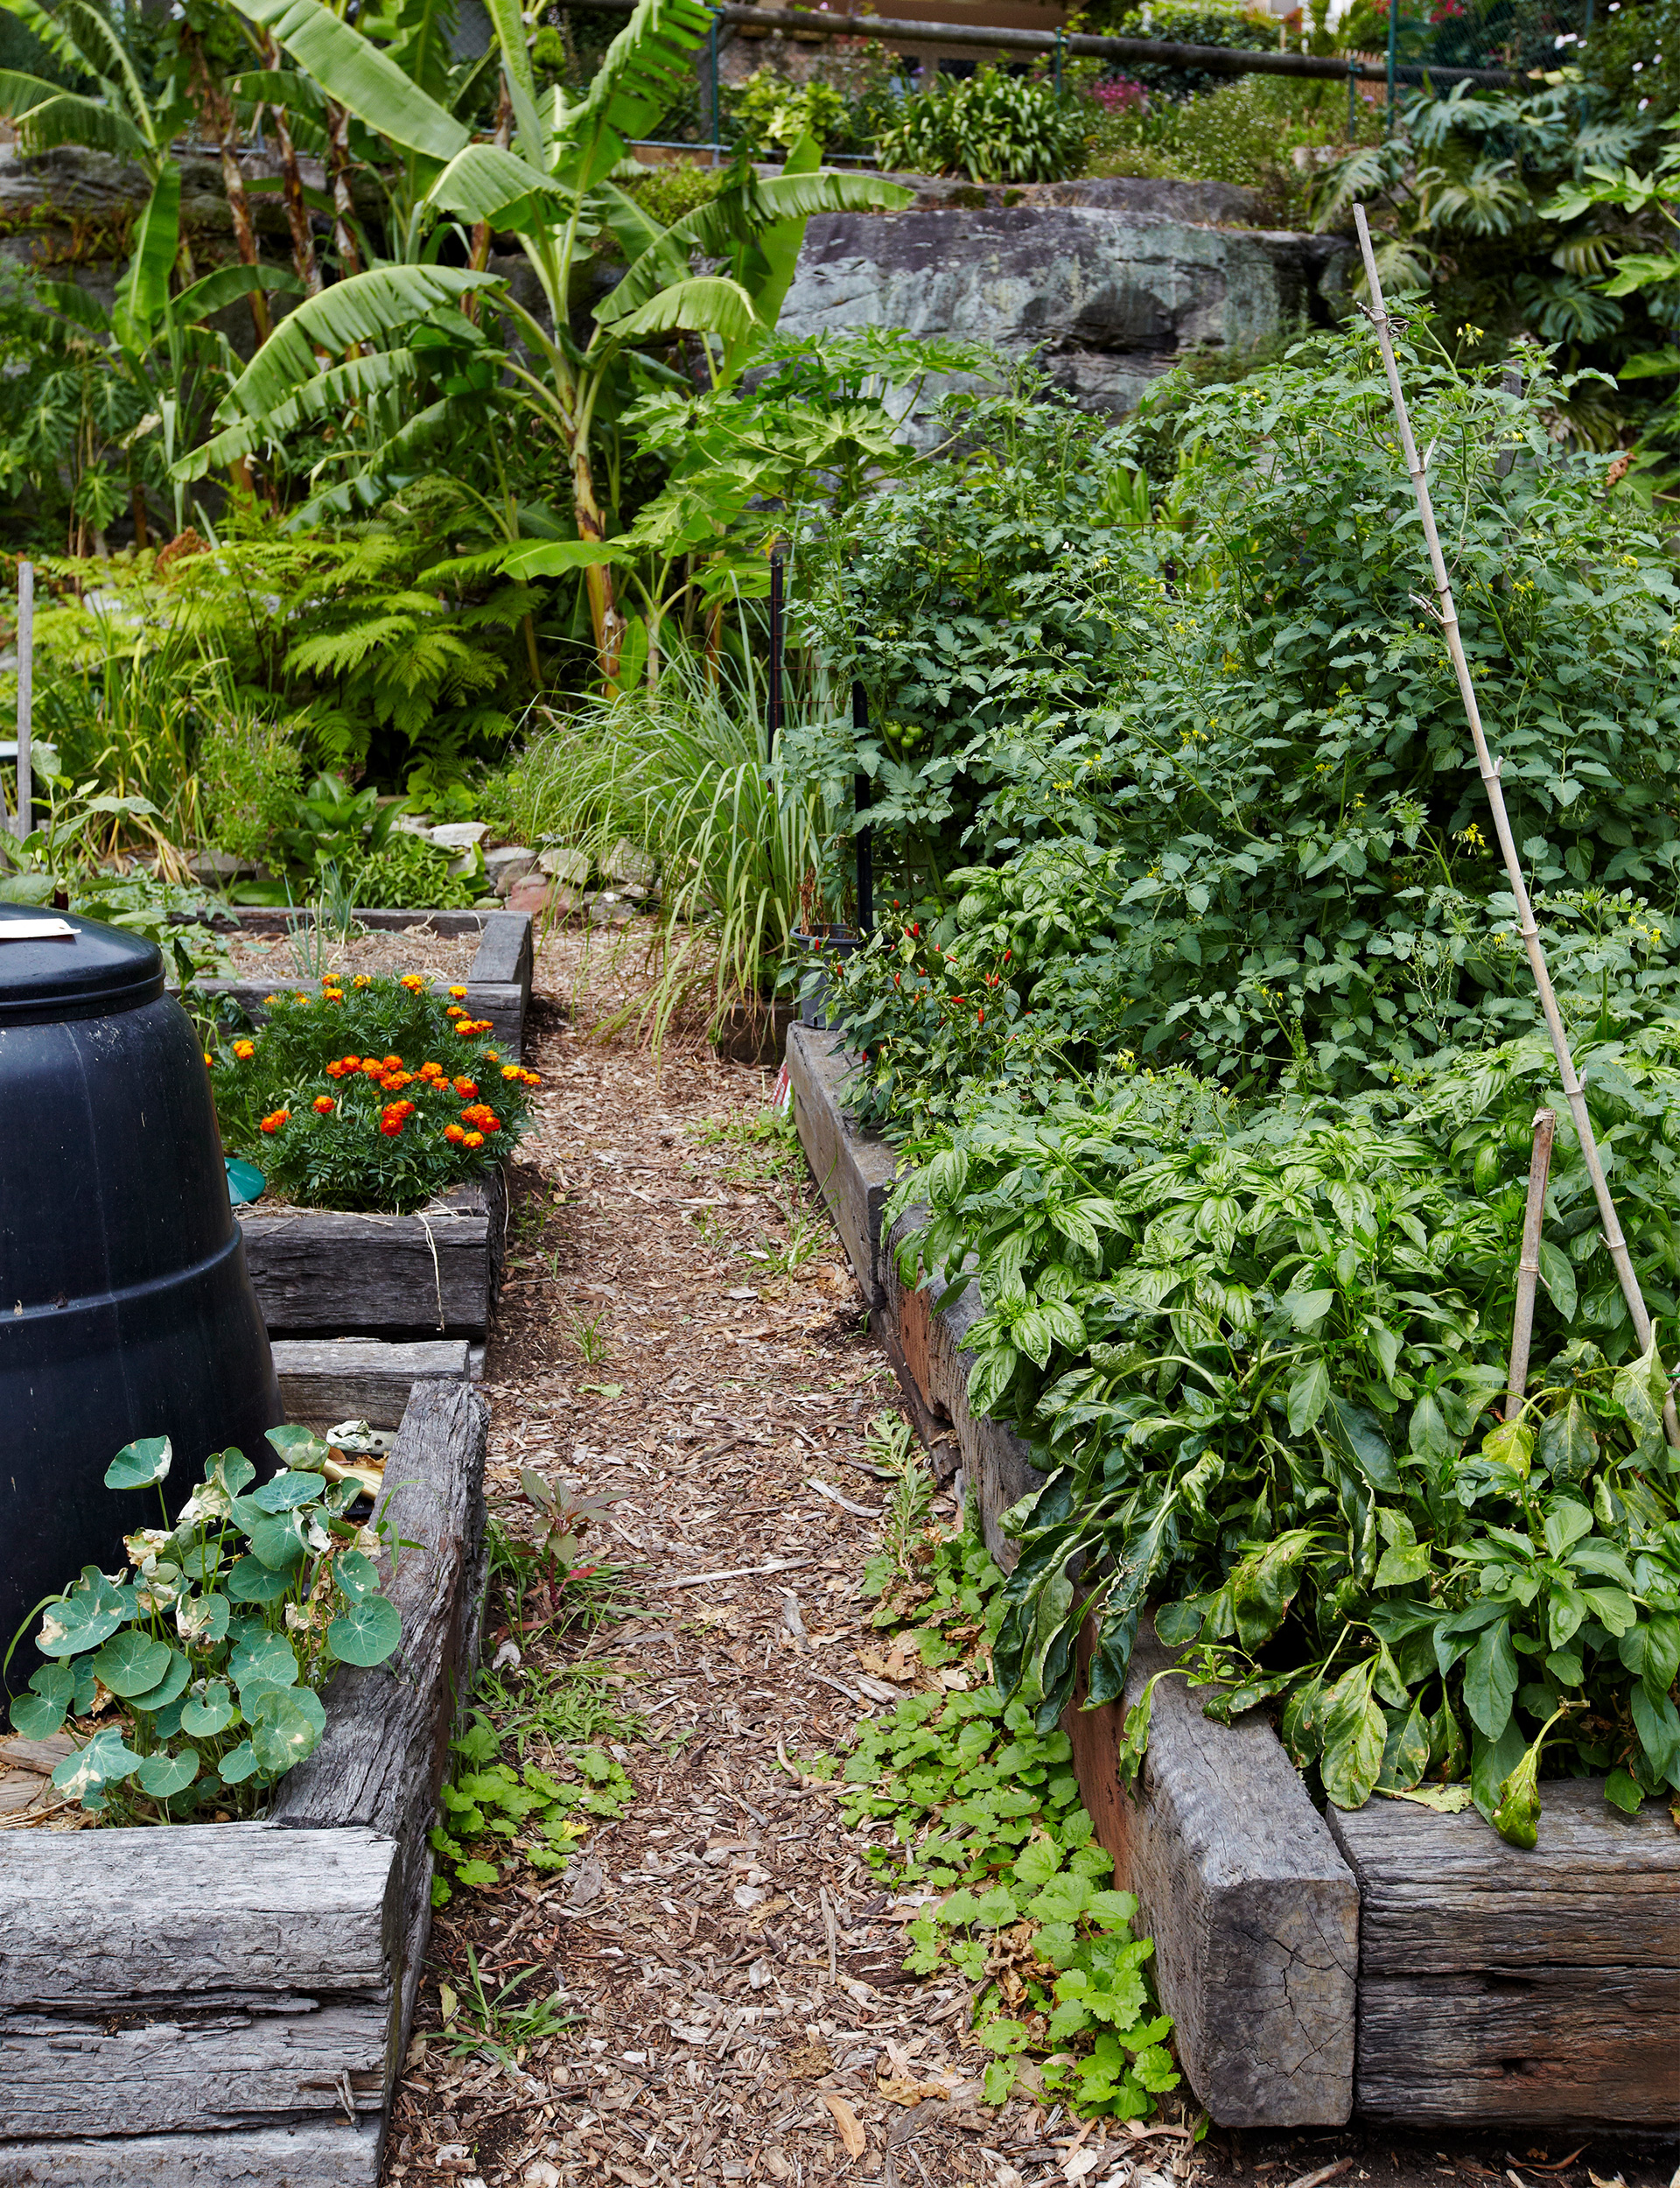
Although you can create a compost heap virtually anywhere in the garden, a purpose-built bin is tidier, keeps all the material hotter and makes it easier to control moisture levels. For hot composting to be successful, you’ll need a bin volume of around 1 cubic metre. There are many simple ways to build a compost bin, as well as many you can buy.
A well-fitting lid is vital to keep the rain and vermin out. As long as you don’t add cooked food, fats and meat, rats and mice are more likely to be attracted to the warmth of the compost rather than its contents. Bait traps nearby should keep them under control. Bad smells should not be a problem if you are composting correctly, but the compost will often attract small flying insects.
Tip: To make a healthy liquid fertiliser for potted plants, brew your own compost tea by diluting compost with water, then sieving it to remove the solids.
Where to put it?
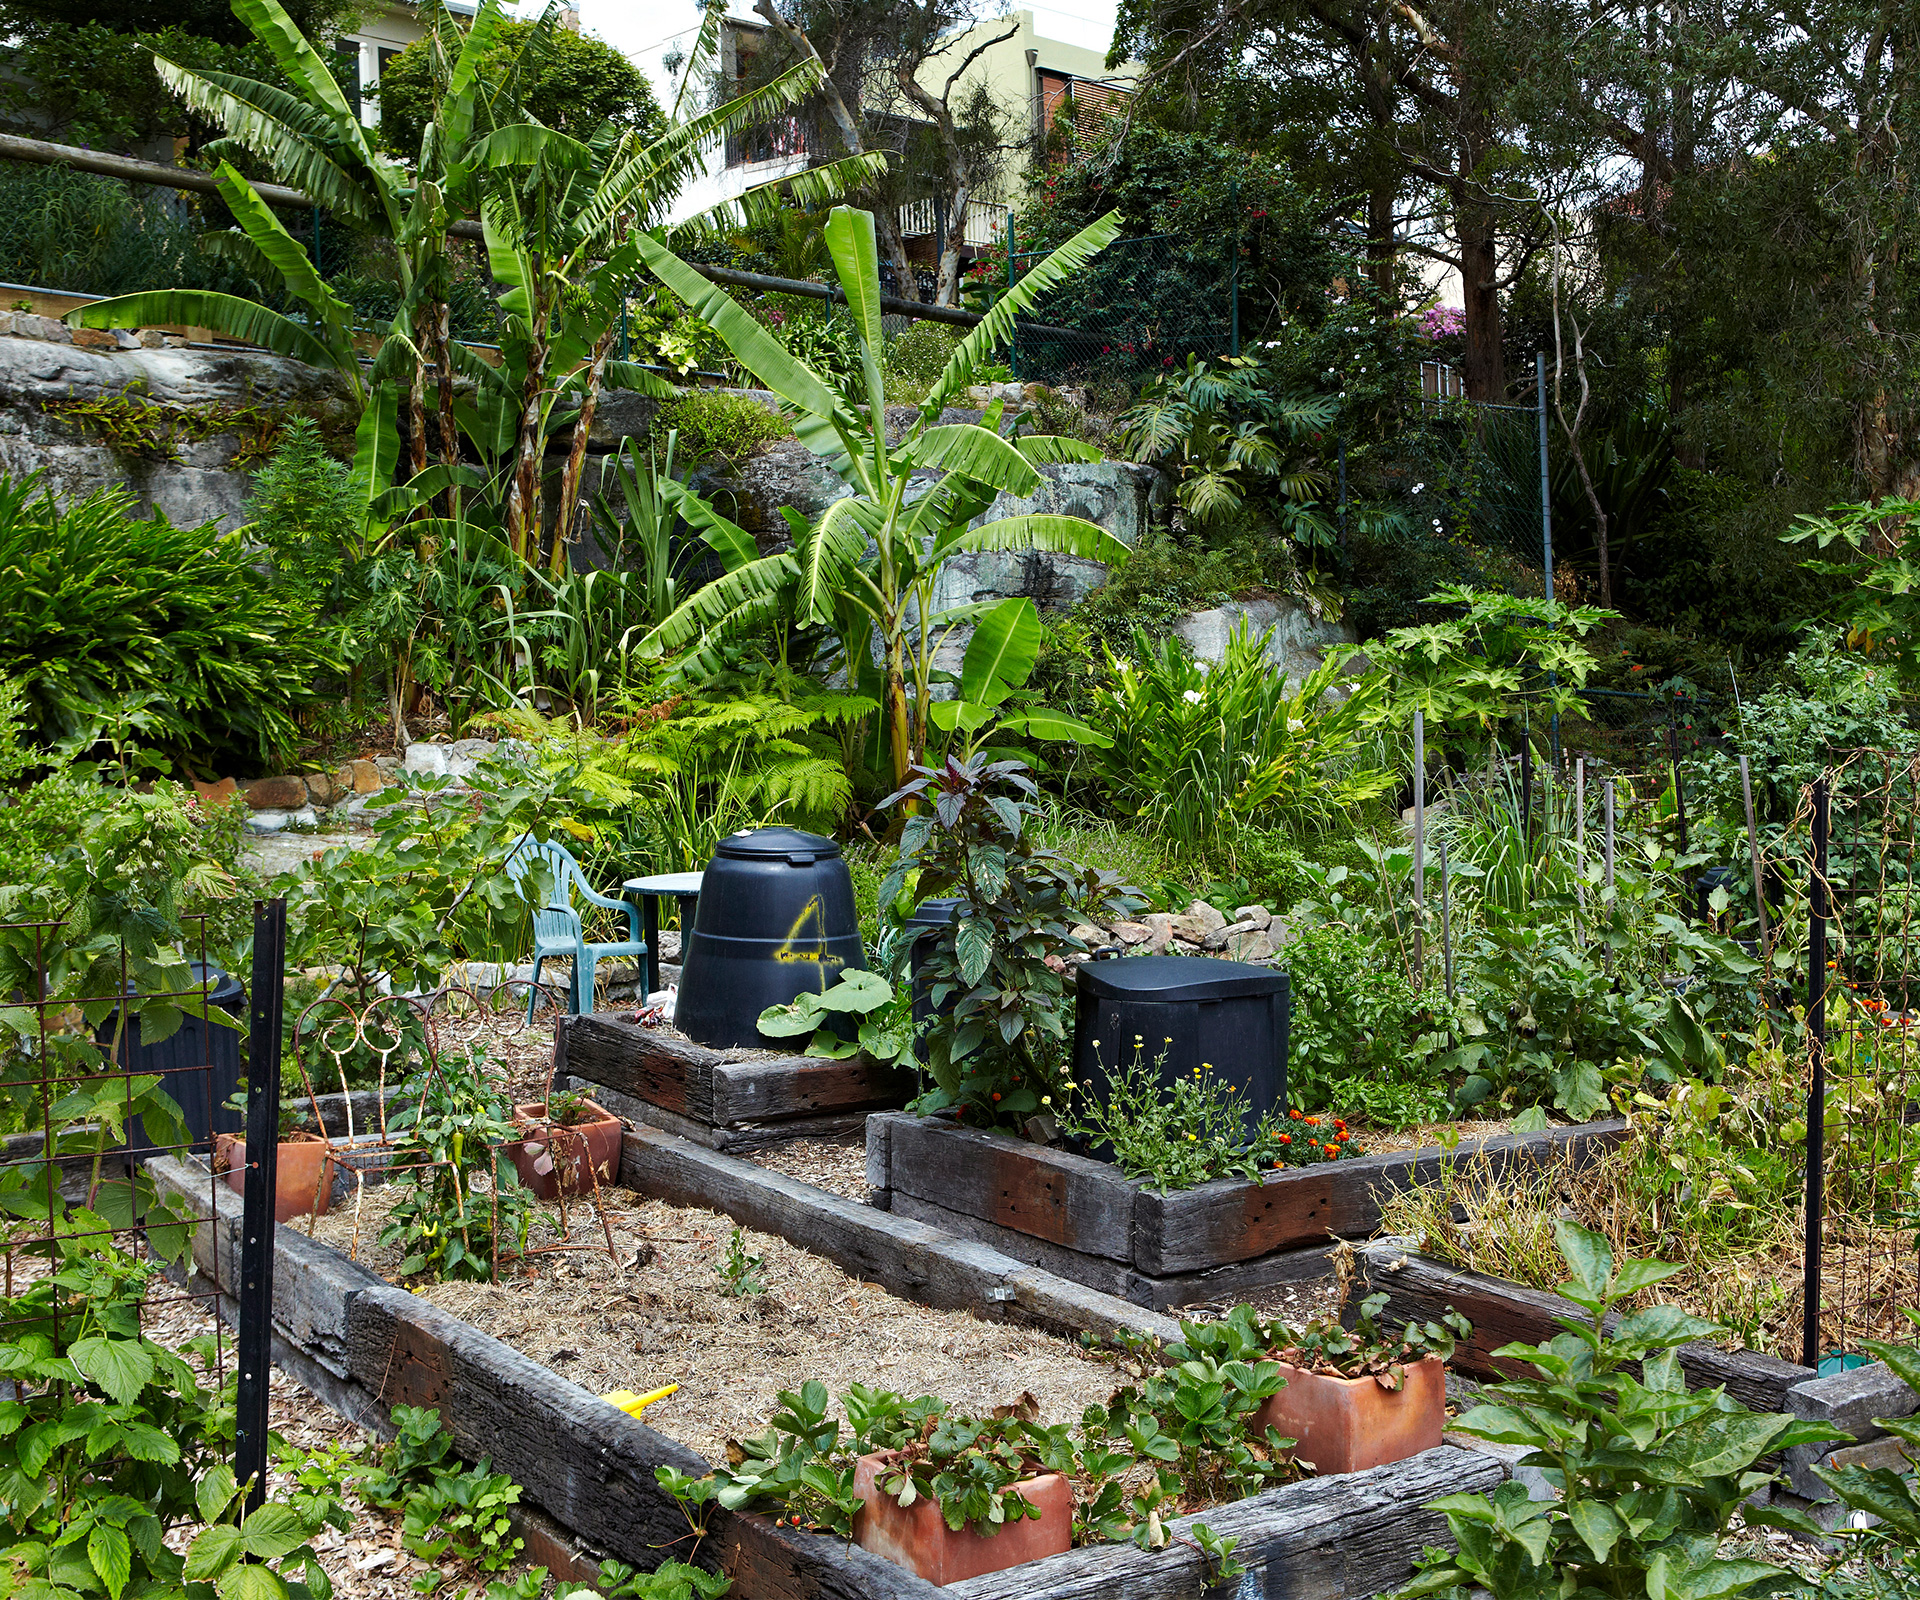
Place your compost close enough to the kitchen for regular deposits of scraps but not so the bin is in your face when entertaining outside. A sheltered, sunny spot is best, with well-drained soil that allows earthworms to
enter easily.
What to use
Every gardener has their own recipe for making compost but the basic rule is to add roughly even amounts of:
- Carbon material such as twigs, dry leaves, tree prunings, untreated sawdust, cardboard and other woody materials.
- Soft, green stuff such as kitchen scraps, lawn clippings, weeds (without seeds), hedge clippings, green leaves and seaweed. Nutrient-rich weedy plants like stinging nettles, borage and pond weed are great compost ingredients.
- You can also add organic material such as eggshells, tea leaves, coffee grounds, wool scraps, feathers, wood ash and sacking.
- To speed up decomposition, make sure materials are chopped up well, and add thin layers of poultry or animal manure, blood and bone, lime or some existing compost. Some gardeners use leftover wine or beer, yoghurt or gone-off milk as compost activators. You can also sprinkle garden soil in between layers.
What not to use
- Cooked food scraps, particularly dairy, fat or meat. Never add these to compost.
- Weed seedheads, diseased or infested material, or invasive plants such as dock roots, dandelion roots, couch, oxalis and tradescantia. They’ll often survive in cold composts and then re-sprout in your garden when you dig in the compost. Drown weed roots and seedheads in a lidded, water-filled bucket for a few weeks so they rot down, then strain, throw the solids into your compost and use the liquid to feed plants.
The process
For a cold compost, start with a layer of dry carbon material on the bottom, then gradually add alternate layers of green stuff and carbon stuff. Every couple of weeks, add a thin sprinkle of animal manure or other activators. Stop layering once your bin is full, and start another bin. After 8-12 months, your compost should be ready (most modern bins allow you to start removing compost from the bottom layer, which will mature first as it’s been in there the longest).
For a hot compost, follow the same process, but do it all in one go to ensure maximum heat. Make sure materials are damp but not wet. After a day or so, when plenty of heat has built up in the centre, turn and mix so the material on the outside is moved inwards (there are a multitude of purpose-built bins on the market, including tumbler ones, to make this step easier). Repeat the mixing once a fortnight for 4-6 weeks to continue the cooking process. Afterwards, leave it to mature and cool down, then cure for a few months or so, keeping the compost moist but not sodden.
The length of time can vary according to the season and region, from 4 months to much longer. In colder places/seasons, the compost will need lots of mixing and possibly insulation around the bin to allow it to heat up properly. In drier areas, you might need to add more water for good heating. The bigger the bin, the more effective the composting process.
When is it ready?
Compost is ready for use when it has turned into a black, crumbly substance that looks and feels like rich, moist soil.
How many bins?
This depends on how much compostable material your household produces. Many serious vege gardeners have three compost bins: one for filling and mixing, one for maturing compost, and the third for using in the garden.
How to use compost?
Dig your fresh compost into soil or spread it as mulch around the drip line of plants. Don’t plant new seedlings directly into compost – it’s a potent substance and can burn the roots.
Words by: Carol Bucknell. Photography by: Bauer Syndication and Rebekah Robinson (Kate Bezar).
EXPERT PROJECTS


Create the home of your dreams with Shop Your Home and Garden
SHOP NOW


