We’ve taken these $3 wooden placemats from Kmart and turned them into four easy DIY projects. See how below
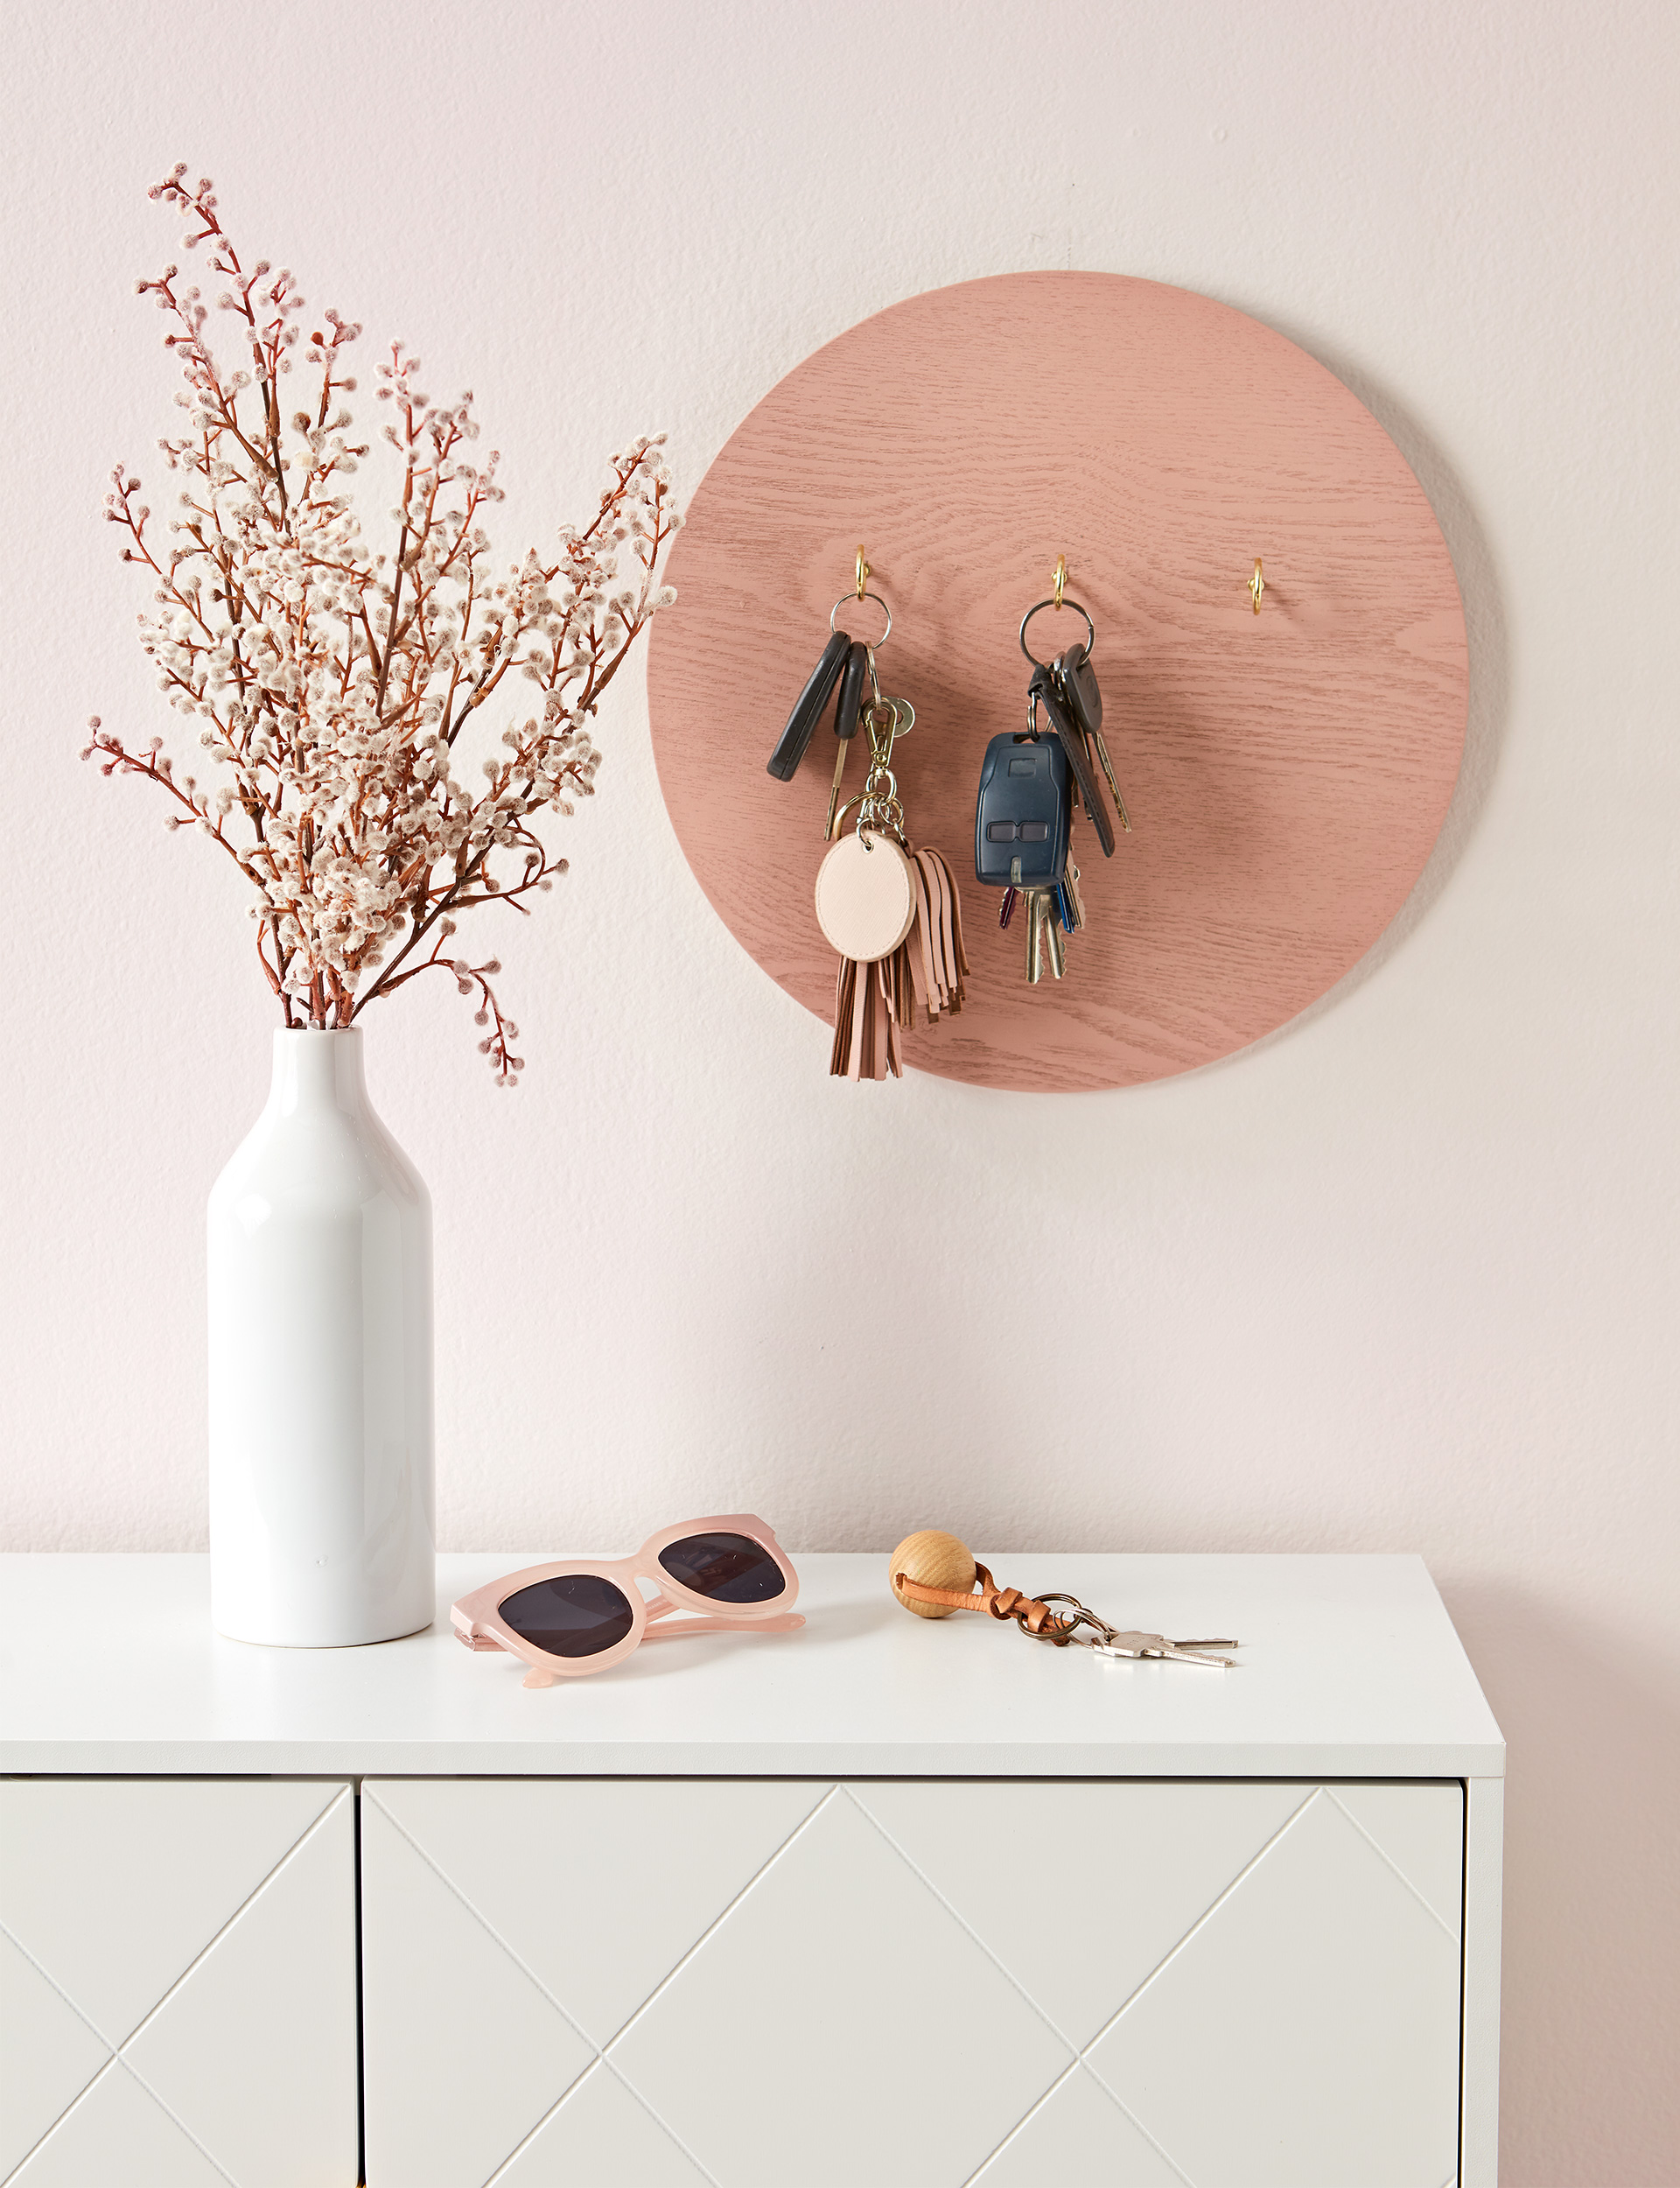
1. Key holder
With luck, you will never lose your keys again with this simple key hanger. Take a round wooden placemat and drill 3 small holes, evenly spaced, across the top third of the mat; take into account the length of your key rings (plus tassels etc) as it looks neater if these do not hang below the bottom edge. Screw a hook into each hole by hand and then hang on the wall using 2 flat picture hooks to keep it nice and steady. Add your keys and – voilà! – no more lost keys.
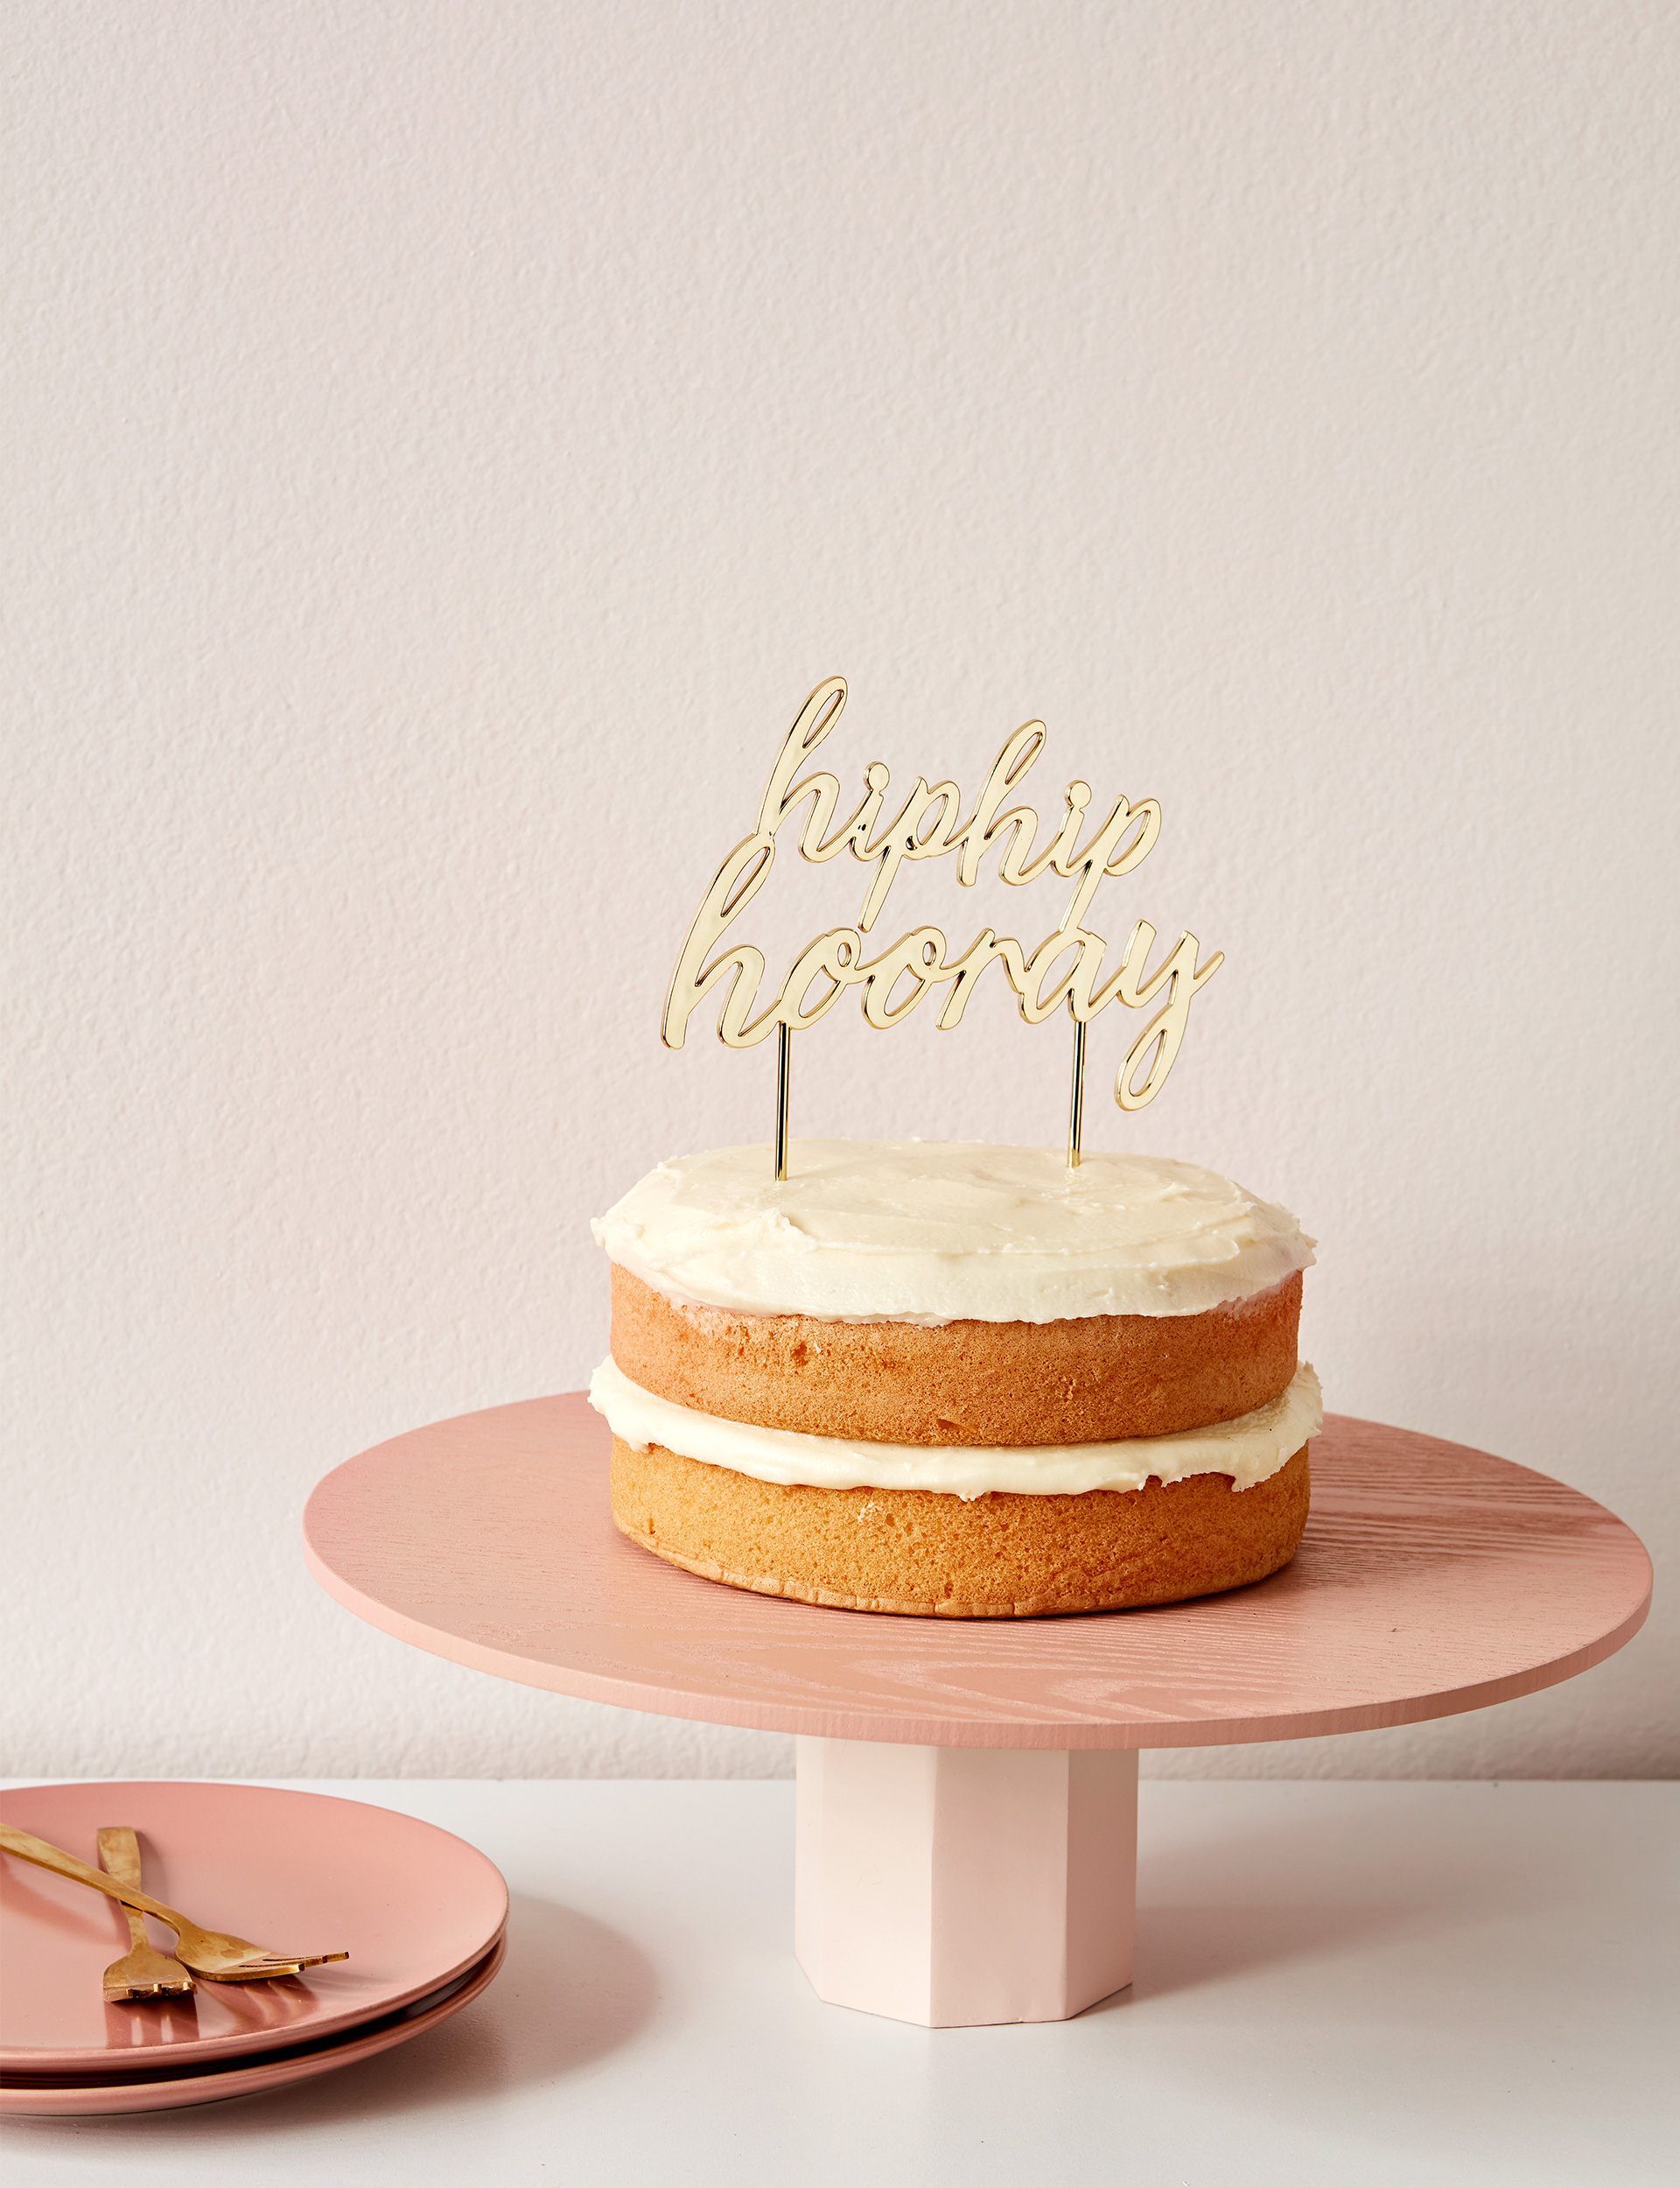
2. Cake stand
Take a round wooden placemat and match it to a pen cup or similar, which will act as the base of your cake stand. Apply some Liquid Nails glue around the top of the pencil cup and centre the placemat on top (you might find it easier to do this upside down, with the placemat on the bottom). Leave to dry overnight before use.
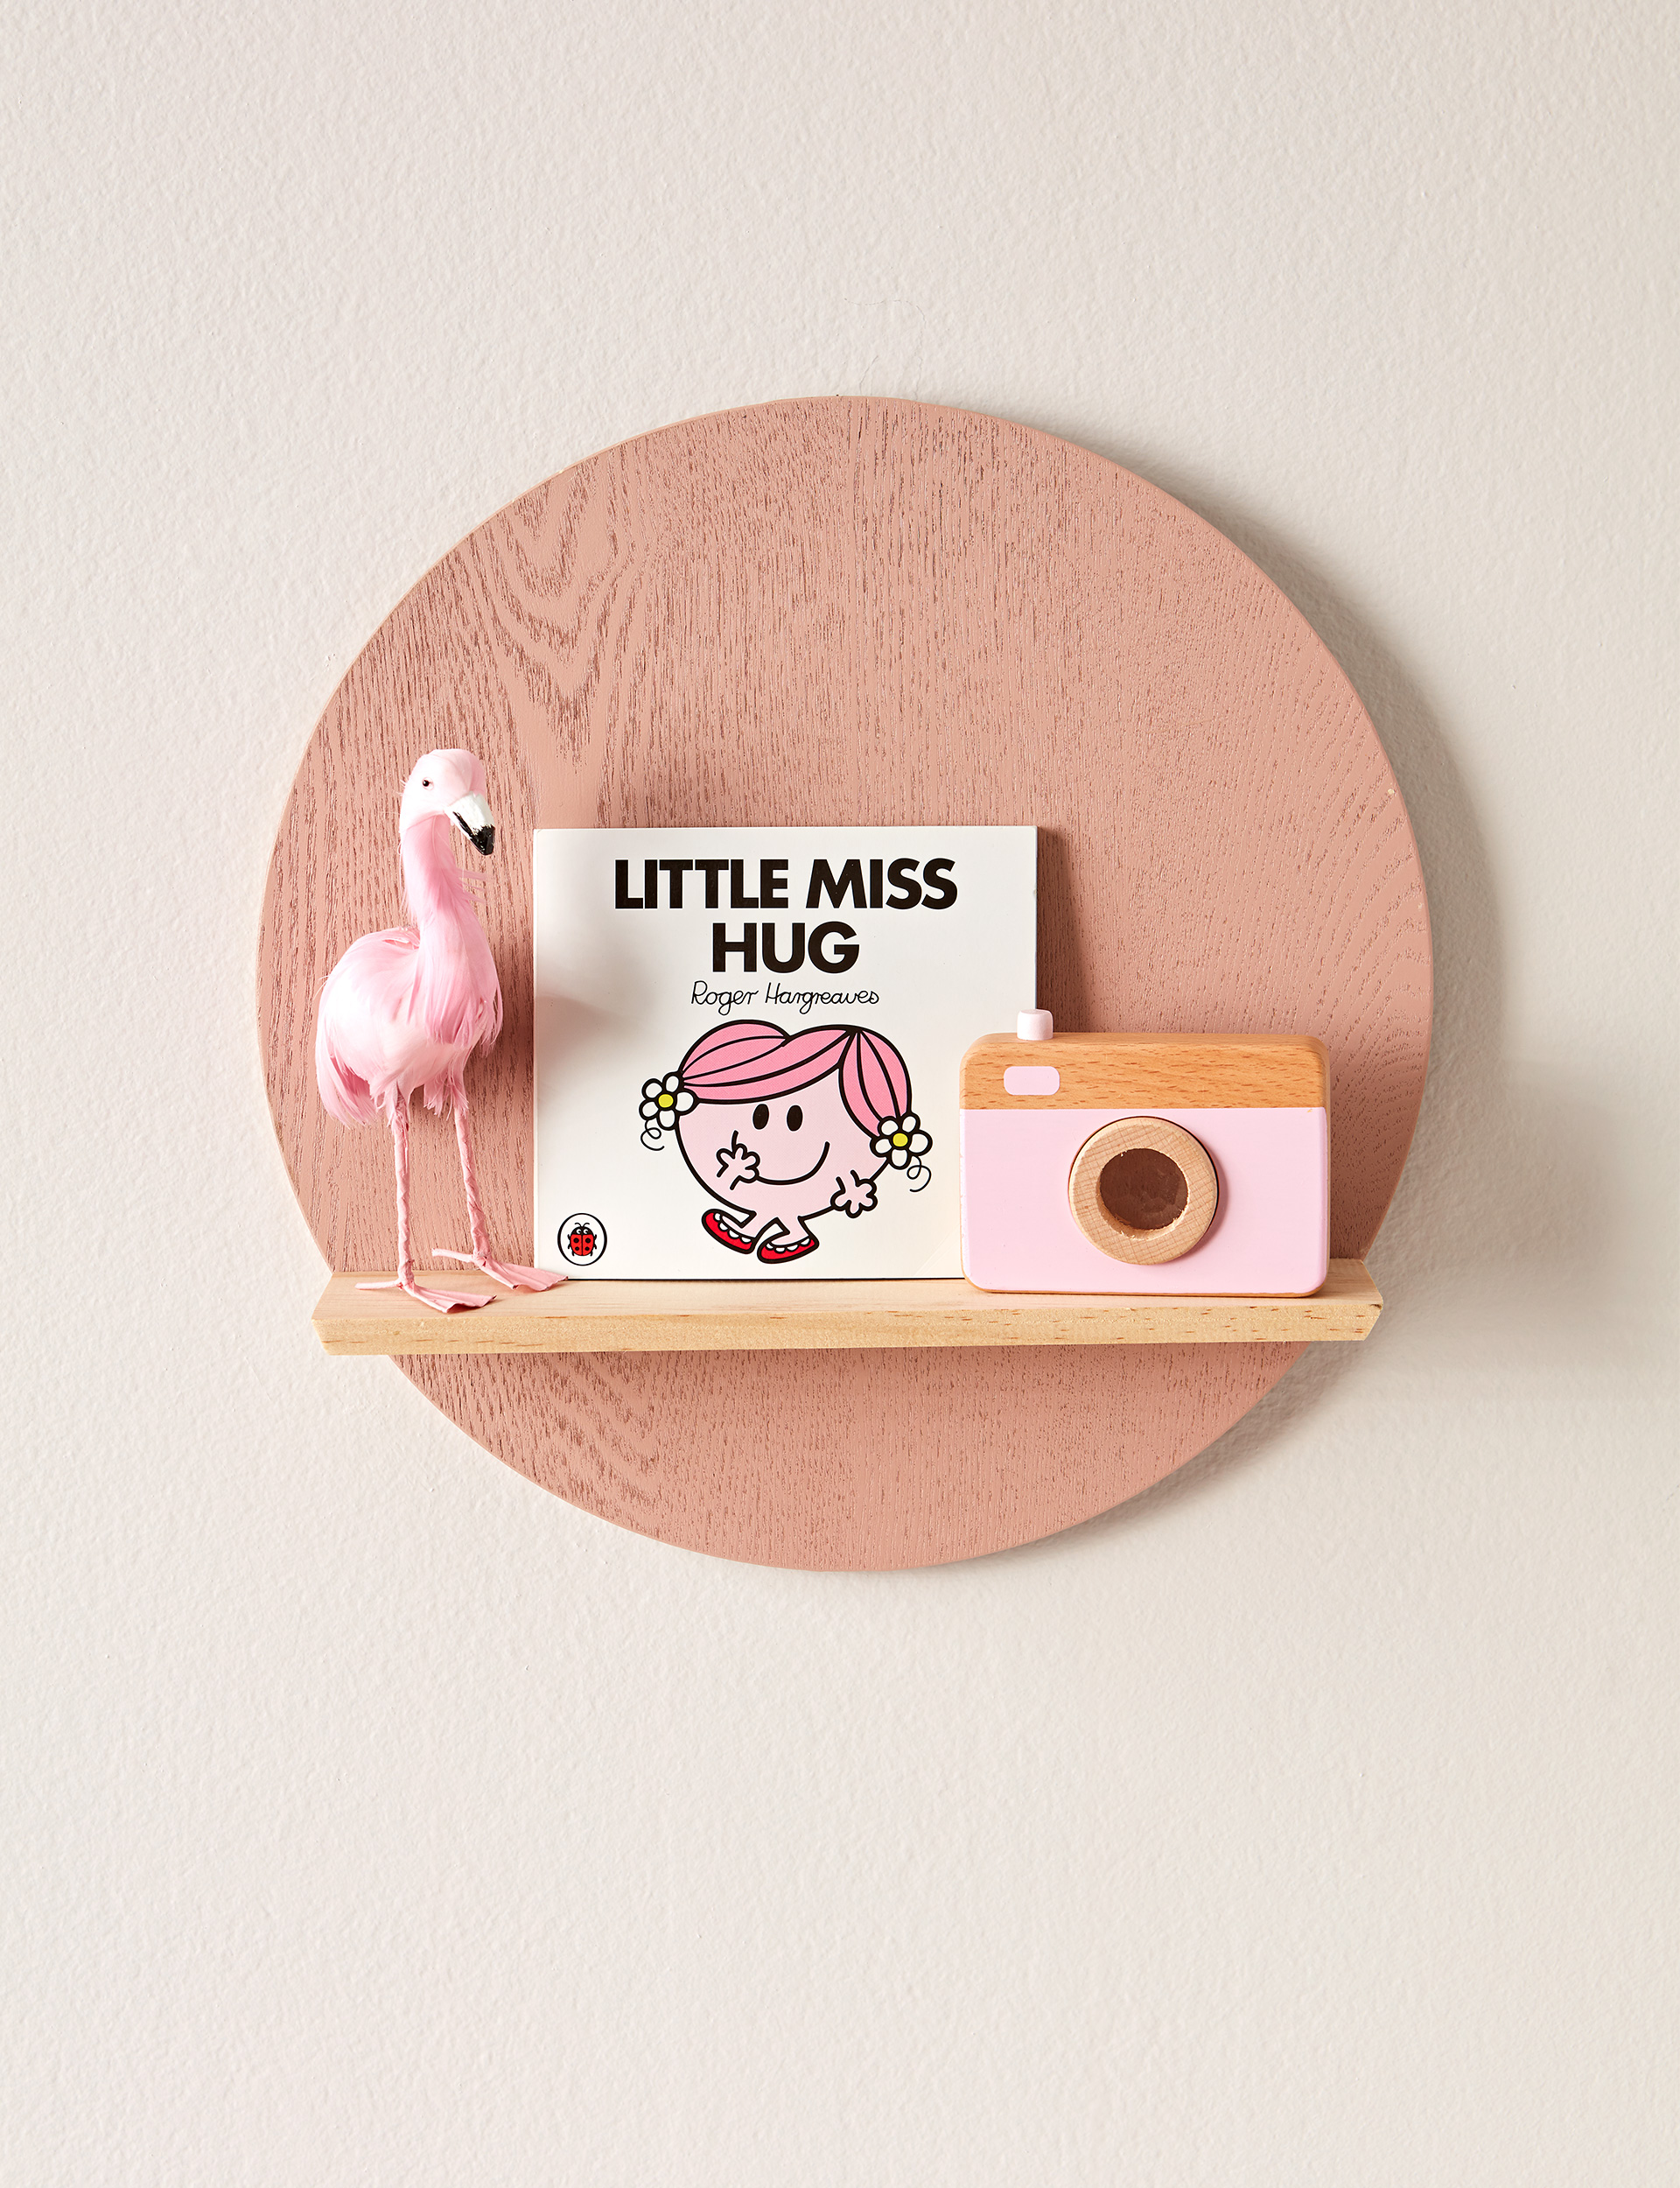
3. Display shelf
This cute mini shelf is great for a child’s room and is super-easy to make. You will need a small piece of pine 29cm x 6cm x 1cm; for a nice finish, saw ends on an angle and sand smooth to match the edges of the round wooden placemat. Lay mat flat, apply Liquid Nails along back edge of shelf and glue to mat. Hold for a few minutes till the glue has bonded then leave overnight before hanging.
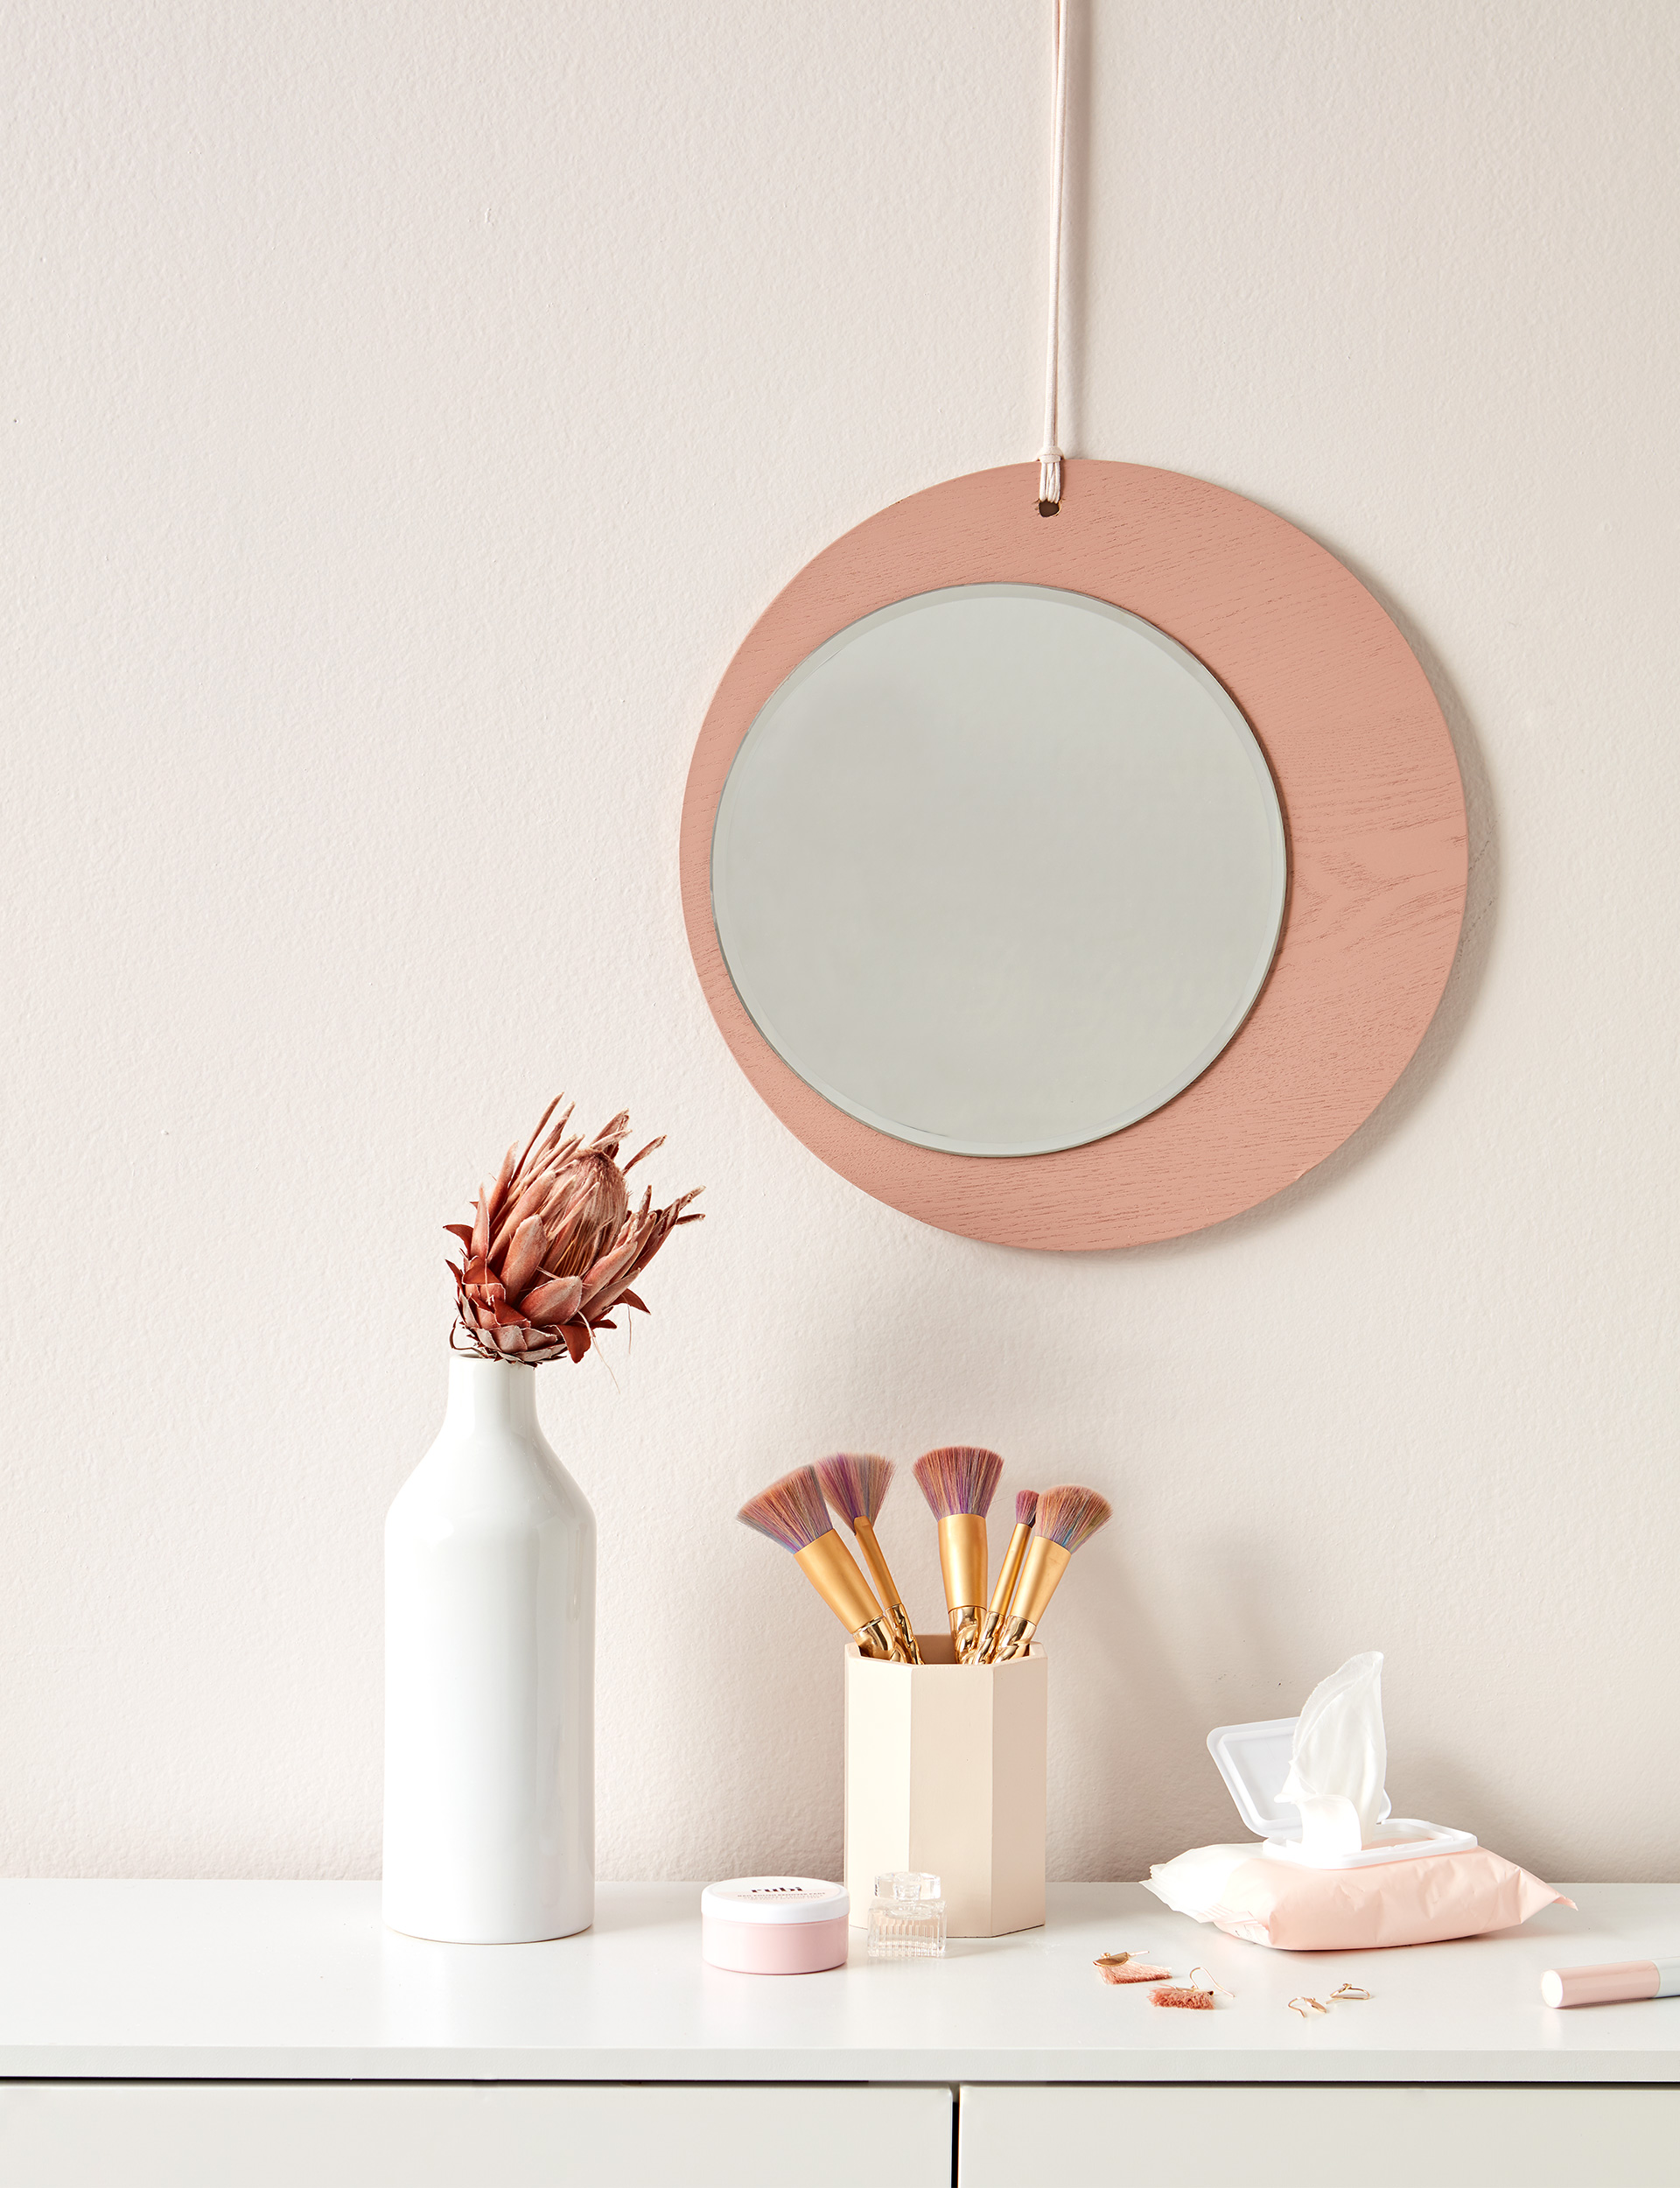
4. Mirror
Take a round wooden placemat and drill a hole in the top that’s big enough to be threaded with your chosen hanger material – string, cord, rope, ribbon… whatever suits. Use Liquid Nails to glue a small round mirror onto the placemat, positioning it slightly off-centre to create an on-trend look; we bought a small, inexpensive mirror from Look Sharp. Leave overnight for the glue to dry, then thread and hang on the wall.
Words by: Vanessa Nouwens. Photography by: Wendy Fenwick.
EXPERT PROJECTS


Create the home of your dreams with Shop Your Home and Garden
SHOP NOW


