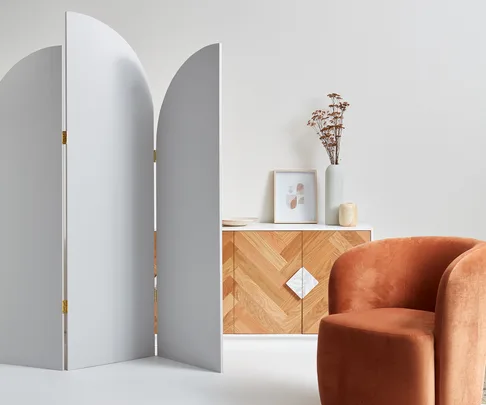
A room divider is an easy and decorative way to create separate spaces in a room or give a bare corner some interest. Here’s how to make your own

You will need
- 2 pieces of 1900mm x 600mm x 18mm MDF (if you wish, you can use slightly thinner MDF to make screen lighter and easier to move)
- 1 piece of 2100mm x 600mm x 18mm MDF
- Pencil, string, drawing pin
- Hand-held jigsaw
- Sandpaper
- Paint roller and tray
- Paintbrush for edges
- Paint in colour of your choice
- 4 hinges
- 1 packet screws (for hinges)
- Screwdriver

Instructions
- Tie 600mm length of string round a pencil. Measure 600mm down 1 side of an MDF board (measuring from top) and fix loose end of string to that spot with a drawing pin. Tighten string and draw a curve from top corner to the other side. Repeat on other boards.
- Cut along curved edges with a hand-held jigsaw. Sand edges smooth.
- Using roller (and paintbrush for edges), paint boards in chosen colour. You’ll need up to 3 coats for a nice finish.
- Stand long board against wall (long side down). Stand 1 short board next to it (long side down), with bases aligned. Screw in 2 hinges to join boards.
- Flip boards onto opposite edge and line up third board (long side up).
- Attach 2 hinges to join third board to longest board.
- Stand screen in a zigzag pattern for stability (not suitable for rooms accessible to young children).
Tip: As an alternative, Try painting each panel in variations of the same tone Or covering the screen in wallpaper or fabric.
Created by: Vanessa Nouwens. Photography by: Wendy Fenwick.
[related_articles post1=”103143″ post2=”103155″]
Related stories
Native ad body.
Sponsored by %%sponsor_name%%
Native ad body.
Sponsored by %%sponsor_name%%
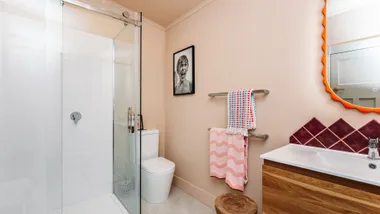
DIY: How to colour drench a bathroom
Sponsored by Resene

Native ad body.
Sponsored by %%sponsor_name%%
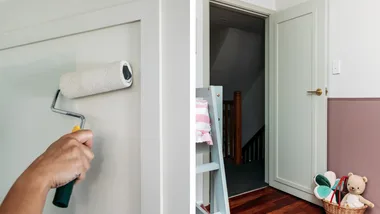
Revamp your interior door with this simple DIY
Sponsored by Resene

Native ad body.
Sponsored by %%sponsor_name%%