 Photography by: Anna Briggs
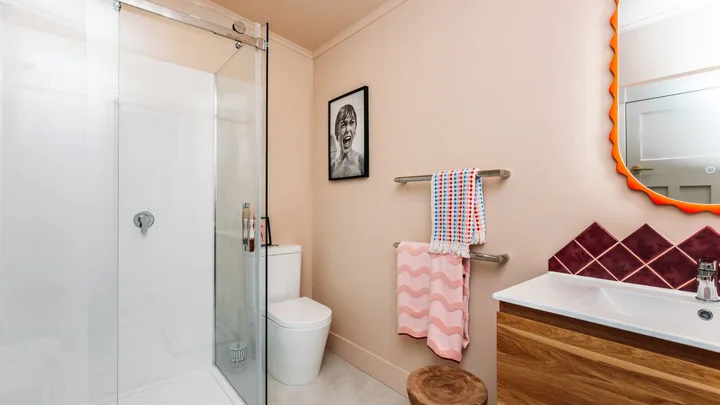
A surefire way to make a room look more modern is to colour drench by painting the walls and ceiling. I needed to update this bathroom, which is on the small side, so painting these surfaces one Resene colour gives a sense of cohesion, as well as making the space appear larger than it is. In the case of this brown-toned pastel pink, it’s also made the room so warm and cosy.

You will need:
- Sandpaper, I used 220 grit
- Resene EzyFill Quick
- PAL Zero Gaps filler and a caulking gun
- Brushes
- Resene Quick Dry undercoat
- Resene SpaceCote Flat Kitchen & Bathroom in Resene Just Right (for a higher sheen finish use Resene SpaceCote Low Sheen Kitchen & Bathroom)
- Plenty of microfibre rags
- Resene Waterborne Sureseal pigmented sealer

Step 1
For all paint applications, you want to make sure your walls are clean and dust-free. A good paint job is always in the prep and often it takes longer to prep your area than it does to paint it.

Step 2
Depending on your situation, seal walls with a coat of Resene Waterborne Sureseal. If you are painting over an existing enamel you may need to key in the paint first by giving it a light sand with 220 grit sandpaper. I like to fill after this first coat with Resene EzyFill Quick filler to fill any nail holes or dings. If you are changing from very dark to light, apply Resene Quick Dry to help achieve the colour.

Step 3
The must-not-miss step that will take your paint job from DIY to professional is running PAL Zero Gaps filler along all the junctions. For example, the wall-to-cornice or wall-to-architrave edge. Once you have run a bead of filler, wipe the excess off with a wet microfibre cloth to smooth.

Step 4
Sand the areas you have filled and make sure they are dust-free, then spot prime if necessary. You can tape your edges where you need to cut in. I like to use a good sized-brush with a good amount of paint on it. With the edge of the bristles, applying medium pressure, move quickly and steadily along the edges for sharp lines.

Step 5
You are now ready to start to colour drench by applying your first coat of Resene SpaceCote Flat Kitchen & Bathroom in Resene Just Right. Apply two coats to both walls and ceiling, allowing time to dry in between coats and using a roller sleeve that is appropriate to the texture of your walls.

Step 6
To finish, I applied a coat of Resene Waterborne Sureseal to the raw edges of my tiles, then colour-matched my tile colour to the paint and applied two topcoats of Resene Lustacryl. This is an alternative to metal edging and provides a softer-looking edge.


Related stories
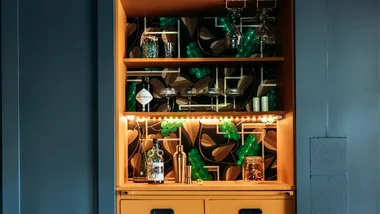
DIY: Upcycle an old cupboard into a drinks bar
Native ad body.