Grab your DIY gloves and get ready to Charleston, here are four ways to update your homeware with fringing
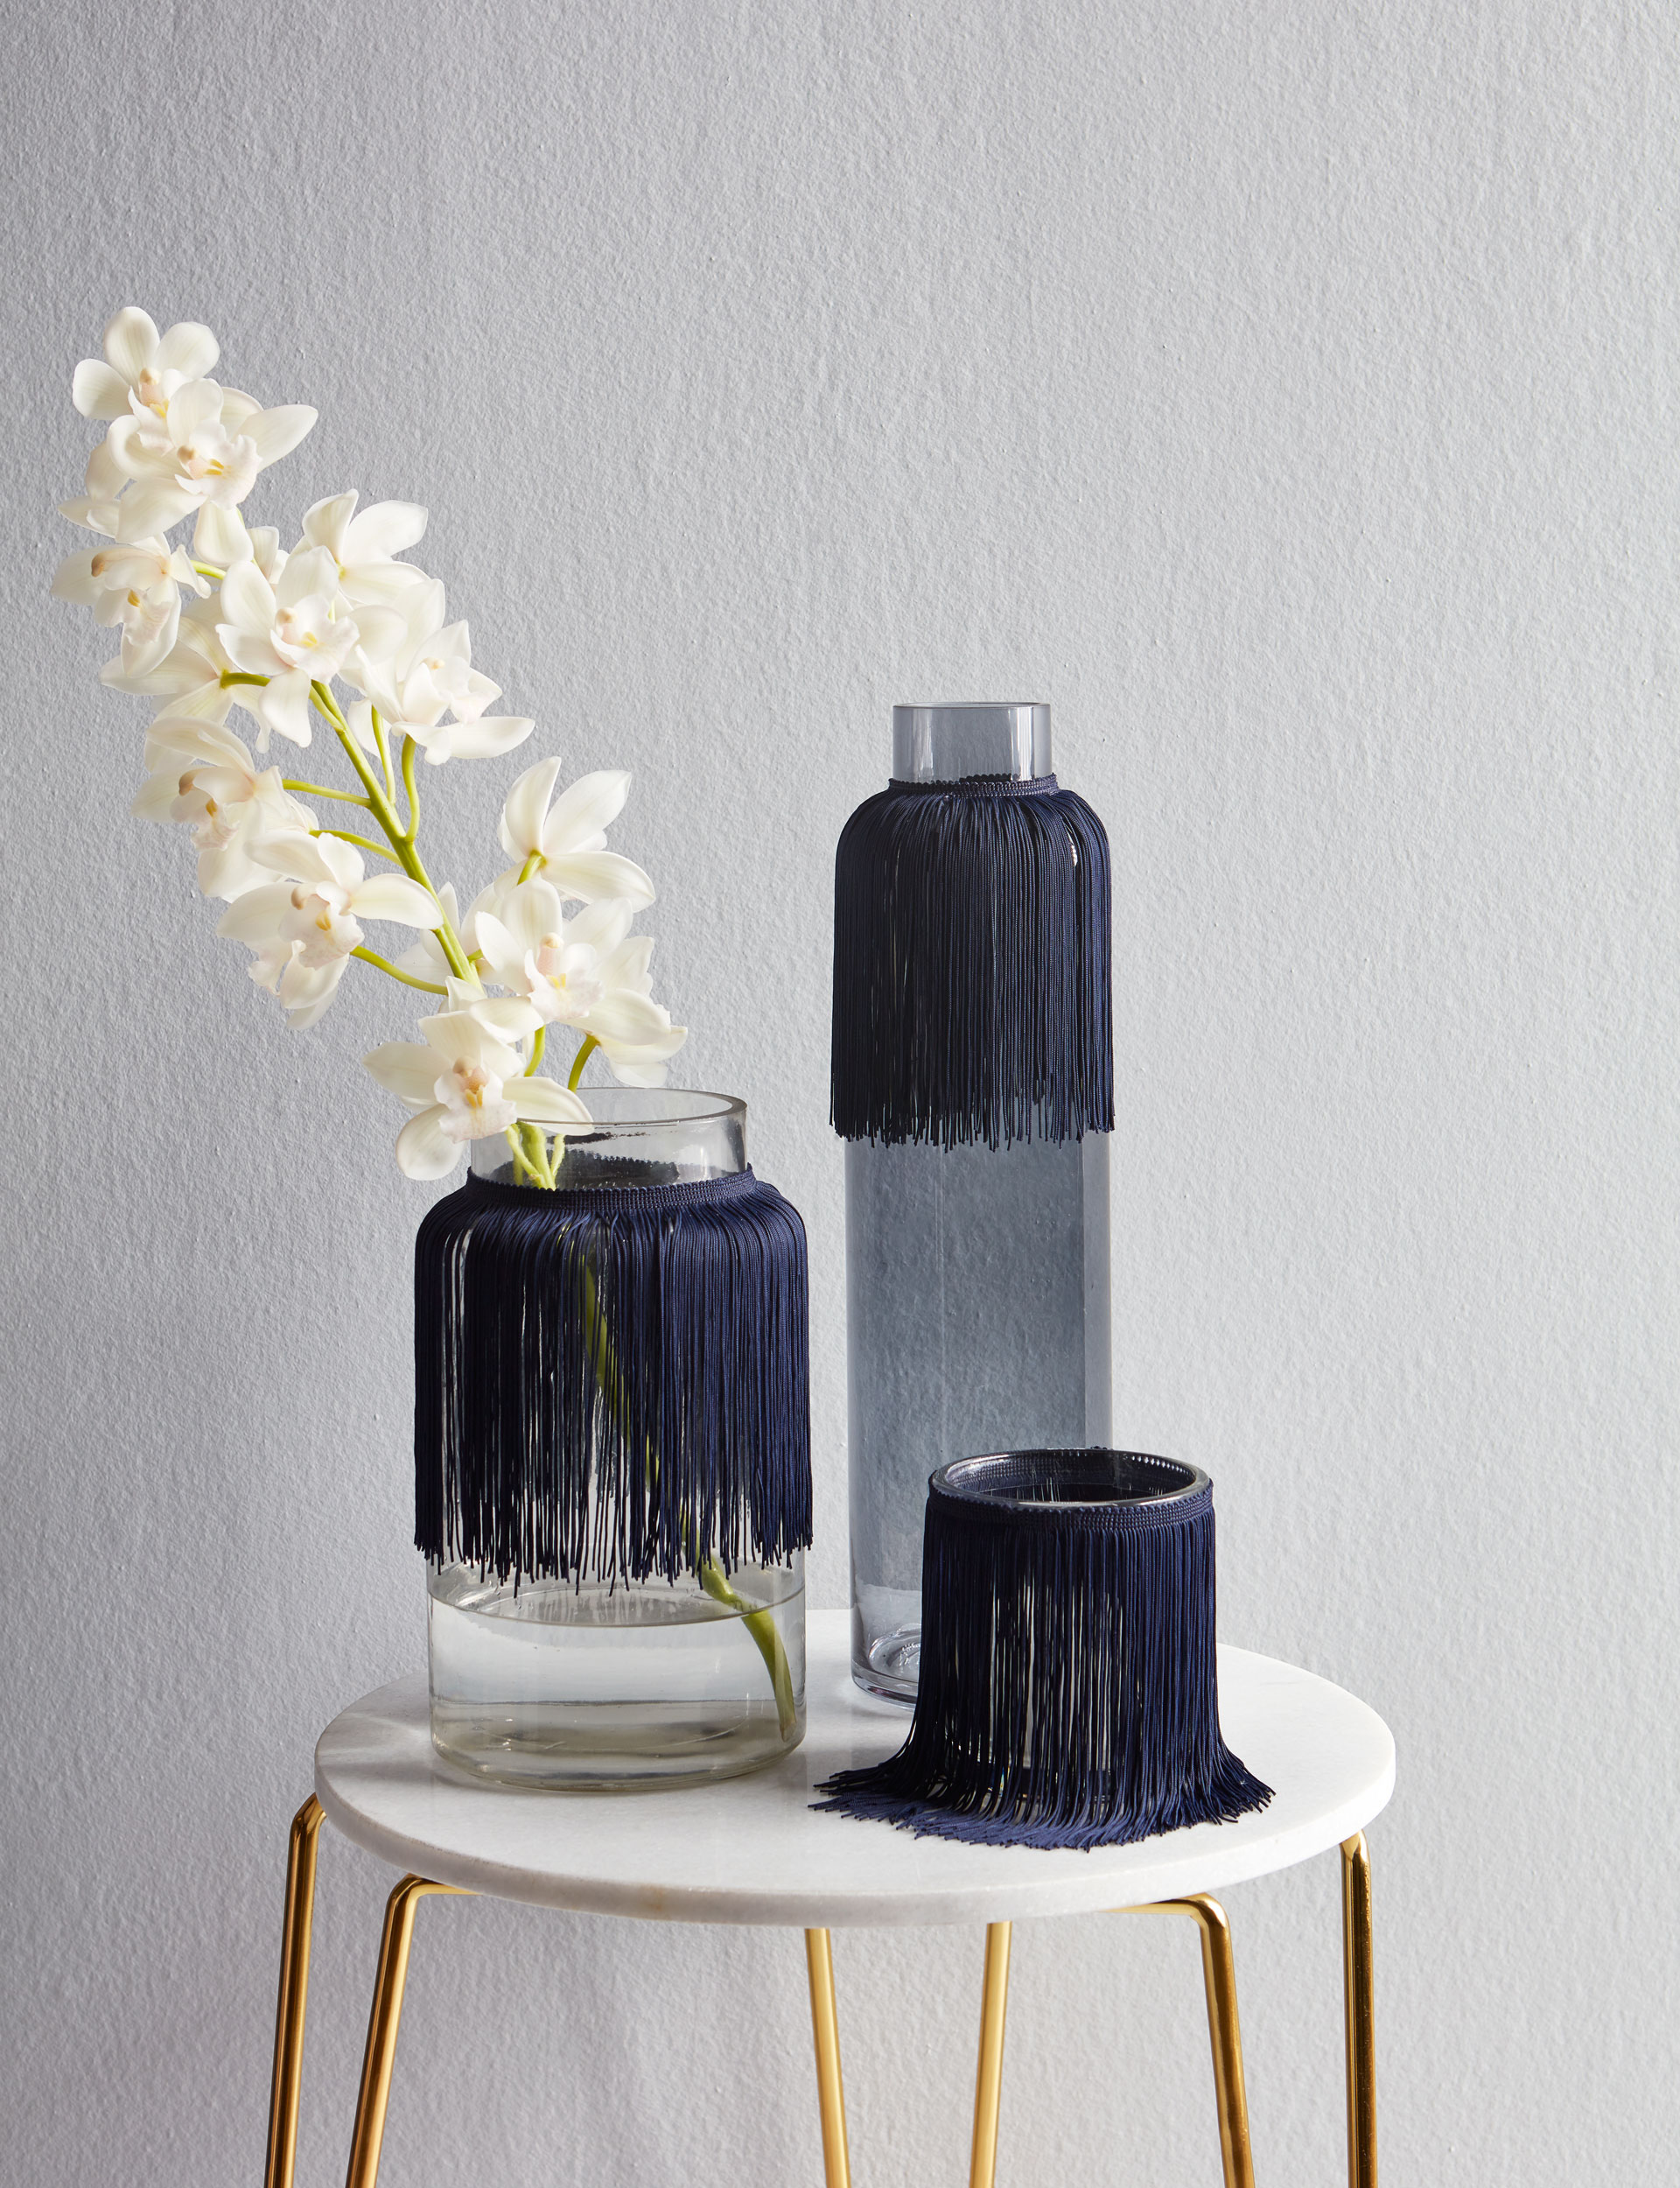
1. Vases
Give some plain vases or glass votives a new look by adding on-trend fringing.
+ For each vase or votive, wrap the fringing around the neck to work out how much you need, allow a little extra so it will overlap, then cut.
+ Place fringing on a surface, glue one end onto the other with a dab of clear craft glue and leave to dry.
+ Place fringe over neck of each vessel and add flowers or a candle.
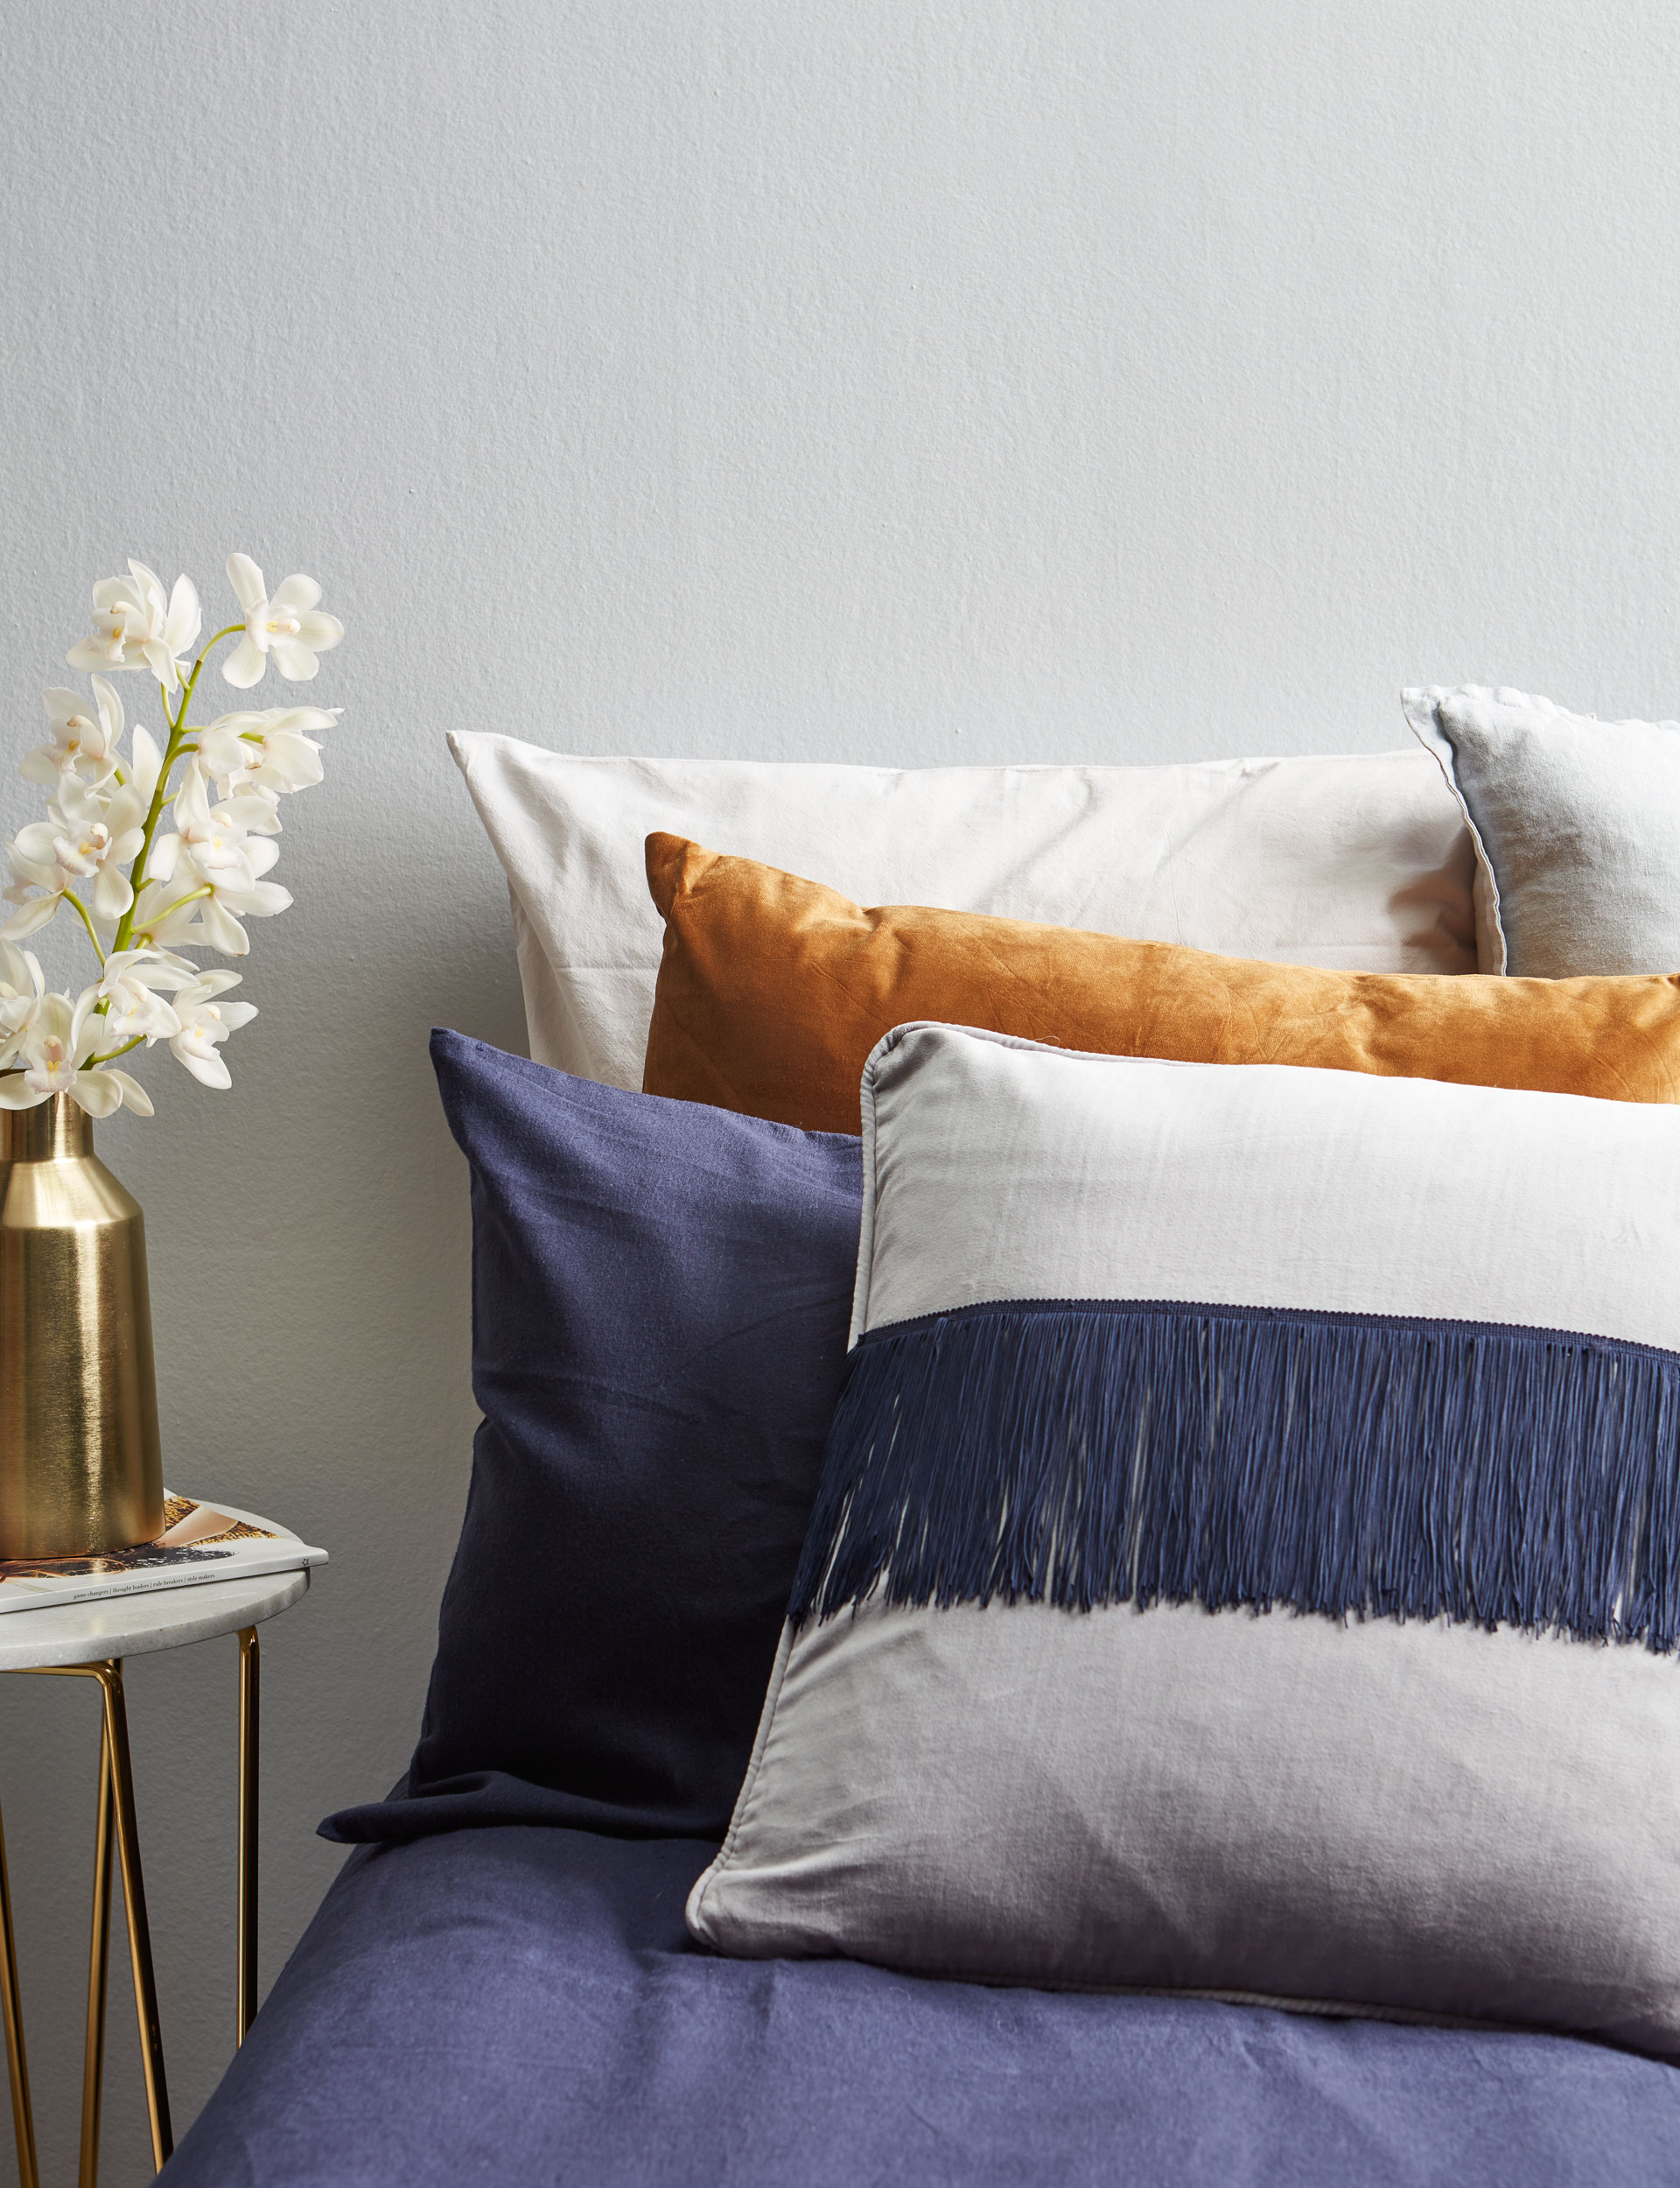
2. Cushion
Bring a little luxe to a plain velvet cushion cover with a strip of fringing.
+ Measure the fringing so it fits across the cover and pin in place.
+ Now simply sew the fringing onto the cover by hand or with a sewing machine.
+ Add a cushion inner and this quick and easy update is complete.
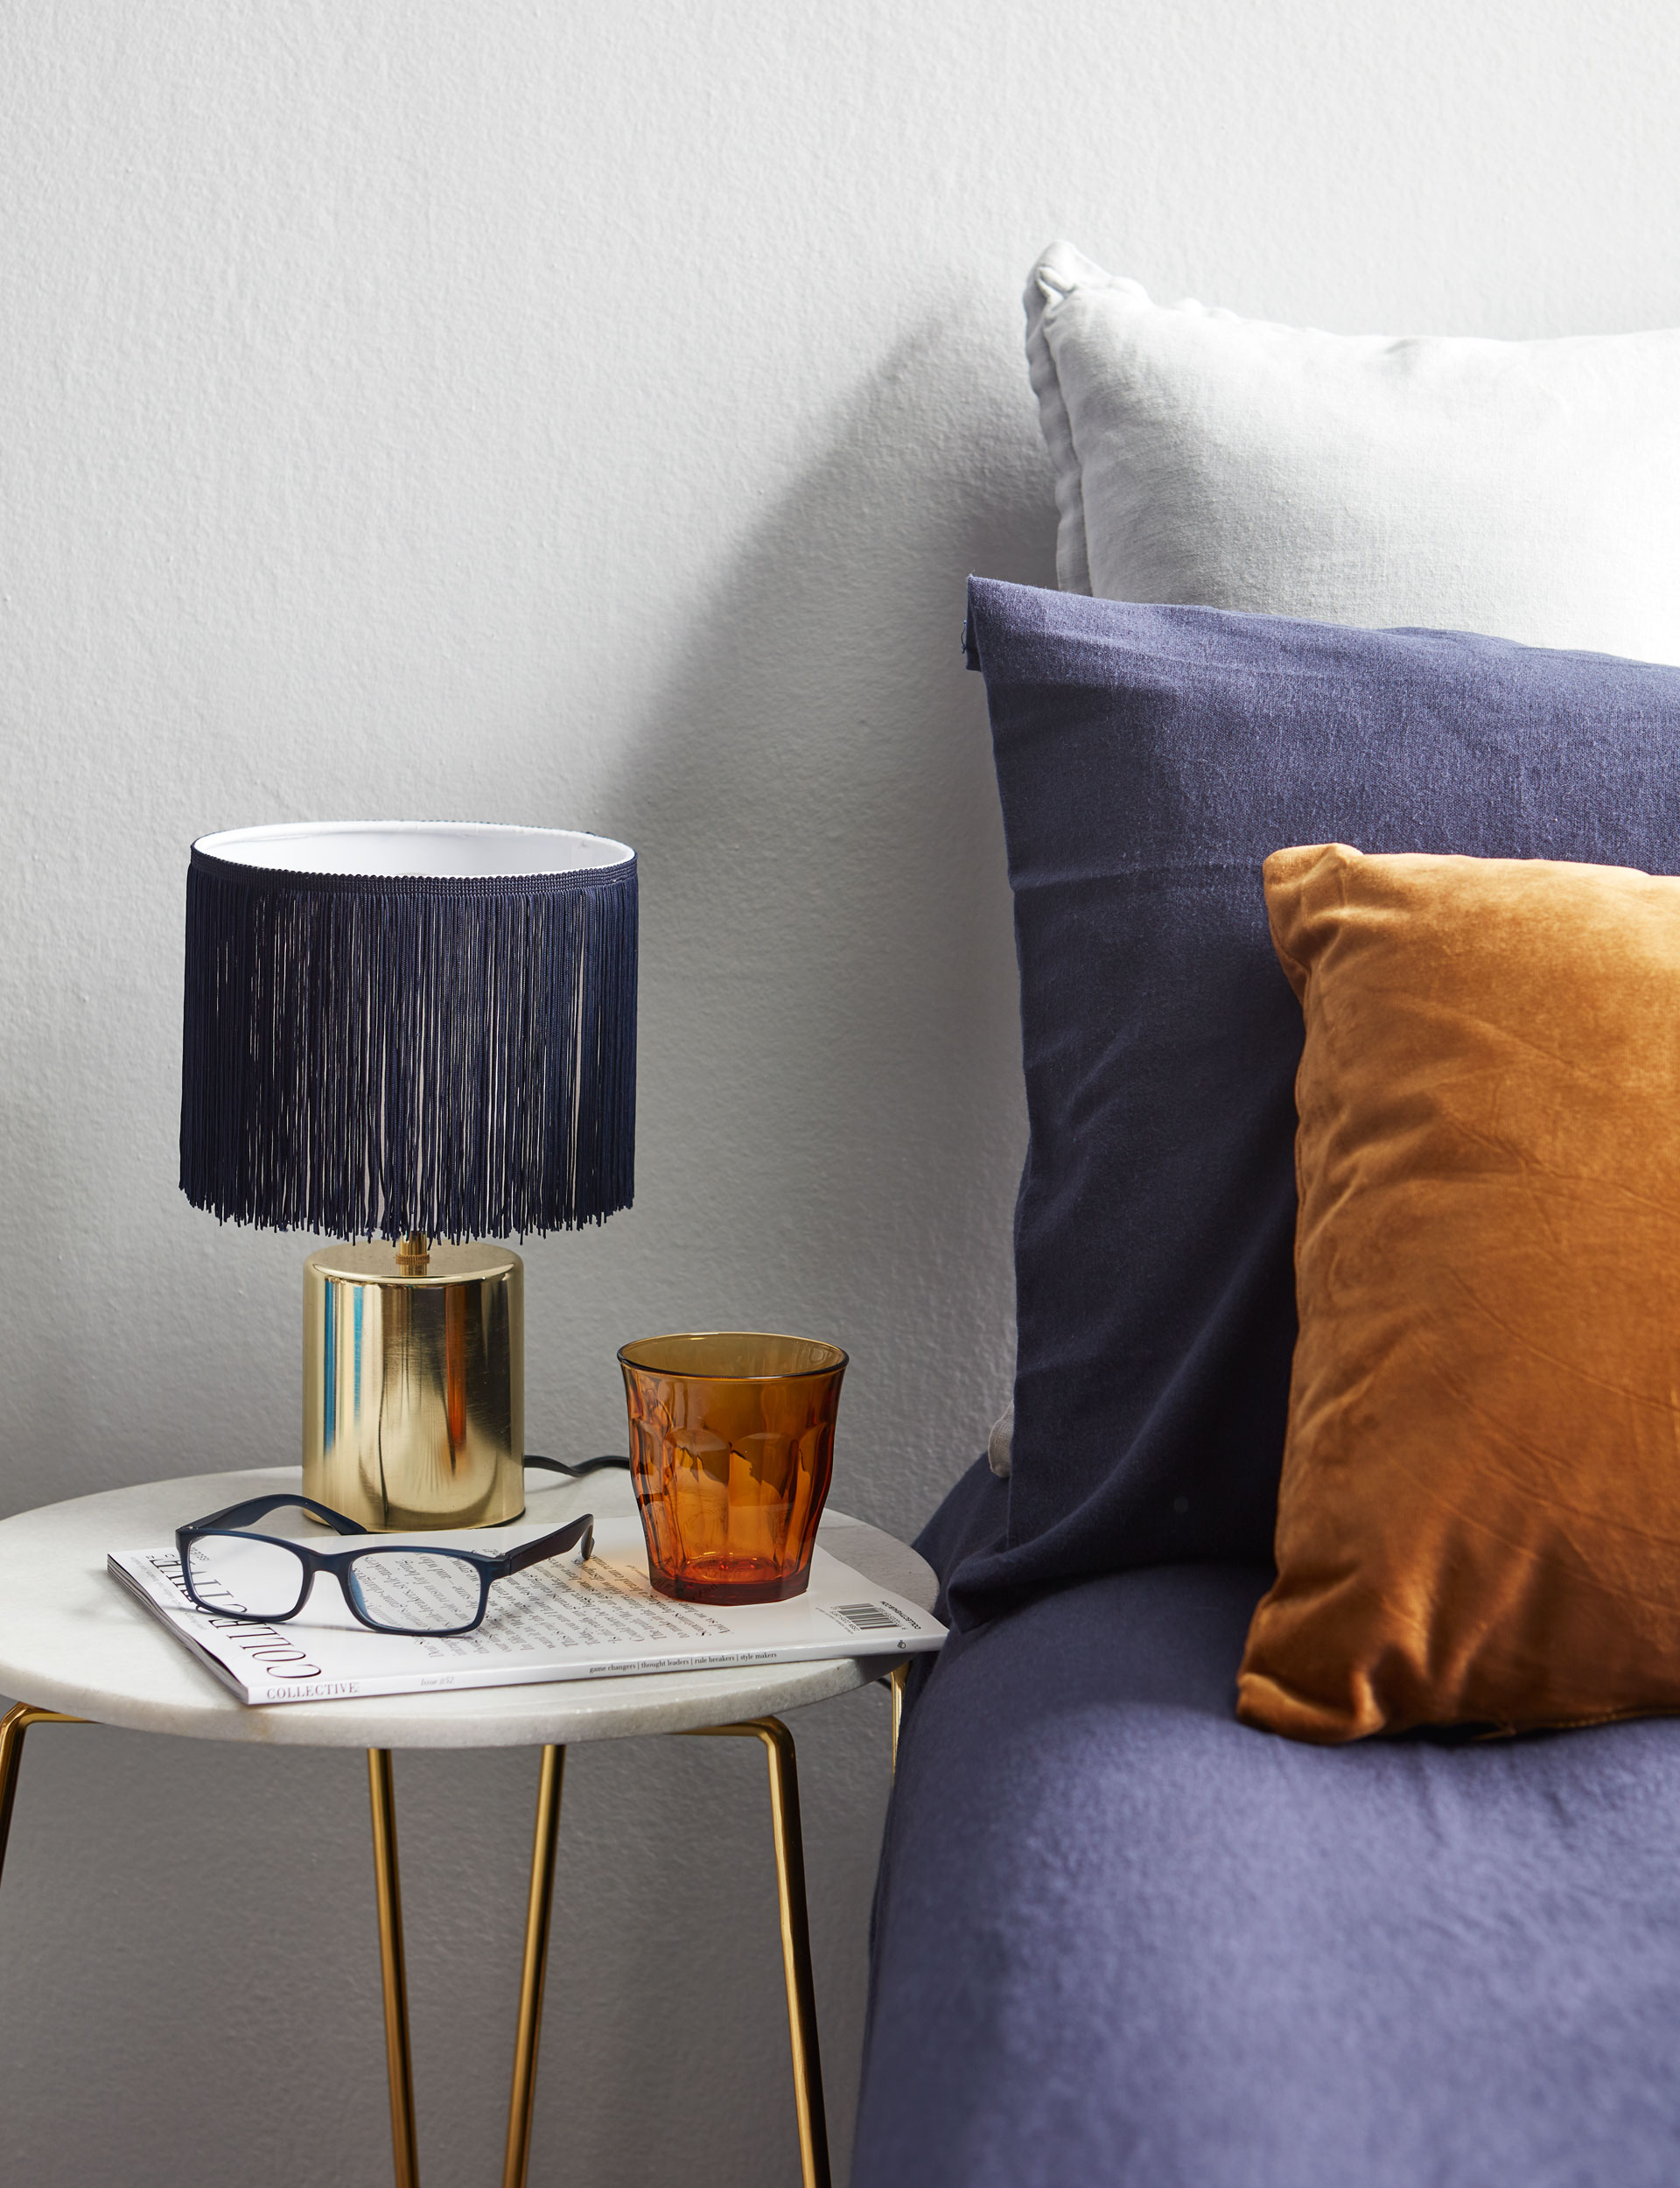
3. Lampshade
We gave this cute gold bedside lamp an extra dash of glam by adding navy fringing to the plain white lampshade.
+ Wrap fringing around top of shade, allow a few extra centimetres so you can overlap it, and cut.
+ Apply clear craft glue around the top of the shade.
+ Starting at the back of the shade, carefully place fringing on top of glue.
+ Glue one end on top of the other and leave to dry. (Choose fringing that is the same length as the shade; if this is not possible, then buy longer fringing and trim to length once glue has dried.)
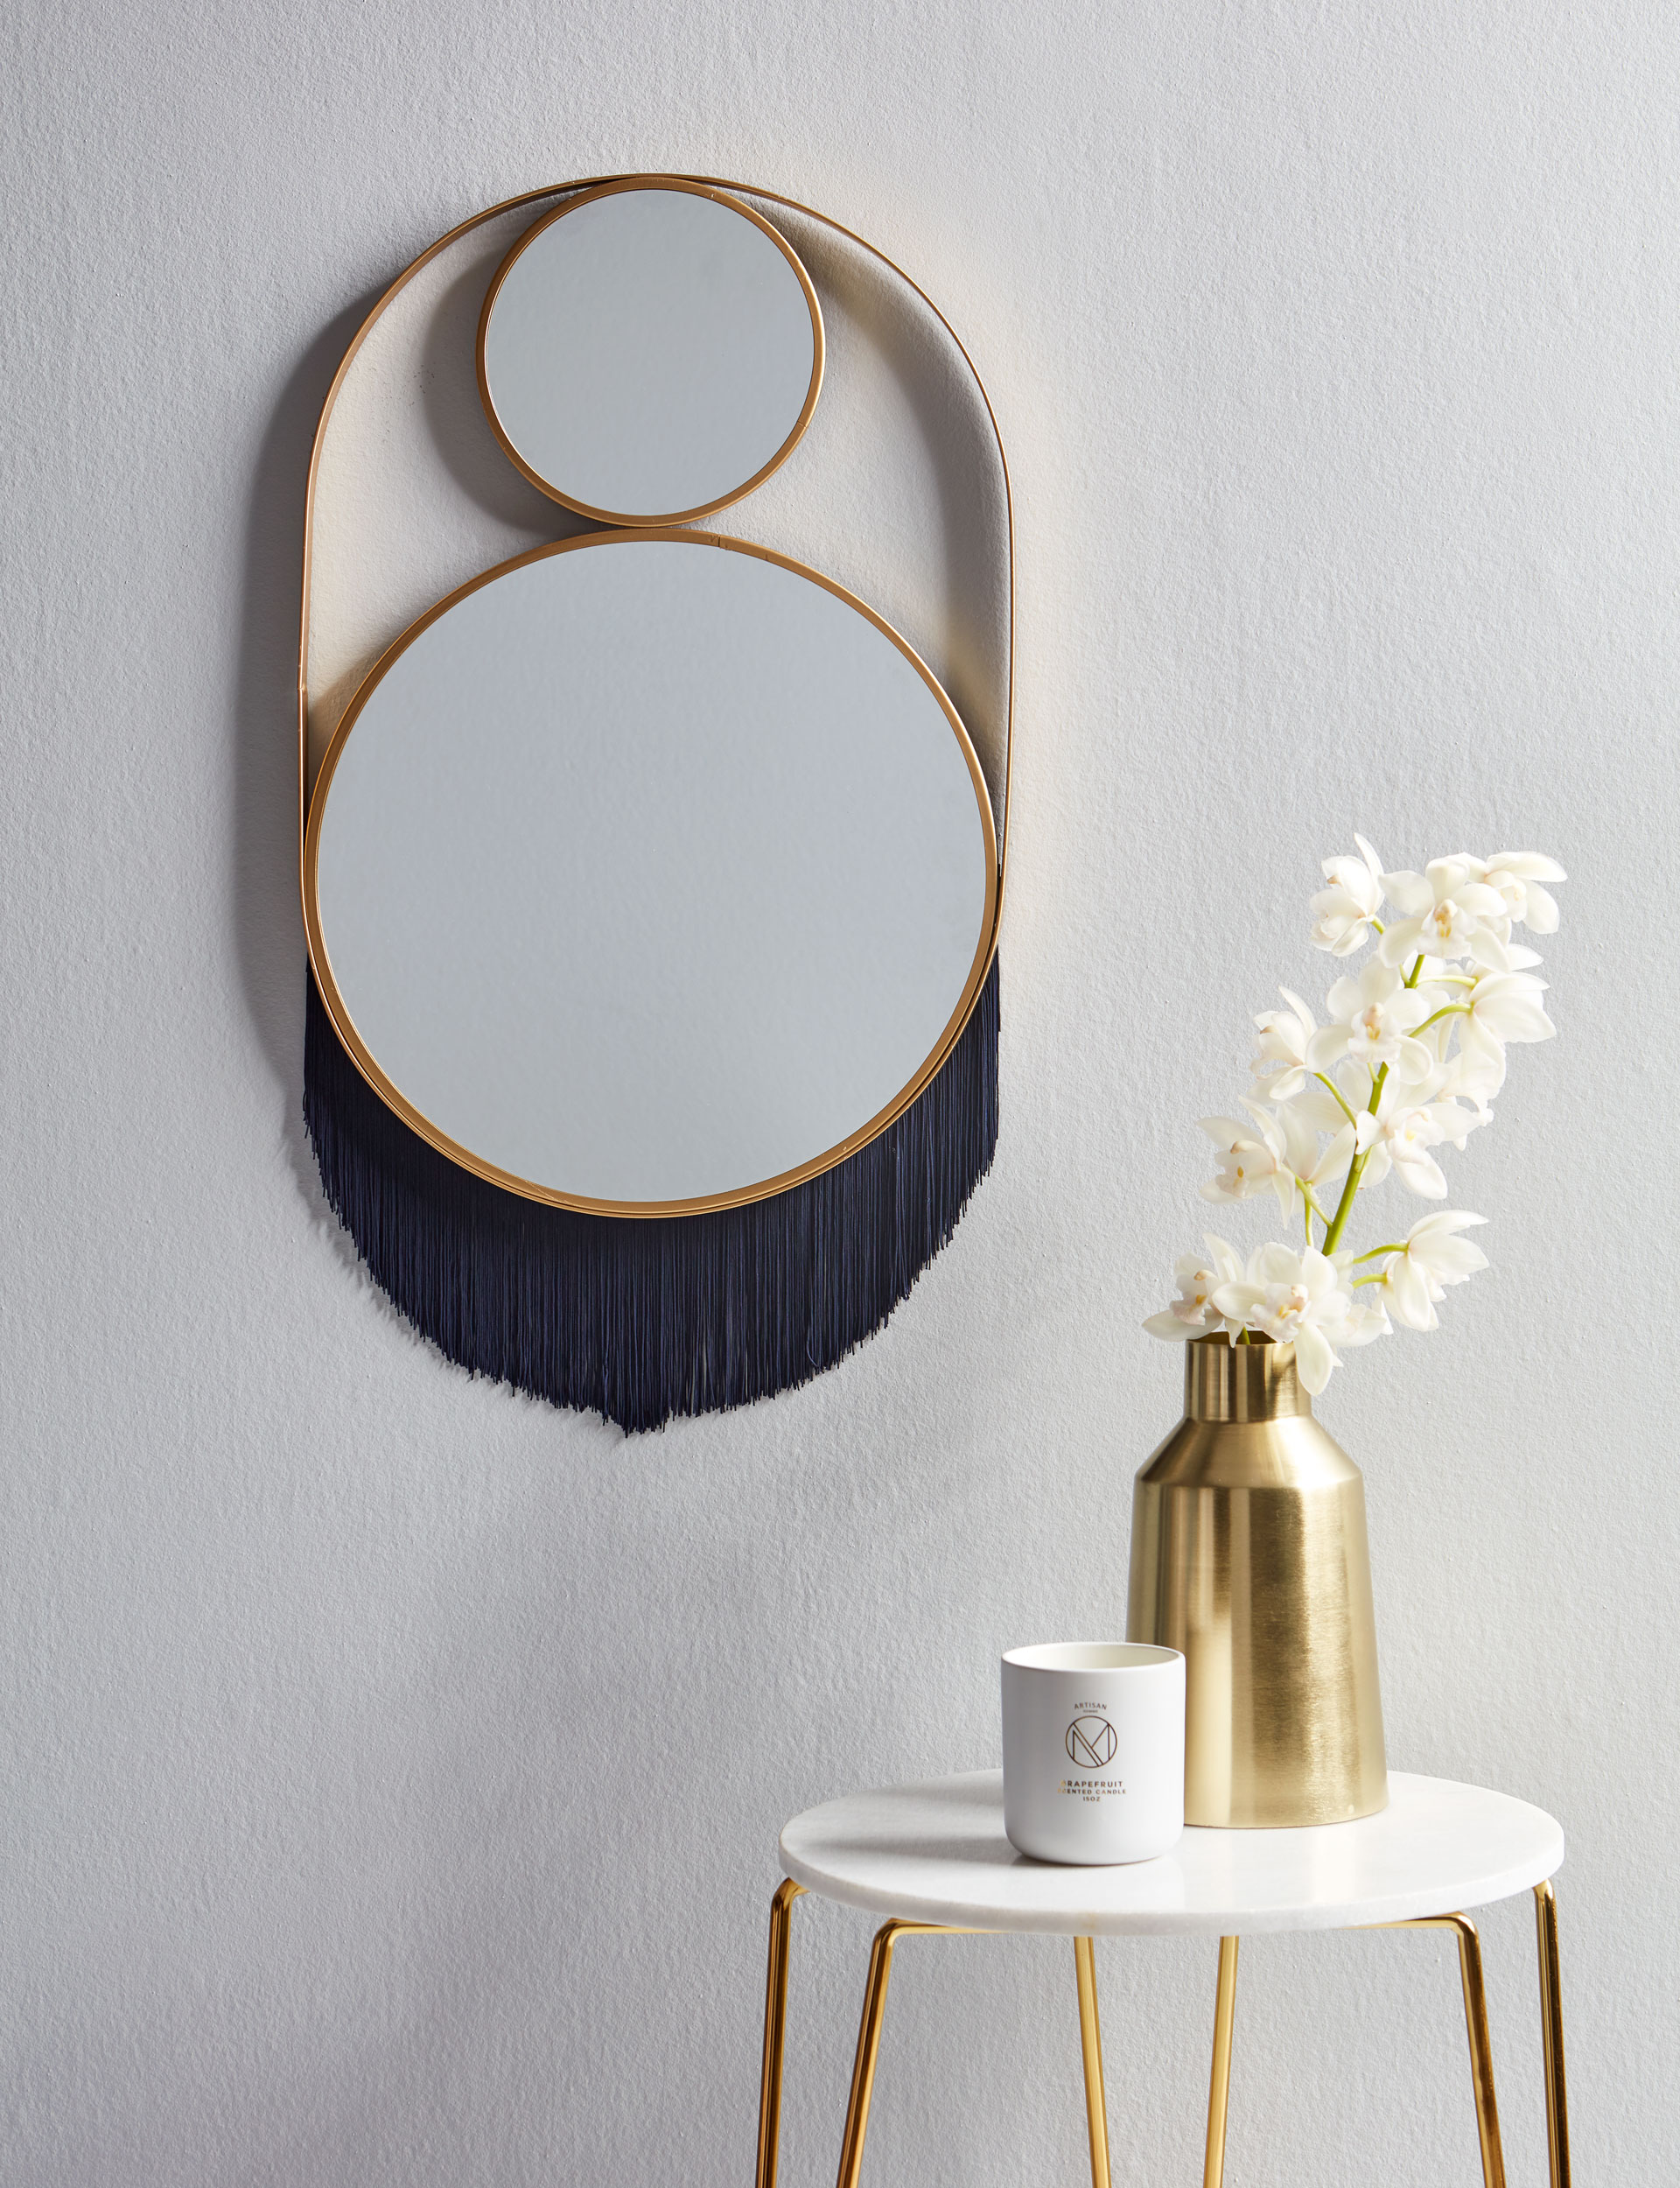
4. Mirror
This mirror would look great in a hallway, bedroom or seating area.
+ Take a mirror (round is best) and measure how much fringing you’ll need to decorate the bottom.
+ Using clear craft glue, stick the fringing along the back edge of the mirror, following the curve all the way around to the other side.
+ Leave to dry overnight.
Created and styled by: Vanessa Nouwens. Photography by: Wendy Fenwick.
EXPERT PROJECTS


Create the home of your dreams with Shop Your Home and Garden
SHOP NOW


